5 Powerful PC Diagnostic Tools That Can Help Diagnose Problems
Unexpected system crashes, sluggish performance, and sudden freezing can disrupt your daily productivity. Fortunately, PC diagnostic tools make troubleshooting computer problems much easier. These utilities help identify hardware failures, software conflicts, and performance issues without immediately visiting a repair shop.
However, identifying the actual cause of a computer problem isn’t always straightforward. A slow PC might have a failing hard drive, an overheating processor, insufficient memory, or corrupted Windows files. Without proper testing, you might replace expensive components that are still working perfectly.
Understanding how to test your computer can save time and protect important data. Moreover, regular system checks help you identify potential problems before they become serious.
In this guide, we’ll explore five reliable diagnostic tools for Windows users. You’ll learn what each utility checks, how it works, and where to download it. Additionally, we’ll explain how to diagnose common computer problems and perform a basic system health check.
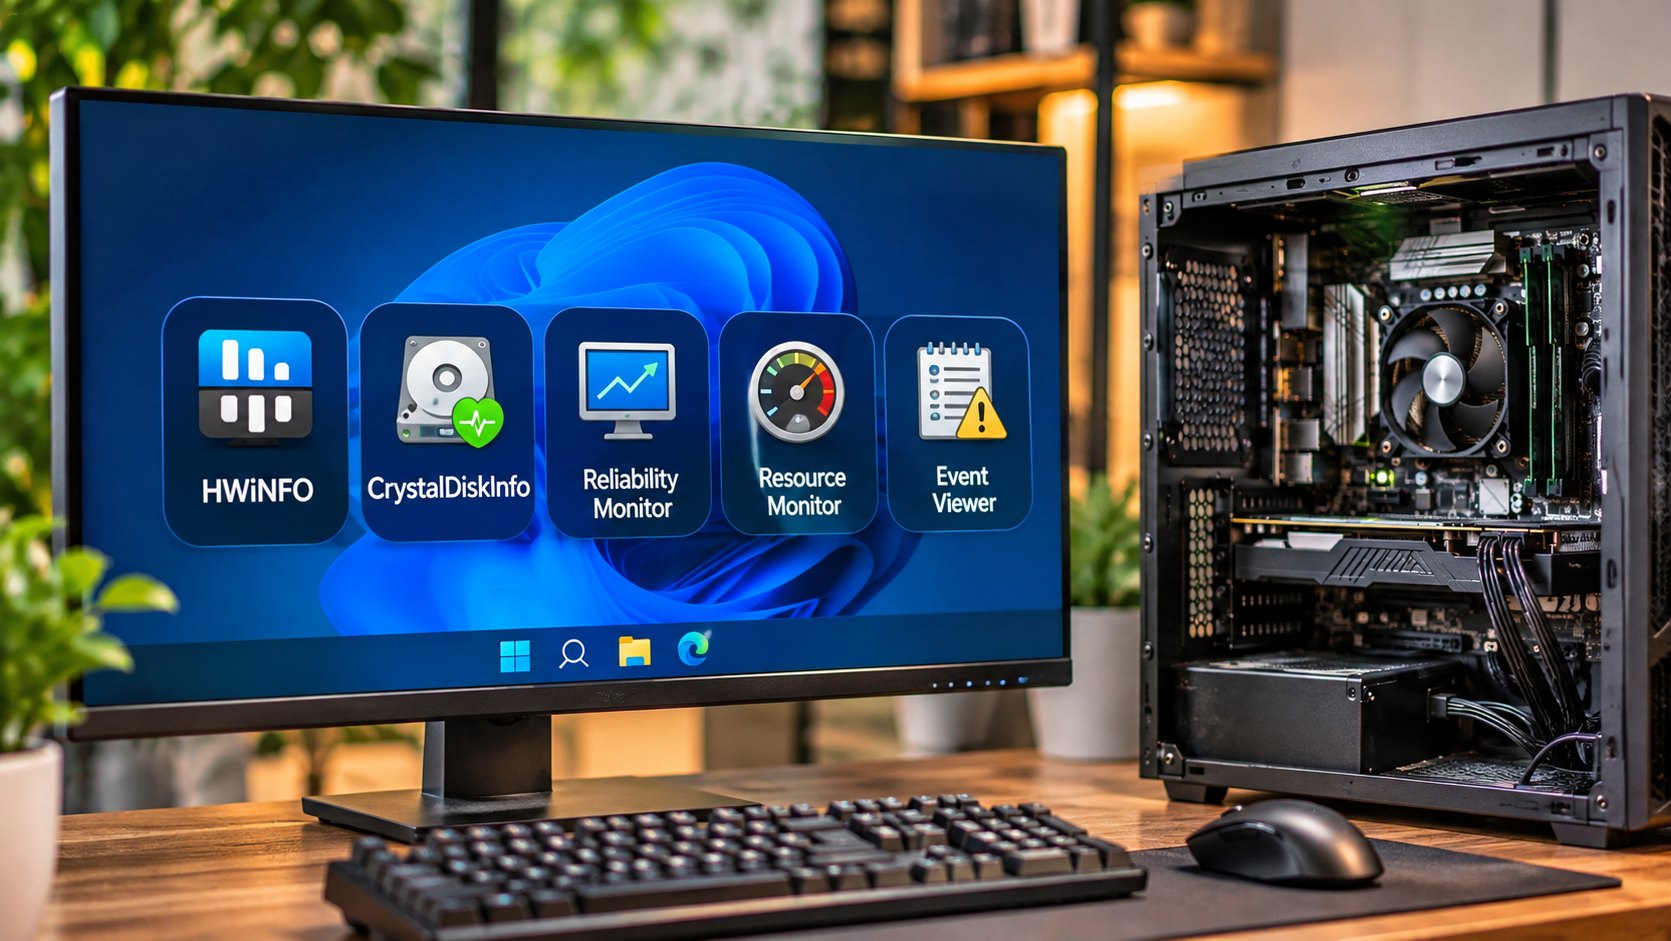
1. HWiNFO (Hardware Sensors and Temperature Monitoring)
HWiNFO is a powerful system information and monitoring utility. It provides detailed information about your computer’s hardware and operating conditions. For example, you can monitor processor temperatures, graphics card performance, fan speeds, and other sensor readings.
This makes the software particularly useful when investigating overheating, unexpected slowdowns, and performance instability. Furthermore, its detailed hardware reports help you understand how individual components behave during everyday tasks. If your laptop frequently overheats, explore these ways to keep your laptop cool on a budget to reduce excessive heat and improve everyday performance.
- What it diagnoses: It helps identify overheating, thermal throttling, unusual fan speeds, and potential hardware performance issues.
- How it works: HWiNFO collects sensor information from your motherboard, processor, graphics card, and storage devices. It displays real-time temperatures, clock speeds, voltages, and other readings.
- Best for: Monitoring hardware temperatures, identifying thermal problems, and understanding system performance.
- Where to get it: Download the free installer or portable version from the official HWiNFO website.
However, sensor readings cannot independently confirm every hardware failure. For instance, unusual voltage readings require further investigation. Overall, HWiNFO is an excellent starting point for monitoring your computer’s hardware condition.
2. CrystalDiskInfo (SSD and Hard Drive Health)
CrystalDiskInfo is a lightweight diagnostic utility designed to monitor SSD and hard drive health. Storage problems can cause slow boot times, freezing, corrupted files, and unexpected system crashes. Therefore, checking your storage drive is an important part of computer maintenance.
The software reads S.M.A.R.T. information from compatible storage devices. Consequently, you can monitor useful indicators related to drive health and operating conditions.
- What it diagnoses: It highlights reported drive health problems, excessive temperatures, and indicators associated with storage wear or potential failure.
- How it works: CrystalDiskInfo reads S.M.A.R.T. (Self-Monitoring, Analysis, and Reporting Technology) attributes. Based on this information, it displays a simplified health status.
- Best for: Checking SSD health, monitoring hard drives, and identifying potential storage problems.
- Where to get it: Download the free utility from the CrystalDiskInfo SourceForge page.
For example, you can check the drive’s health status whenever your computer experiences unusual delays or file errors. Additionally, monitoring drive temperatures can help identify potential operating issues.
However, a healthy S.M.A.R.T. status doesn’t guarantee that a drive cannot fail. In fact, several misconceptions about SSD reliability can lead to poor maintenance decisions. Explore these common SSD myths to better understand storage performance, drive lifespan, and potential failures. For this reason, always maintain backups of important files.
3. Windows Reliability Monitor (Crash History)
Windows Reliability Monitor is a built-in diagnostic utility that helps you understand recurring computer problems. Instead of examining complicated error logs, you can view system failures through an organized timeline. As a result, identifying when performance problems first appeared becomes much easier.
The utility records critical events involving Windows, applications, and hardware-related failures. It’s particularly helpful when investigating unexpected shutdowns, application crashes, and failed updates. Additionally, understanding what happens when you skip Windows updates can help explain certain compatibility issues, security vulnerabilities, and system stability problems.
- What it diagnoses: It highlights application failures, Windows errors, unsuccessful updates, and unexpected system shutdowns.
- How it works: Reliability Monitor collects system stability information and displays it through a timeline. It also provides a stability index ranging from 1 to 10.
- Best for: Investigating recurring crashes and identifying software problems that started recently.
- How to open it: Press the Windows key, type View reliability history, and select the matching result.
Once opened, you can select individual dates to examine reported problems and their details. This information helps connect system failures with recent software installations, updates, or driver changes.
Furthermore, Windows Event Viewer provides more detailed system logs when additional investigation is necessary. You can learn more through Microsoft’s Event Viewer documentation.
4. Windows Resource Monitor (Real-Time Performance Issues)
Windows Resource Monitor is a built-in diagnostic utility that provides detailed information about system resource usage. Although Task Manager offers basic performance information, Resource Monitor provides more specific monitoring options. Therefore, it’s useful when investigating programs that consume excessive system resources.
Sometimes, a computer becomes slow because background applications use too much processing power or memory. In such situations, this utility helps identify performance bottlenecks without installing additional software.
- What it diagnoses: It helps identify high CPU usage, heavy memory consumption, excessive disk activity, and unusual network activity.
- How it works: The utility displays detailed resource information across four sections: CPU, Memory, Disk, and Network.
- Best for: Finding resource-heavy applications and investigating sudden performance slowdowns.
- How to open it: Press Win + R, type resmon, and press Enter.
Each section provides useful information about running processes and their resource consumption. For example, the Disk tab helps identify applications performing extensive read and write operations.
Similarly, the Network tab shows which processes are using network connections. However, unfamiliar network activity can sometimes indicate suspicious software running in the background. Learning the warning signs that your computer has malware can help you recognize potentially dangerous activity. Instead, use Resource Monitor as one source of evidence during further troubleshooting.
5. MemTest86+ (RAM and Memory Stability)
MemTest86+ is a specialized memory-testing utility that checks your computer’s RAM for errors. Faulty memory can cause random crashes, unexpected restarts, corrupted files, and application instability. Therefore, testing RAM is important when your computer experiences unexplained problems.
Unlike ordinary Windows applications, MemTest86+ runs outside the operating system. This allows it to test memory without interference from most running Windows processes.
- What it diagnoses: It detects memory errors, unstable RAM configurations, and potential problems affecting memory modules.
- How it works: The utility runs from bootable media, such as a USB drive. It writes and reads different data patterns across available memory to identify errors.
- Best for: Investigating random crashes, memory-related blue screens, and unexplained system instability.
- Where to get it: Download the utility from the official MemTest86+ website.
Alternatively, Windows includes a built-in utility called Windows Memory Diagnostic. To use it, search for the tool through the Start menu and restart your computer. The utility will then begin testing your memory.
If MemTest86+ reports errors, investigate your RAM modules, motherboard slots, and memory settings. Nevertheless, a failed test doesn’t automatically identify which component is responsible.
What Is the Best Diagnostic Tool for PC?
HWiNFO is one of the best overall PC diagnostic tools for monitoring Windows computer hardware. It provides detailed sensor information and real-time performance readings. Consequently, it’s particularly useful when investigating overheating and unexpected performance changes.
However, no single diagnostic utility can identify every computer problem. Different tools serve different purposes, depending on the hardware or software component you’re investigating.
For example, CrystalDiskInfo focuses on storage health, while MemTest86+ checks RAM stability. Meanwhile, Windows Reliability Monitor helps investigate application crashes and system failures. Resource Monitor, on the other hand, identifies processes consuming excessive system resources.
Your choice should depend on the symptoms your computer displays. If your laptop overheats, start with HWiNFO. Similarly, examine Reliability Monitor when Windows crashes unexpectedly. For slow file transfers, check your storage drive using CrystalDiskInfo.
Ultimately, combining these utilities provides a more complete picture of your computer’s condition. This approach also helps you investigate individual components without immediately relying on expensive repair services.
What Are Some Good PC Diagnostic Tools?
Several reliable PC diagnostic tools can help you investigate common hardware and software problems. However, the best choice depends on the issue you’re experiencing and the component you want to examine.
Here are five useful options for Windows users:
- HWiNFO: Monitors hardware temperatures, fan speeds, processor performance, and sensor readings.
- CrystalDiskInfo: Checks SSD and hard drive health using S.M.A.R.T. information.
- Windows Reliability Monitor: Displays application crashes, system failures, and Windows stability history.
- Windows Resource Monitor: Tracks CPU, memory, disk, and network resource consumption.
- MemTest86+: Tests RAM for memory errors and stability problems.
Together, these utilities cover several important areas of computer troubleshooting. While some focus on physical hardware, others investigate Windows performance and software stability.
Fortunately, you don’t need to install every available diagnostic application. Instead, start with the tool that matches your symptoms. For example, investigate storage health when files take unusually long to open. Similarly, use memory testing when random crashes occur.
This targeted approach makes troubleshooting faster and more effective. Additionally, it prevents unnecessary testing when you already have a clear indication of the underlying problem.
How Do I Diagnose a Problem With My PC?
You can diagnose most common computer problems by following a systematic troubleshooting process. First, identify the symptoms rather than immediately replacing hardware or reinstalling Windows.
Start by observing when the problem occurs. Note any error messages, unusual sounds, overheating, or unexpected restarts. These details can help narrow down the possible causes.
Next, follow these troubleshooting steps:
- Check external connections: Disconnect unnecessary USB devices, printers, and external drives. Then restart your computer to check whether the problem continues.
- Inspect running applications: Open Task Manager and identify programs consuming excessive CPU, memory, or disk resources.
- Check Windows errors: Open Reliability Monitor and review recent application crashes and system failures.
- Monitor hardware temperatures: Use HWiNFO to check processor and graphics card temperatures.
- Test storage health: Open CrystalDiskInfo and examine your SSD or hard drive’s reported health status.
- Check memory stability: Run Windows Memory Diagnostic or MemTest86+ if you suspect RAM problems.
Additionally, you can start Windows in Safe Mode to investigate whether third-party software or drivers contribute to the issue. If the problem continues, consider professional hardware testing.
Remember that troubleshooting should follow a logical process. By testing one component at a time, you can narrow down the possible cause without making unnecessary changes.
How to Run a Full PC Diagnostic?
Running a full PC diagnostic involves checking several components individually. Although Windows provides useful built-in utilities, no single scan identifies every possible hardware and software problem. Instead, combine different PC diagnostic tools with Windows troubleshooting features to examine your computer thoroughly.
Follow this sequence to examine your computer:
- Check Windows system files: Open Command Prompt as an administrator and run
sfc /scannow. This scans protected Windows system files and attempts repairs when necessary. - Inspect storage health: Open CrystalDiskInfo and review the reported condition of your primary SSD or hard drive.
- Test RAM: Search for Windows Memory Diagnostic in the Start menu. Restart your computer and allow the memory test to complete.
- Monitor hardware temperatures: Launch HWiNFO and examine CPU, GPU, and other available sensor readings.
- Review system stability: Open Reliability Monitor and investigate recurring errors or unexpected shutdowns.
- Check resource usage: Launch Resource Monitor to identify processes consuming excessive system resources.
For additional troubleshooting, you can use Windows Event Viewer to investigate detailed system errors. Furthermore, consider running a storage-specific diagnostic if CrystalDiskInfo reports warning signs.
Before performing extensive hardware tests, back up your important files. Also, avoid unnecessary stress testing if your computer already experiences overheating or unexpected shutdowns.
Conclusion
Computer problems become easier to investigate when you use the right diagnostic utilities. The five PC diagnostic tools covered in this guide help monitor hardware health, examine storage conditions, test memory, and investigate Windows errors.
Start with HWiNFO for temperature monitoring and CrystalDiskInfo for storage health. Meanwhile, use Reliability Monitor and Resource Monitor when investigating software failures or performance bottlenecks. MemTest86+ is particularly useful when you suspect faulty RAM.
However, remember that diagnostic software provides useful information rather than guaranteeing that every hardware failure will be detected. Therefore, back up important files regularly and investigate warning signs before they become serious problems.
Choose the appropriate utility for your computer’s symptoms and perform basic health checks periodically. Ultimately, early detection can help prevent unexpected downtime and unnecessary repair expenses.