

5 Tips for Getting Started with Flow in Modern Creative Workflows
Creating professional-looking videos with AI starts with a clear plan. Getting started with Flow helps beginners explore AI filmmaking, generate cinematic clips, and turn creative ideas into visual stories. Google’s Flow brings together generative AI models and creative tools that help users develop scenes and arrange video sequences.
However, beginners can struggle with vague prompts, inconsistent characters, and complicated scenes. Generating multiple clips without planning can also waste time and video credits. A structured workflow helps you avoid these problems and improve your results.
In this guide, you’ll discover five practical tips for using Google Flow. You’ll learn how to plan storyboards, maintain character consistency, control video composition, and organize clips into coherent scenes. We’ll also explore effective AI video prompts, learning strategies, and tools that can support your filmmaking workflow.

1. Start With a Text Storyboard Before Generating Videos
Planning your story before generating clips can save time and reduce unnecessary revisions. When getting started with Flow, begin with a simple idea and develop it into a sequence of scenes. Explore how to create an amazing explainer video concept by defining your audience, message, and story before production. Describe the main characters, their actions, the setting, and the overall mood.
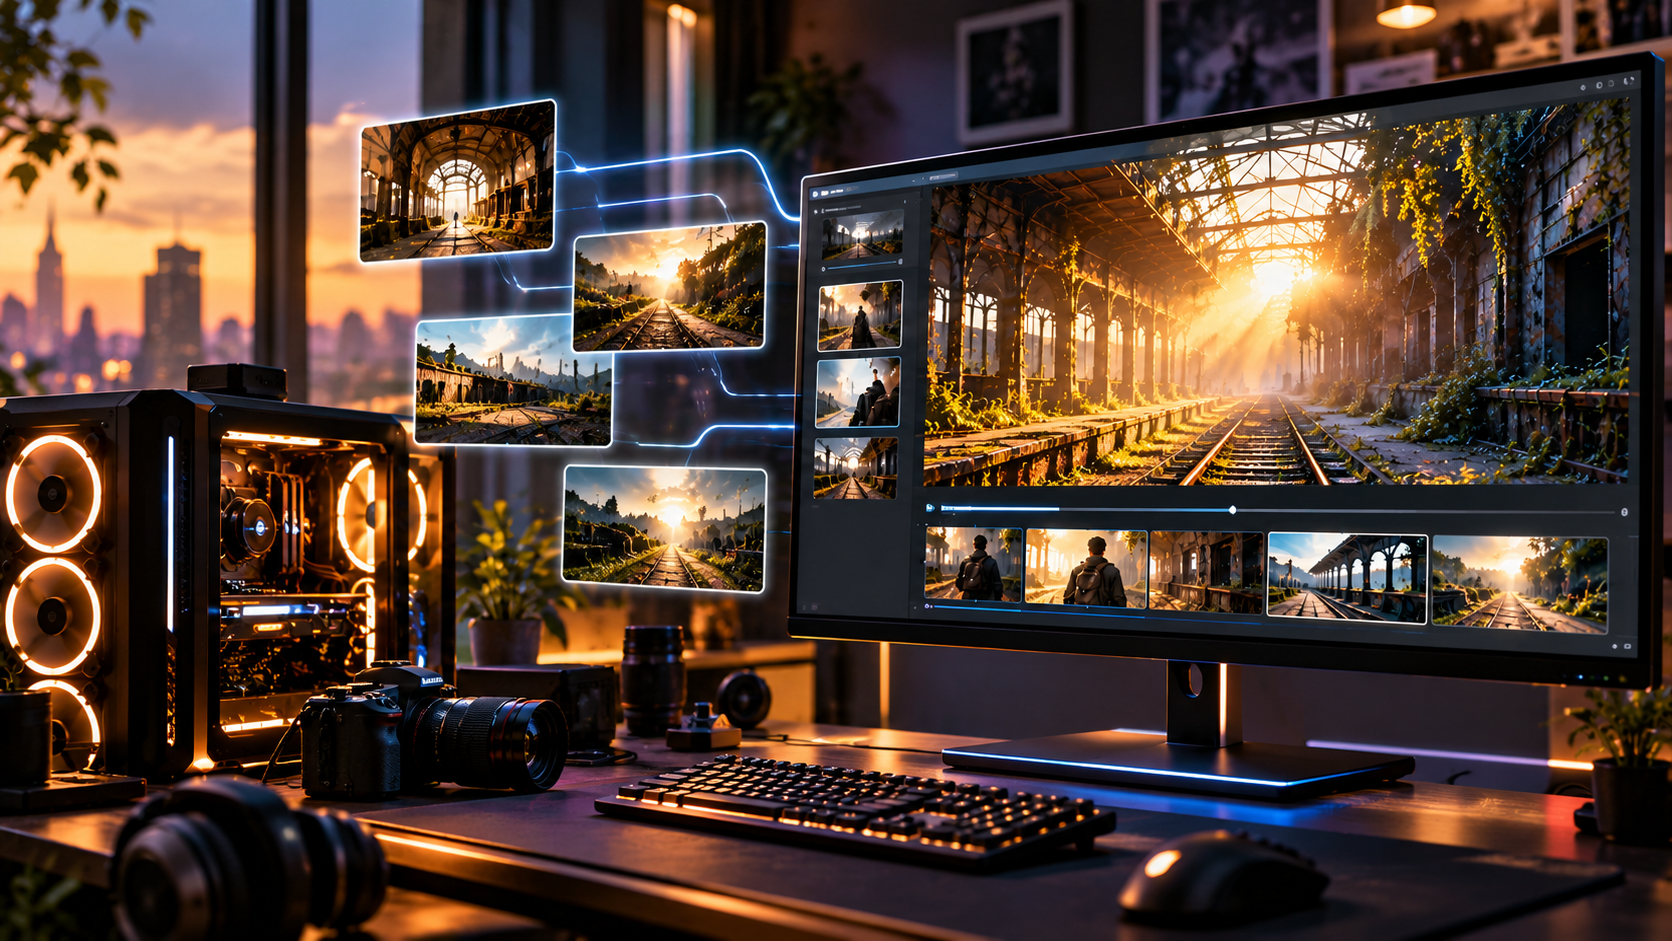
For example, you could start with this concept: “Create a cinematic short film about a young photographer exploring an abandoned railway station.”
Next, break the story into individual shots. Consider which camera angles, lighting conditions, and movements would communicate each moment effectively. Where AI-assisted planning is available, use it to develop your initial concept into more detailed scene descriptions.
Review the storyboard before generating videos. Check that each scene contributes to the story and connects logically to the next. Identify missing shots and remove unnecessary moments.
Pro tip: Start with a short story containing three to five scenes. This gives you enough material to practice planning, generation, and editing without making your first project unnecessarily complicated.
2. Use Images as Ingredients for Character Consistency
Keeping characters consistent across multiple AI-generated shots can be difficult. A character’s face, hairstyle, clothing, or other features may change between generations. Google’s Flow includes an ingredients-based workflow that can help guide the appearance of characters and objects using reference images. Understanding how AI generates images can also help you learn how these visual assets are created.
Start by selecting or generating a clear image of your main character. Use it as an ingredient when creating related shots, where supported. You can also use reference images to guide the appearance of objects, locations, and visual styles.
Describe important character details consistently in your prompts. Include features such as clothing, hairstyle, age, and distinctive accessories. Avoid introducing conflicting descriptions that could confuse the model.
Reference images can improve consistency, but they do not guarantee identical results in every frame. Review each generation and correct noticeable differences before assembling your final sequence.
Pro tip: Create a small reference library for recurring characters and important objects. Reusing suitable references makes it easier to maintain a consistent visual direction throughout your project.
3. Define Start and End Frames for Better Video Control
Controlling how a video begins and ends can make AI-generated scenes easier to direct. Flow’s Frames to Video feature allows you to use start and end images to guide the composition and progression of a clip.
For example, imagine creating a cinematic product video. The opening frame shows a close-up of a watch resting on a table. The ending frame reveals the entire display as the camera pulls back. These images establish the intended visual endpoints and help guide the generated movement.
Choose reference frames that support a believable transition. If the subject, lighting, or background changes dramatically between the images, the resulting movement may appear unnatural.
When getting started with Flow, experiment with simple transitions before attempting complex camera movements. Generate a short clip, review the motion, and adjust your prompts or reference images when necessary.
Pro tip: Use start and end frames when you need greater control over a specific visual transition. For shots that require more creative freedom, a well-written text prompt may be sufficient.
4. Extend and Refine Clips Instead of Starting Over
Your first video generation may have the right composition but insufficient duration. Alternatively, the action might end too quickly or need additional movement. Instead of recreating the entire shot, explore Flow’s Extend feature when you want to continue an existing clip.
Extending a clip can help you develop an action, reveal more of a location, or give a cinematic moment additional breathing room. However, review the extended footage carefully. Changes in character appearance, movement, or lighting can affect continuity.
You can also refine your sequence by trimming unwanted moments, reordering shots, and arranging clips into a more coherent narrative. Remove unnecessary pauses and ensure that each shot serves a clear purpose.
Avoid regenerating footage that already meets your requirements. Make targeted adjustments whenever possible, especially when only one part of the scene needs improvement.
Pro tip: Review each clip before deciding whether to extend, trim, or regenerate it. This approach helps you make better use of available generation credits and spend more time improving the final story.
5. Build a Coherent Story With Scenebuilder
Generating individual clips is only one part of AI filmmaking. You also need to arrange those clips into a sequence that makes sense to viewers. Google’s Flow includes Scenebuilder, which helps you organize generated clips and develop connected scenes.
Start by arranging your strongest shots in narrative order. Give your story a clear beginning, middle, and ending. Then review how each shot connects to the next.
Pay attention to character appearance, movement, lighting, and changes in location. A sudden change in a character’s clothing or an inconsistent background can distract viewers. Use suitable reference ingredients when generating additional shots that need to resemble earlier scenes.
Scenebuilder helps organize your sequence, but it cannot guarantee perfect narrative continuity. You still need to evaluate pacing, transitions, and the overall story.
Pro tip: Watch the assembled sequence from beginning to end before making final decisions. Identify confusing transitions, repetitive shots, and scenes that interrupt the story’s flow. Revise individual clips where necessary.
What Are the Best Prompts for Google Flow?
The best Google Flow prompts describe a specific visual outcome rather than relying on vague adjectives. Include the main subject, its action, the environment, lighting, camera movement, and desired visual style. These details give the model clearer creative direction. Understanding how AI-generated videos work can also help you make more informed decisions when writing prompts and refining your results.
For example, instead of writing “a cool compass,” try this prompt:
Cinematic close-up of an antique brass compass resting on wet granite, soft morning mist drifting across the surface, warm natural light reflecting off the metal, slow camera push-in, realistic textures, shallow depth of field.
This prompt identifies the subject, setting, lighting, and camera movement. You can also describe the mood, framing, and motion when relevant.
Use this simple prompt structure:
- Subject: What should appear in the scene?
- Action: What should the subject do?
- Environment: Where does the scene take place?
- Cinematography: What camera angle or movement should be used?
- Visual style: Should the result look realistic, documentary-inspired, or cinematic?
Clear instructions usually work better than long lists of unrelated adjectives. When using reference images, ensure your written instructions complement the images rather than contradicting them.
How to Learn Flow AI Effectively
The best way to learn Google Flow is through regular, hands-on practice. Tutorials can introduce useful techniques, but generating your own clips helps you understand how prompts and references affect the results.
Follow this learning sequence:
- Explore the interface: Learn how to create projects, enter prompts, select available models, and review clips.
- Practice simple prompts: Generate short scenes featuring one subject and one clearly defined action.
- Experiment with cinematography: Test different camera angles, lighting conditions, and movement instructions.
- Explore reference images: Learn how ingredients and start or end frames guide supported generations.
- Build a short sequence: Arrange related clips and evaluate how well they work together.
Keep a record of successful prompts and the changes you make. This creates a personal reference library that becomes more useful as your skills improve.
You can also use Gemini to brainstorm story ideas, refine prompts, and explore alternative scene descriptions. Treat its suggestions as starting points and evaluate the generated footage carefully.
If you’re getting started with Flow for the first time, focus on mastering one feature before exploring more complicated workflows. Consistent practice will help you identify which techniques work best for your projects.
Can Google Flow Create a Film Using AI?
Yes, getting started with Flow can help you create an AI-assisted film by generating video clips and arranging them into a sequence. Google Flow supports text-to-video generation, reference-based creation, and tools for organizing scenes. These features make AI filmmaking with Google Flow more accessible, although available models and capabilities may vary by account. Before starting your project, check the features available in your account to plan your workflow effectively.
However, generating individual clips is not the same as producing a complete film. You still need a coherent story, suitable shot selection, consistent characters, and effective pacing. Longer projects may also require additional editing, sound design, and color correction. If you plan to publish or monetize your finished film, review what you need to know about AI and copyright before using generated content commercially.
A practical AI filmmaking workflow includes these steps:
- Develop the story: Write a script with a clear beginning, middle, and ending.
- Plan the shots: Decide which scenes, camera angles, and transitions the story requires.
- Prepare references: Establish the appearance of recurring characters, objects, and locations.
- Generate the clips: Create and refine individual shots using suitable prompts and references.
- Arrange the sequence: Use Scenebuilder to organize clips into a connected scene.
- Polish the film: Review continuity, pacing, dialogue, and audio. Use additional editing tools when necessary.
Flow can support much of this process, but creative direction and quality control remain essential.
Which AI Is Best for Filmmaking?
The best AI filmmaking tool depends on your production goals, budget, and preferred workflow. No single platform is ideal for every stage of production. Comparing free AI video generators and their available features can help you find a suitable starting point before investing in paid filmmaking tools.
Google Flow is worth considering when you want to develop AI-generated scenes and organize related clips. Other platforms can complement it when your project requires additional creative capabilities.
Here are several tools to consider:
- Google Flow and Veo: Useful for generating cinematic clips and developing visual sequences.
- Runway: An option to explore for AI video generation and creative editing.
- Sora: A generative video option to evaluate based on current availability and features.
- Midjourney: Useful for concept art, mood boards, visual references, and character exploration.
- ElevenLabs: Useful for synthetic voices, narration, and audio production.
For beginners, using one primary video tool is often easier than managing several platforms immediately. Add specialized tools only when they solve a specific production problem. This keeps your workflow manageable and makes it easier to assess the quality of your results.
Conclusion
Getting started with Flow is easier when you approach AI filmmaking with a clear plan and realistic expectations. Storyboarding, reference images, start and end frames, clip extension, and Scenebuilder can help you develop more organized visual projects.
Begin with a simple idea, experiment with prompts, and refine your clips one step at a time. As you gain experience, you’ll learn how to guide characters, control visual composition, and connect individual shots into a coherent story.
Remember that AI tools can simplify video production, but strong storytelling and careful editing still matter. The key to getting started with Flow is to practice consistently, learn from each generation, and build a workflow that suits your creative goals.