Learn beading with us: Trying your handiwork
Because of the numerous distinct designs, you can learn with relatively simple components, beadwork is a popular craft.
Beading often entails stringing beads onto a line or using a loom to weave patterns out of beads. There are numerous different beading techniques, and the patterns you can use range greatly in complexity. Whichever method you choose, to bead involves only the right tools and a little work.
Planning the bead jewelry to learn beading

Image via Unsplash.com
The art of beading is incredibly versatile. You may create keychains, earrings, rings, necklaces, earrings, and more with beads! The method for stringing a straightforward beaded bracelet will be explained in order to serve as a guided example.
Designing your jewellery
The ideal pattern for novices is probably one that employs identical-sized beads in alternate colors. This will avoid any issues arising from the line’s thickness and beads width. However, varying sizes, shapes, and colors can give your design more diversity.
Make sure your beads don’t have any sharp edges. Wearers of bracelets and necklaces with pointed beads may find them uncomfortable.
Collect necessary items: learn beading

Image via Unsplash.com
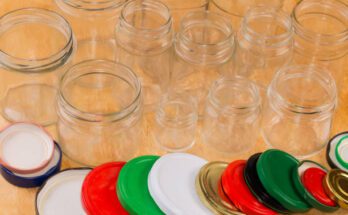
The majority of beading supplies can be purchased at your neighborhood craft store or even in the school supply or craft area of larger retailers. By comparing the beads’ thickness given on the box of your beads with the thickness listed on the wire packaging, you can quickly determine how thick your line should be in relation to how thick your beads should be. Along with these, you’ll also require:
- (Many, similar-sized beads)
- Beading line (such as nylon needle-end cord, silk cord and fishing line)
- Clasp (1)
- Overlap the beads tips.
- Jump ring (1)
- circular-nosed pliers
- Scissors
Arranging your workplace
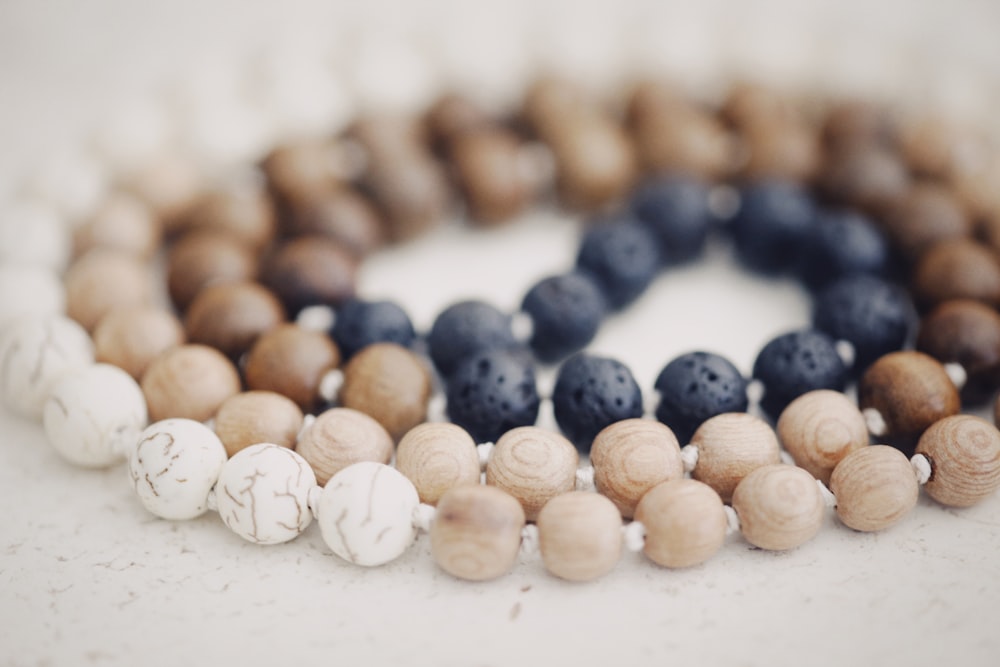
Image via Unsplash.com
Beads might be knocked over and scissors can go lost in a busy workspace. If you are working on a hard surface, you might want to lay down a towel or piece of cloth first. As a result, runaway beads will be prevented since beads can nest inside the fabric.
You can use rimmed beads trays and adhesive beads mats to keep your beads organized for more complicated beading projects.
Outlining the pattern: learn beading
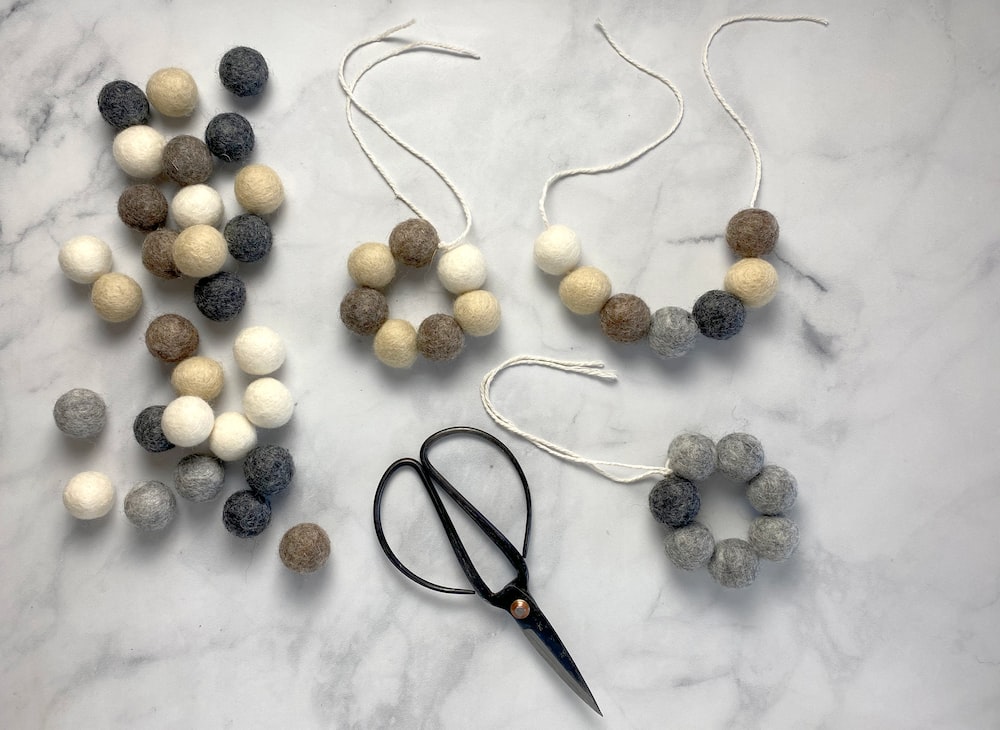
You should now arrange your beads in the manner that you had previously envisioned. This will give you a better idea of the length of your jewelry and a sneak peek at the design you have chosen.
Simple designs are best for projects with shorter durations. Long, detailed, or complicated patterns are typically not appropriate for beaded rings or bracelets.
By organizing your beads in advance, you may expedite the procedure and avoid wasting time looking through your beads container for a certain beads.
Length of your jewelry
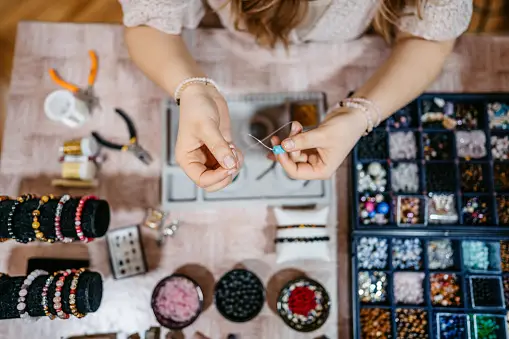
Image via Unsplash.com
The beading line you use should be longer than the length you are aiming for. As a result, you will have extra line available in case you mess up or need to tie a knot. Additionally, extra line will make working with the ends of your jewelry easier since many designs include clasps.
By holding your line up to the portion of the body it is supposed to be worn on, you may determine the proper length of your jewelry for your project.
To get the most exact sense of the length of line you’ll need, you might need to wrap your line around the affected body area.
Cutting desired length: learn beading
Cut your cord with wire cutters so that it is about 3″ (7.6 cm) longer than the desired length for your bracelet. By lining up your string with the length markers on the beads board, you may more precisely measure the length of your line.
You might choose to thread your beads on elastic cord so they can stretch to fit the wearer if you intend to make your bracelet or other beaded jewelry without a clasp.
Make sure your line, if you’re using a non-elastic one, is large enough to cover the widest area of the body part the jewelry is meant to be worn on. The bracelet can be put on and taken off in this manner.
Tying bead to one end: try beading

Image via Unsplash.com
Tie one beads among the other around 1″ (2.5 cm) from the end of the cord using an overhand or square knot to stop beads from falling off. Lightly tighten the knot to hold the beads in place, but leave it loose enough so that you may take it off and reuse it at a later time.
String beads from another end
To meet the stopper-beads you have connected to the knotted end, slide your beads down the length of your line. You should begin adding beads from your pattern in sequence, from one end of the pattern to the other, as this is where your pattern will be put to the cord.
Checking length

Image via Unsplash.com
When beading, it’s simple to get carried away! You can verify the length by draping your jewelry across the body part it is designed for if you believe you’ve gone too far. Hold the bracelet at the loose end in the case of the guided example to prevent losing any beads and make sure the pattern extends all the way around the wrist.
Feel free to change the number of beads as needed.
Knot the end together: try beading
Finish the ends of your bracelet by tying a surgeon’s knot if you have chosen not to use a clasp to connect the ends. To tie this easy knot, follow these directions:
- using both ends of your line, form a loop.
- Feeding the ends up and through the loop.
- Taking the ends through the loop and back around the top of the loop.
- tightening the knot by pulling the ends.
- The knot can be made more stronger by adding some superglue to it (optional).
- After the adhesive has dried, cut the cord ends with scissors.
Check the results: try beading

Image via Unsplash.com
Wrap your wrist in the bracelet, then attach the clasp to the jump ring. Check the length by donning it for a day to make sure it’s adequate. Moreover, you might wish to undo the end knot and make any modifications if the bracelet slips off your hand, is too loose, or is too tight.
Use your scissors to trim any remaining line after you are satisfied your bracelet is complete.
USEFUL LINKS:
Click here to know more about beading
How to work with an interior designer