

Indoor Photoshoot Made easy with these amazing tips
Outdoor photography can be a photographer’s dream, while indoor photography can be their worst nightmare. But it’s not necessary to be! We have made indoor photoshoot easy for you.
Although the camera’s sensor can’t see as well as your eyes can, there are a few strategies you may use to get past this drawback. So, take your camera indoors, read our suggestions for indoor photography, and get shooting!
Use higher ISO during indoor photography

Image via Unsplash.com
The sensitivity of the camera sensor to light is how most photographers refer to ISO. Even if this isn’t quite correct, it is a helpful method to approach indoor photography.
You’ll probably notice that the image is quite dark if you take a photo indoors at the default ISO of 100. The quickest and simplest solution is to raise the ISO, which greatly boosts the brightness of your photo.
Unfortunately, there is a drawback to adopting a high ISO. Since the ISO is actually boosting the brightness of the captured pixel, sometimes it does so too much, which causes the dreaded noise to appear in your picture. Don’t push your ISO too high because the objective is to minimize noise while still retaining an appropriate exposure.
Wide aperture lens for indoor photography
You must change your aperture and shutter speed in order to maintain low ISO levels and minimize noise.
The aperture is a hole in the lens that regulates the amount of light that enters (or exits) your sensor.
Due to the overall lack of light, you’ll need a lens with a wide aperture for interior photography. The widest aperture you can obtain with an autofocus lens is f/1.2, which is a genuine gem for indoor photography.
Lenses with stable image

Image via Unsplash.com
Another useful function that your lens and camera combination can have is picture stabilization. Your equipment likely includes image stabilization technology, which helps lessen motion blur brought on by camera wobble.
This enables you to maintain a slow shutter speed (while still getting sharp pictures!).
Shutter speeds for interior photography should be slower than they would be for bright-light outdoor photography. However, you should check to see if your slow shutter speed will result in camera shake if you have to use your camera handed.
A still setup during indoor photography
Even image stabilization won’t help you if you’re taking pictures in a very gloomy environment. In order to snap the picture, you’ll need to buy a tripod and a remote control.
You can set your shutter speed significantly slower than if you were holding the camera by mounting it on a tripod. If you use a remote release to open the shutter, you won’t even need to push the shutter button to take the picture!
Burst mode for faster shutter speed

Image via Unsplash.com
A tripod is excellent, but what if you want to take pictures of a moving subject, like a moving person or pet? There, a slow shutter speed is useless.
Here’s a little-known fact: By setting the camera to burst mode or high-speed continuous shooting, you may compensate for some slower shutter rates.
Burst mode enables you to press the shutter button while simultaneously taking as many pictures as you can. This is where the frames per second (FPS) capabilities of a camera are useful. It refers to the number of photos a camera can take every second.
Take care of white balance adjustment
The quickest and most efficient fix for inaccurate color rendition in indoor photography is to change the white balance.
When using the available light to take pictures indoors, the lighting output occasionally can look warm or cold (or downright strange, as with fluorescent lights). You’ll need to adjust your white balance settings to get the colors back where you want them. Colors are neutralized by the white balance to produce a more realistic picture.
Ambient light of your indoor
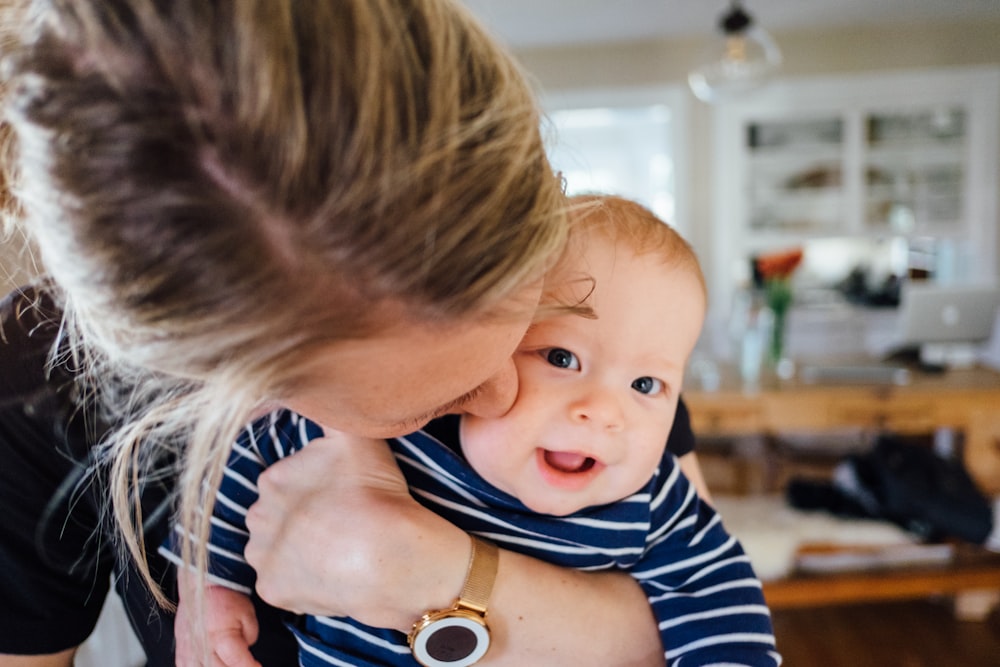
Image via Unsplash.com
Ambient lighting is illumination that comes from windows or other natural sources, such as a lamp. Because it keeps the atmosphere, purpose, and real story of your setting, ambient lighting is fantastic for indoor photography.
A window provides the most practical and convenient ambient light. In particular, place your subject near a window if you’re taking a picture of a moving object.
If you have white or light-colored sheer curtains, they can help soften the window’s light and give additional diffuser. Most subjects look beautiful in this uniform lighting.
Shooting in indoor at the best time of the day
In fact, there are specific times of day that are ideal for taking interior photos (or photos that suit a particular mood).
One such time is midday. While midday lighting might be disastrous for outside photography, it is ideal for indoor photography. The strong lighting significantly improves your shot.
A gorgeous, golden light that is both fanciful and whimsical can also fill your indoor frame during the golden hour, which is the period of time between sunrise and sunset. Whether your photography is inside or outside, golden hour light is generally flattering.
Artificial intelligence is feasible too
Use artificial light if the ambient or natural light isn’t working brilliantly for the picture you want to take! To add more light to a room, use a flash, strobe, or continuous lighting source.
Additionally, keeping your ISO levels low and shutter speeds quick will result in much more user-friendly camera settings. Just be aware that strobes and flashes are preferable for lowering your ISO because continuous light is less potent.
Make cautious not to point your flash or strobe straight at your subject if you’re using one. Directly aiming at your subject will produce an unpleasant and harsh light. Instead, aim the lighting fixture at a wall or ceiling to reflect the light.
Your topic will be illuminated in a much more organic and natural way when this light is reflected.
Shooting against window

Image via Unsplash.com
Whether you want to believe it or not, you can photograph people up against a window. It can be challenging to get the right exposure, though. Your window will be an overexposed dazzling white if you expose for the topic. A window exposure will result in a too-dark subject. What a conundrum!
Accepting the phenomenon that occurs is sometimes the best course of action! Allow your subject to seem silhouetted against the window’s light. This look is incredibly passionate and appealing since it is so expressive.