
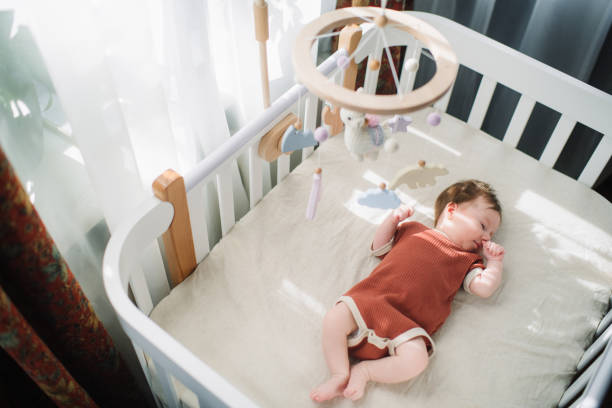
Directly converting your child’s cot into a toddler bed can help you save time and money when it comes time to upgrade your child’s sleeping arrangements. Using a universal guardrail is the most straightforward choice. You can trim down one of the current sides to make a toddler railing if that won’t work or if you want to take on a more challenging project.
 (Photo from istock)
Following are a few steps by which you can make your own DIY toddler bed:
-
STEP 1: Choosing a guardrail
You’ll need to buy a separate rail unless your child’s crib already has a toddler bed rail. The railings on toddler beds are shorter and lower than those on cot sides. While your toddler should be able to climb in and out of bed without help, the rail should stop him or her from unintentionally rolling out while still asleep.
Typically, a universal toddler guardrail kit will be your best choice. The package will also include the metal brackets and screws you’ll need to attach the rail, and the rail itself should fit the majority of cribs that have lately been built.
-
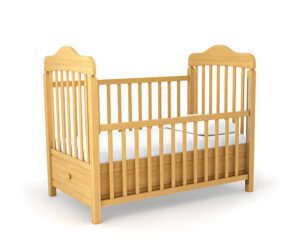
STEP 2: Remove unwanted side of crib
The screws keeping one side of the cot in place can be removed with a manual or electric screwdriver. You ought to be able to completely lift the side away after removing the screws. Depending on the brand and model of the crib, the precise installation will vary, but normally there will be a number of screws along the left and right posts of the crib side.
Most of the time, just one side of the cot needs to be removed. If you decide to remove both sides, you’ll need to put one side of the bed up against a wall or add a toddler rail on either side. Please take note that only convertible cribs will function with this. This method of conversion is not applicable to stationary cribs because they lack detachable sides.
-
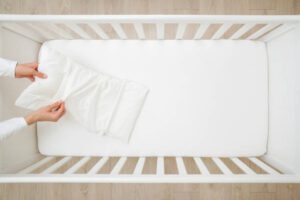
STEP 3: You can remove bedding
Remove the bedding and mattress from the cot before starting since you’ll need access to the bottom slats of the bed to attach the guardrail.
Lay away the bedding. You should be able to utilize the same mattress and sheets because when you convert the bed, its measurements won’t change.
If you need to access the bottom slats to remove a side of the crib, take the mattress and bedding off first. It will be simpler to do this step after you’ve already removed one side of the crib.
-
STEP 4: Put the brackets on the rail
 (Photo from istock)
Each rail post should have an L-bracket placed inside of it. With the use of screws and a screwdriver, secure the brackets to the posts.
If you need to purchase additional hardware, pick 2 inch (5 cm) or 3 inch (7.6 cm) corner brackets with four mounting holes and 1 inch (2.5 cm) long Phillips-head screws. Guardrail kits should already come with the appropriate L-brackets and screws.
One bracket must be installed on each of the two guardrail posts.
Place the bracket so that its foot is flush with the underside of the post. The centre of the post should be lined up with the vertical portion of the bracket. To attach the bracket to the post, use two screws.
-
STEP 5: Placing of the rail
Position the guardrail over the exposed side of the bed by raising it. Hold the rail so that the attached brackets and end posts align with the two distinct bed slats.
Try to leave a gap between the rail and the headboard of around 9 inches (23 cm). Additionally, you should allow a gap of 9 inches (23 cm) between the rail and the foot-board.
Your child will find it simpler to enter and exit the bed if you provide this much room on either side of the rail.
-
STEP 6 Adjust the Height according to the toddler
. Your selection will determine the toddler bed’s final height. Set the base and sides to their highest positions to make a toddler bed in the loft style. If you choose a loft-style bed, keep in mind that you’ll also need to build a ladder for your child to utilize.
Set the base and sides to their lowest positions to produce a typical toddler bed that won’t need a ladder.
-
STEP 7 Attach the trail to the bed
Install two screws into the appropriate slat rolls at the foot of the bed through the remaining holes in each bracket while maintaining stability of the rail.
Each bracket requires two screws to be used. For the best level of security, try to maintain the bracket cantered along each appropriate slat.
Ensure that the brackets can be held firmly in place by the screws being tight. When finished, make an effort to move the rail. The guardrail must remain stationary.
-
STEP 8: Trim the unused wood to fit toddler
The slats of the removed railing can be reduced using a saw. These slats’ new length should roughly correspond to the size of the opening you made in the bed’s side.
Keep in mind that this is only necessary if you intend to build a ladder for a toddler bed in the loft type. These freshly cut slats will serve as the ladder’s rungs or steps.
Make sure your child can use the steps by making sure they are big enough. The length of each slat must likewise be the same.
-
STEP 9: Make the for toddler Bed
 (Photo from istock)
Restore the mattress to the bed after the guardrail has been installed. If necessary, cover it with sheets, blankets, and pillows. The toddler bed ought to be usable at this point.
Be aware that you need apply the identical procedures utilized for the initial rail installation if you need to install a second rail on the opposite side of the bed. Before returning the mattress and sheets, install the two rails.
Hence, these are a few helpful easy steps you can use to make a DIY toddler bed.
References:
wikiHow
Looking for perfect age gap between siblings, click on the link below for some prior knowledge:
What should be siblings ideal age gap?


One Comment on “Building a toddler Bed from scratch”