Photo Craft Projects Your Kids Will Love
Kids like being artistically inclined. Arts and craft activities are a terrific way to keep kids occupied for a while also getting them to have fun and exercise their creative muscles, whether it’s finger painting on a Saturday morning or a new spaghetti portrait of the dog. Art and craft keep your kids entertain.
Incorporating your most recent images into your child’s next arts and crafts project is the ideal method to achieve this if you constantly take photos and are seeking for new ways to display them.
Arrange your memories into a frame: craft buddies
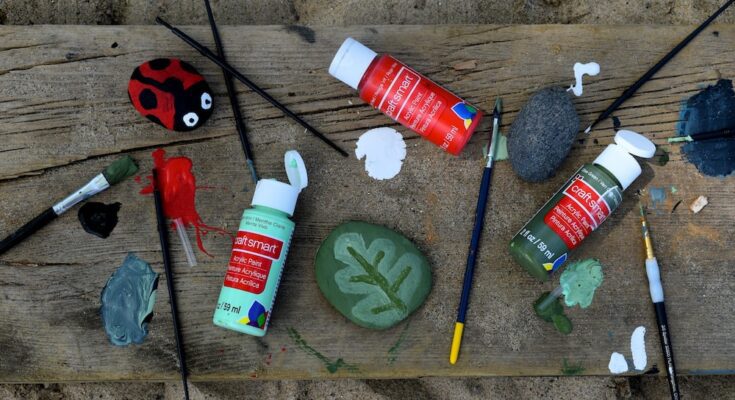
IMAGE CREDITS: Unsplash.com
There are many enjoyable frames you can create with your kids to use to display your favorite pictures. When you go on your next vacation, make it a point to bring back some shells that can be utilized to form a gorgeous frame. Pick up some noodles, glue them to a frame, and decorate it with paint fingerprints if you want! Have fun with it!
Creating a jigsaw puzzle: craft buddies
Select a favorite photo, make it larger, and print it. Put the photo on a piece of solid cardboard, then spray it with acrylic to protect it. Let your child put the photo back together by cutting out some puzzle pieces. Additionally, many online stores like Shutterfly provide puzzles constructed from your images; you may find one for toddlers HERE!
A fridge magnet
Encourage your child to sketch something from their imagination while still leaving room for a photo. Create a quick photo frame for your fridge by laminating the drawing and adding magnetic sheets or tape on the back.
Make a pretend mobile
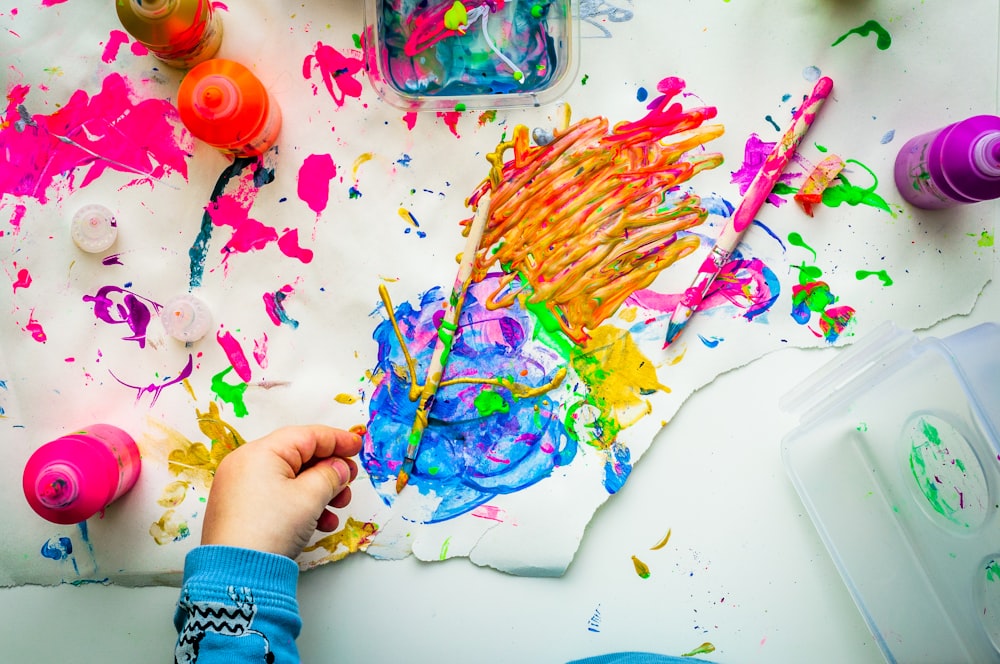
IMAGE CREDITS: Unsplash.com
Your family tree can be displayed in an original way on a mobile. Check out Pinterest and other similar websites for ideas. There are many imaginative templates available.
The ideal strategy to strengthen your relationship with your youngster and share some priceless memories is to use family photos in your upcoming arts and crafts activity. A wonderful time!
A to Z photo challenge: craft buddies
Give the kids cameras, and instruct them to take pictures of objects that correspond to each of the 26 letters of the alphabet as they explore the house or garden. TIP: The item may either begin with the required letter or resemble that letter. Create chic art prints that they may display in their rooms with the finished product.
Expressing through photos
While they are still young, teach the kids the virtue of thankfulness. Encourage them to take pictures of everything they are thankful for as they walk around the house or outside. Include the images in a classic photo album as a constant reminder of the things that brought them joy and gratitude.
‘A day in the life of’
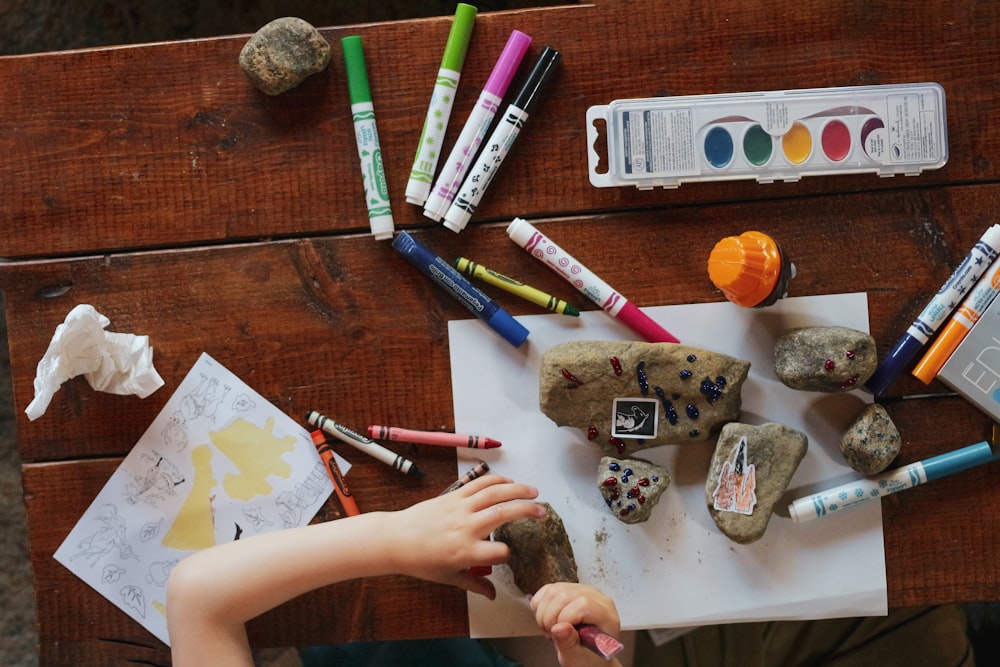
IMAGE CREDITS: Unsplash.com
Give the kids the task of creating a photo gallery depicting “a day in their life.” They will document the minute details of their day, slowing down to soak it all in, from morning until night. Once everything is finished, you can compile the images into a stunning Photo Book, adding a time stamp and any information using the text tool of any Design Studio. Bring the book out a year from now to see how much has changed.
Your own toy story
Encourage your children’s imaginations by letting them narrate their very own toy narrative. As you take pictures and they describe the events, let them create “scenes” for the toys. Then you can upload your images using any Design Studio to make a unique childhood narrative book that future generations will adore.
A natural collage
For the first step in this art project, print out a full-body photo of your child (ours is 8.5 by 11 inches). After that, go on a walk outside to collect “natural art supplies” from the surroundings, such as leaves, twigs, flowers, and bark. Create a special collage to hang in your home after you get home and glue the things to the picture.
Kaleidoscope collage: craft buddies
Prepare to create this colorful kaleidoscope by grabbing some poster board or a sizable canvas! Make a mixture of 12 cup craft glue and 14 cup water first. Brush some of the glue mixture onto the poster after your child has drawn a significant shape (such as a square or circle). Squares of tissue paper should be applied to the wet board, additional glue should be brushed over them, and so on until the shape is covered.
We suggest finishing this task outside on a flat surface to avoid messy leaking (but watch the wind!).
Pastel scribbles: craft buddies
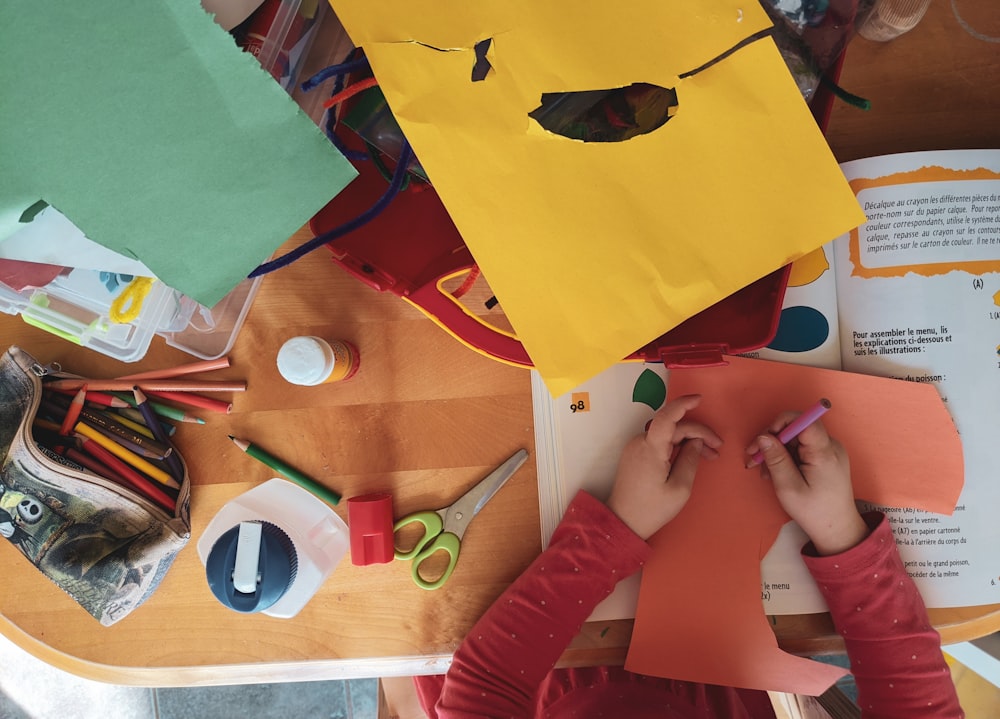
IMAGE CREDITS: Unsplash.com
Do you need a toddler art project? This painting is abstract, so it might work. Collect one sheet of white paper, oil pastels, tape, watercolor paints, paintbrushes, and water.
Have your child use oil pastels to completely cover the paper after taping it down to a surface. After that, students can paint the paper using watercolors that have been diluted. Pastel colors will easily show through painted surfaces.
Salt water color
Do you need a toddler art project? This painting is abstract, so it might work. Collect one sheet of white paper, oil pastels, tape, watercolor paints, paintbrushes, and water.
Have your child use oil pastels to completely cover the paper after taping it down to a surface. After that, students can paint the paper using watercolors that have been diluted. Pastel colors will easily show through painted surfaces.
A simple silhouette
IMAGE CREDITS: Unsplash.com
With just a few basic materials, your youngster may quickly recreate their own silhouette! Take a side view photo of their head, increase it to the necessary size, and print the black-and-white image. Place the image on a piece of black paper, then cut around the head and shoulders, making sure to cut both the photo paper and the black paper with the scissors. Place the silhouette in a frame for exhibition after adhering it to fabric or patterned card stock.

