
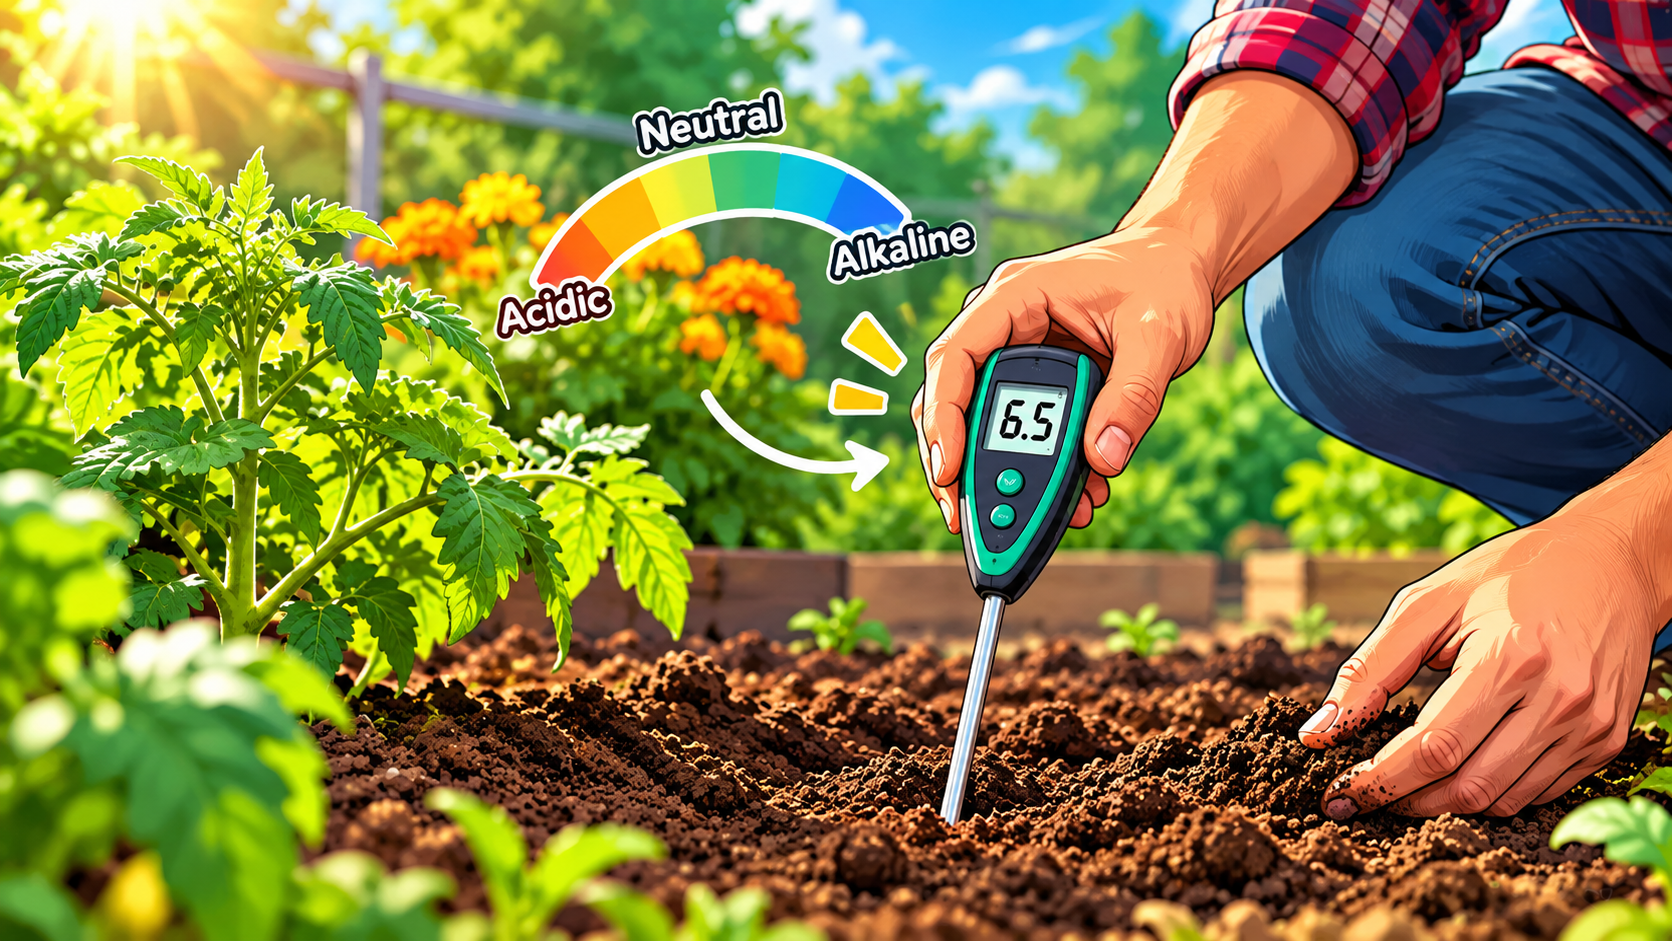
How to Test Garden Soil pH and Balance It at Home
Healthy, productive plants start with healthy soil. However, many gardeners overlook the chemistry beneath their feet. Learning how to test garden soil pH helps you understand whether your plants can absorb essential nutrients. Soil acidity and alkalinity directly affect nutrient availability, root development, and beneficial microbial activity.
Even when you use premium organic fertilizers, unsuitable soil pH can prevent plants from absorbing important minerals. According to the USDA Natural Resources Conservation Service, soil pH influences nutrient solubility and supports healthy soil processes.
Understanding your soil’s pH can make gardening more predictable. When soil becomes too acidic or alkaline, plants may develop yellow leaves, weak growth, and disappointing harvests. Regular testing helps identify these problems before they affect your entire garden.
This practical guide explains how to test garden soil pH using different methods. You’ll discover reliable home testing options, including digital meters and chemical test kits. We’ll also examine DIY vinegar and baking soda tests, explain how to increase soil pH safely, and discuss which soil testers are worth considering.
What is the best way to test soil pH at home?
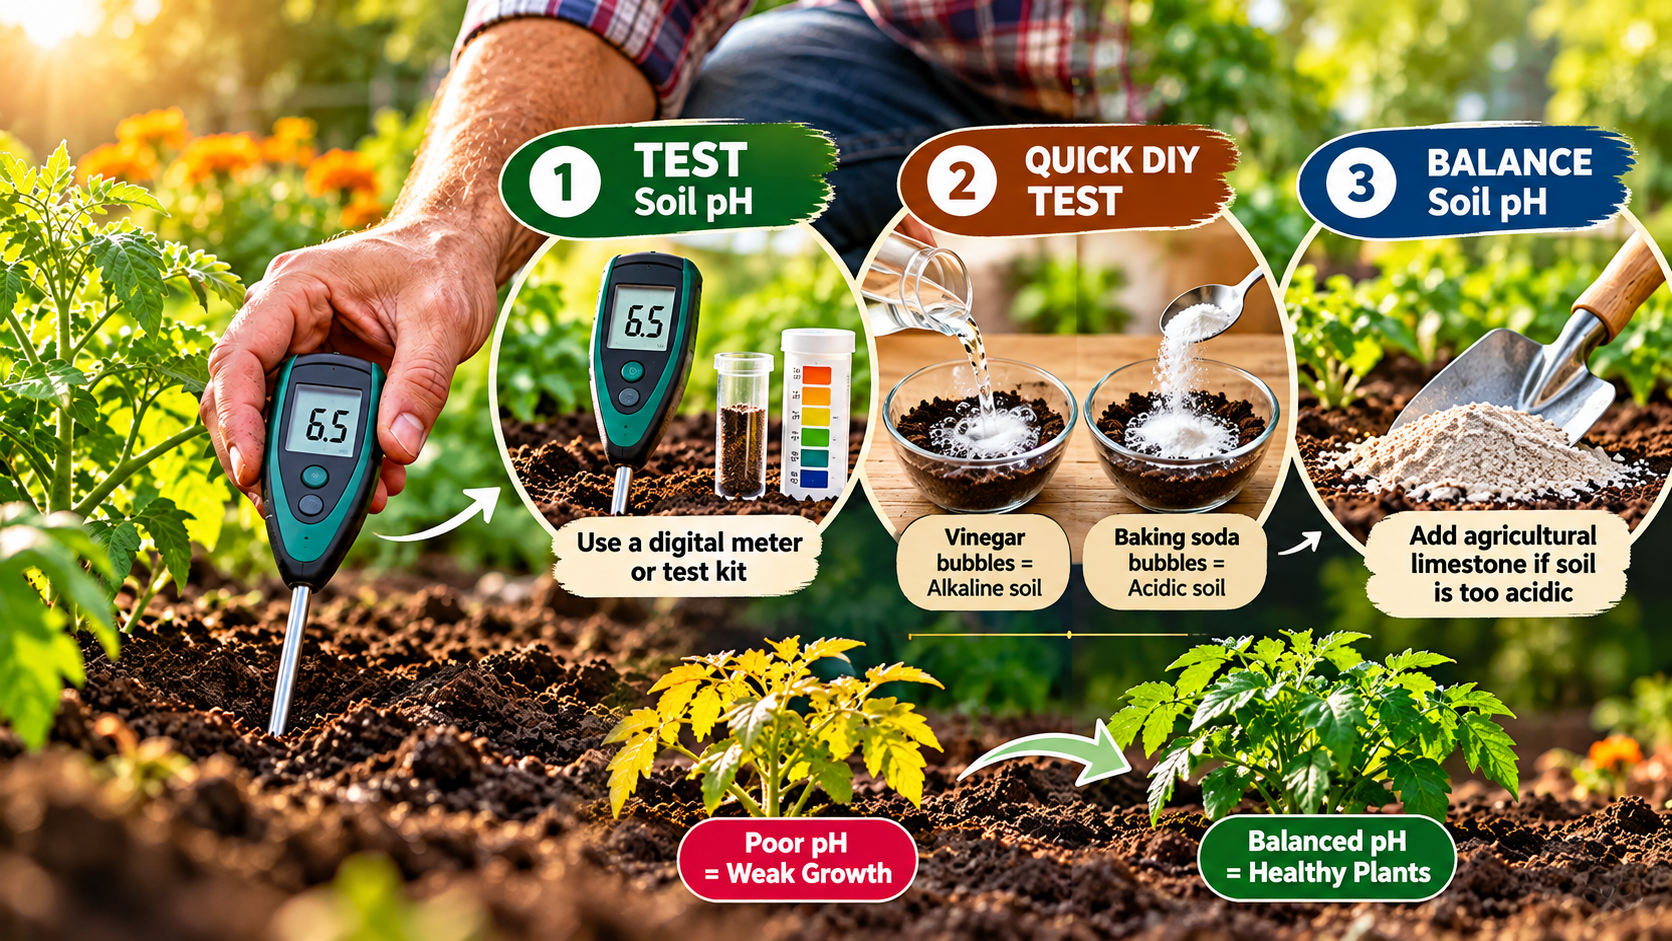
The most dependable way to test garden soil pH at home is with a quality digital pH meter or chemical soil testing kit. Digital meters measure the acidity or alkalinity of a prepared soil sample. Chemical kits use indicator solutions or test strips to produce a color-based reading. Both methods can help you understand your soil’s condition when used correctly.
Start by collecting soil samples from several locations across your garden. Dig approximately six inches deep, removing surface mulch and loose debris. Combine the samples in a clean plastic container and mix them thoroughly. Follow your testing kit’s instructions for preparing the soil-water mixture. Distilled water is generally recommended because dissolved minerals in tap water can influence results.
Testing several locations provides a more representative picture of your garden. For particularly important planting decisions, consider sending a sample to a professional soil testing laboratory.
Preparing Soil Samples for Reliable Results
Proper sample preparation is essential for obtaining useful soil pH readings. Poor sampling techniques can produce misleading results, even when you use an expensive testing device. Therefore, spend time collecting and preparing your samples before starting the test.
Follow these preparation steps:
- Remove surface debris: Clear away mulch, leaves, grass, and other organic materials before collecting soil.
- Use clean tools: Choose a clean stainless steel trowel or soil sampler. Avoid tools contaminated with fertilizers or chemicals.
- Collect samples: Dig approximately six inches deep in several locations throughout your garden bed.
- Mix thoroughly: Combine the collected samples in a clean plastic container.
- Prepare the mixture: Follow your testing kit’s recommended soil-to-water ratio.
Use distilled water when preparing a soil slurry. Allow larger particles to settle if your testing instructions recommend it. Then measure the sample using your meter or chemical kit. Repeat the process for separate garden areas with different plants or growing conditions.
How can I test my pH without a tester?
You can try a simple household experiment using white vinegar and baking soda to investigate your soil’s general acidity. This method requires inexpensive ingredients and basic kitchen equipment. However, it cannot provide an accurate numerical pH reading.
Start by collecting soil from your garden and dividing it between two separate, clean bowls. Add distilled water to the first bowl and mix until you create a loose soil slurry. Add a small amount of baking soda and observe the reaction.
For the second bowl, place some soil without adding water. Slowly pour white vinegar over the sample and watch for bubbling or fizzing.
These reactions can provide clues about your soil’s chemical properties. However, they depend on the presence of reactive minerals and other soil components. A lack of fizzing does not confirm neutral soil.
Use this experiment for basic exploration rather than making important soil amendment decisions. A proper soil test remains the better option.
Decoding the Chemical Fizzing Reaction
The vinegar and baking soda experiment relies on simple acid-base reactions. Observing the bubbles can offer clues about your soil’s chemical composition. However, the results should never replace an actual pH measurement.
Here is how to interpret the reactions:
- Vinegar produces bubbles: Your soil may contain calcium carbonate or other alkaline compounds. These substances react with vinegar’s acetic acid and release carbon dioxide.
- Baking soda mixture produces bubbles: Your soil may contain enough acidity to react with the alkaline baking soda solution.
- Neither sample reacts: The experiment cannot determine whether your soil is neutral. It simply means neither reaction produced noticeable fizzing.
Remember that soil composition affects these reactions. Organic matter, carbonate content, and other minerals can influence the outcome.
For a dependable result, use a calibrated pH meter or laboratory soil test. This gives you a numerical reading instead of relying on an uncertain visual reaction.
How to increase the pH of garden soil?
If your soil is too acidic, agricultural limestone is one of the most effective ways to increase garden soil pH. Lime contains calcium carbonate, which neutralizes acidity and gradually raises the soil’s pH. Some products also supply magnesium, depending on their composition.
Before applying lime, test your soil to determine its existing pH. A professional soil test can also identify the recommended application rate. This matters because excessive lime can create nutrient deficiencies and make certain minerals less available to plants.
Apply agricultural lime according to the product instructions or laboratory recommendations. Autumn and early spring are convenient application periods because they allow amendments time to react before planting. However, lime can take several months to produce its full effect.
Soil texture also influences how quickly pH changes. Sandy soils generally require smaller applications, while clay soils may need more lime to achieve similar changes. Retest your soil before applying additional amendments.
Choosing Between Agricultural and Dolomitic Lime
Agricultural lime and dolomitic lime both help increase the pH of acidic garden soil. However, their mineral compositions differ. Choosing the correct product depends on your soil’s calcium and magnesium levels.
Agricultural limestone primarily contains calcium carbonate. It supplies calcium while gradually reducing soil acidity. This option works well when your soil already contains sufficient magnesium.
Dolomitic limestone contains both calcium carbonate and magnesium carbonate. It helps neutralize acidity while supplying additional magnesium. Consider this option when a soil test identifies magnesium deficiency.
Before choosing either product, check your soil test recommendations. Applying dolomitic lime unnecessarily can increase magnesium levels beyond what your plants need.
Spread the recommended quantity evenly across the garden bed. If possible, incorporate the amendment into the upper six inches of soil. Watering afterward can help settle the material, but the actual chemical reaction takes time.
Avoid applying large quantities without testing. Excessive lime can raise pH too much and reduce the availability of essential nutrients.
Why is vinegar used for soil testing?
Vinegar is commonly used in DIY soil testing because it contains acetic acid. This weak acid reacts with alkaline substances, particularly calcium carbonate, which may be present in some garden soils.
When vinegar contacts calcium carbonate, a chemical reaction releases carbon dioxide gas. You can observe this process as visible bubbles or foam. This reaction explains why some soil samples fizz when gardeners pour vinegar over them.
White vinegar is inexpensive and widely available. Therefore, it offers a convenient way to investigate whether soil contains reactive alkaline materials.
However, vinegar cannot measure the exact pH of garden soil. Its reaction depends on the soil’s mineral composition and carbonate content. Some alkaline soils may produce little visible fizzing, while other soil components can influence the result.
Remember that vinegar is a household ingredient, not a calibrated testing solution. It cannot tell you whether your soil has a pH of 7.5 or 8.5.
For accurate measurements, use a dedicated soil pH testing kit or calibrated digital meter.
Does baking soda raise pH in soil?
Baking soda can temporarily increase the pH of an acidic solution because it contains sodium bicarbonate. This compound has mildly alkaline properties and reacts with acids. However, using baking soda as a permanent soil amendment is not recommended.
The main concern is its sodium content. Repeated applications can introduce excessive sodium into garden soil. High sodium levels may damage soil structure, reduce water infiltration, and interfere with normal root development.
These problems can make it harder for plants to absorb water and essential nutrients. Sensitive plants may experience additional stress when sodium accumulates around their roots.
Although baking soda appears in many DIY gardening experiments, it is not a reliable solution for correcting soil acidity. Its effects are difficult to control, particularly when you do not know the existing sodium concentration.
If your garden soil has a low pH, choose agricultural limestone instead. Before applying it, test garden soil pH to determine the existing acidity and calculate the appropriate application rate.
For long-term soil health, avoid experimenting with household chemicals as permanent amendments. Use products specifically designed for agricultural and gardening applications. You can also learn more about building an organic garden from scratch to develop healthier soil and sustainable gardening practices.
What is the best pH soil tester for home gardeners?
The best soil pH tester for home gardeners depends on your accuracy requirements, budget, and testing frequency. A quality digital pH meter or chemical soil testing kit is generally more useful than inexpensive, uncalibrated garden probes.
Digital meters provide numerical readings, making it easier to monitor changes after applying soil amendments. Models from brands such as Bluelab and Apera Instruments offer dedicated pH measurement equipment. However, check the specific model’s intended use before purchasing. Not every pH meter is designed for direct soil measurement.
For more dependable results, prepare a soil-water slurry and use a meter suitable for measuring liquid samples. Calibrate the instrument using the recommended buffer solutions before testing. Follow its cleaning and storage instructions to protect the electrode.
Chemical soil testing kits are another practical option. They typically use indicator solutions or test strips to estimate acidity and alkalinity. Choose a kit that provides clear instructions and an appropriate measurement range.
Avoid relying entirely on cheap, battery-free metal-prong meters. Their readings can vary with soil moisture, contact, and composition.
For serious gardening decisions, a laboratory soil test offers the most comprehensive information about pH and nutrient levels. If you regularly test garden soil pH, a reliable digital meter can also help you monitor long-term changes.
Frequently Asked Questions
What is the ideal soil pH range for most vegetables?
Most backyard vegetables thrive within a slightly acidic to neutral range between 6.0 and 7.0. Within this bracket, essential macro-nutrients like nitrogen, phosphorus, and potassium remain completely soluble in water, allowing tender feeder roots to absorb them efficiently. A few crops, such as blueberries and potatoes, prefer distinctly more acidic conditions.
How often should I test my garden soil?
You should test your garden beds thoroughly every two to three years under normal growing conditions. However, if you are actively amending ground to alter acidity, test once in autumn and again in early spring. Regular monitoring ensures you track gradual amendments without overshooting your target range and shocking sensitive plants.
Can coffee grounds make garden soil more acidic?
Fresh, unbrewed coffee grounds contain natural acids, but spent coffee grounds are nearly neutral, usually registering between 6.5 and 6.8. When spent grounds decompose, soil microorganisms break down the compounds, leaving minimal residual acidity. While spent grounds make a great organic compost addition, they will not noticeably lower your garden’s acidity.
Does rainwater change garden soil acidity over time?
Yes, natural rainwater is naturally slightly acidic, typically resting around 5.6 due to dissolved carbon dioxide forming mild carbonic acid. In regions with heavy annual rainfall, this persistent moisture leaches away soluble alkaline minerals like calcium and magnesium, causing garden soil beds to become progressively more acidic over several growing seasons.
Conclusion
Taking control of your garden begins with understanding the invisible chemical reactions happening beneath your mulch. When you learn how to test garden soil pH, you remove the frustration of treating phantom nutrient deficiencies with unnecessary fertilizers. Whether you start with simple pantry tests to determine broad soil characteristics or invest in an accurate digital probe for exact readings, regular monitoring gives your plants the foundation they deserve.
Balancing your ground takes patience, but the rewards are unmistakable. Spreading agricultural lime sweetens sour ground gradually, restoring healthy microbial colonies and freeing bound nutrients. Avoid fast-acting household shortcuts like baking soda that ruin delicate soil structure with harmful sodium salts. Instead, treat your soil as a living ecosystem that responds best to thoughtful, measured adjustments. Gather your samples, check your baseline values this weekend, and build balanced, nutrient-rich soil that yields vibrant flowers and bountiful garden harvests all season long. For more practical advice, explore how to grow your own food with easy and simple tips.