
USB Not Showing Up on Mac: Common Causes and Simple Fixes
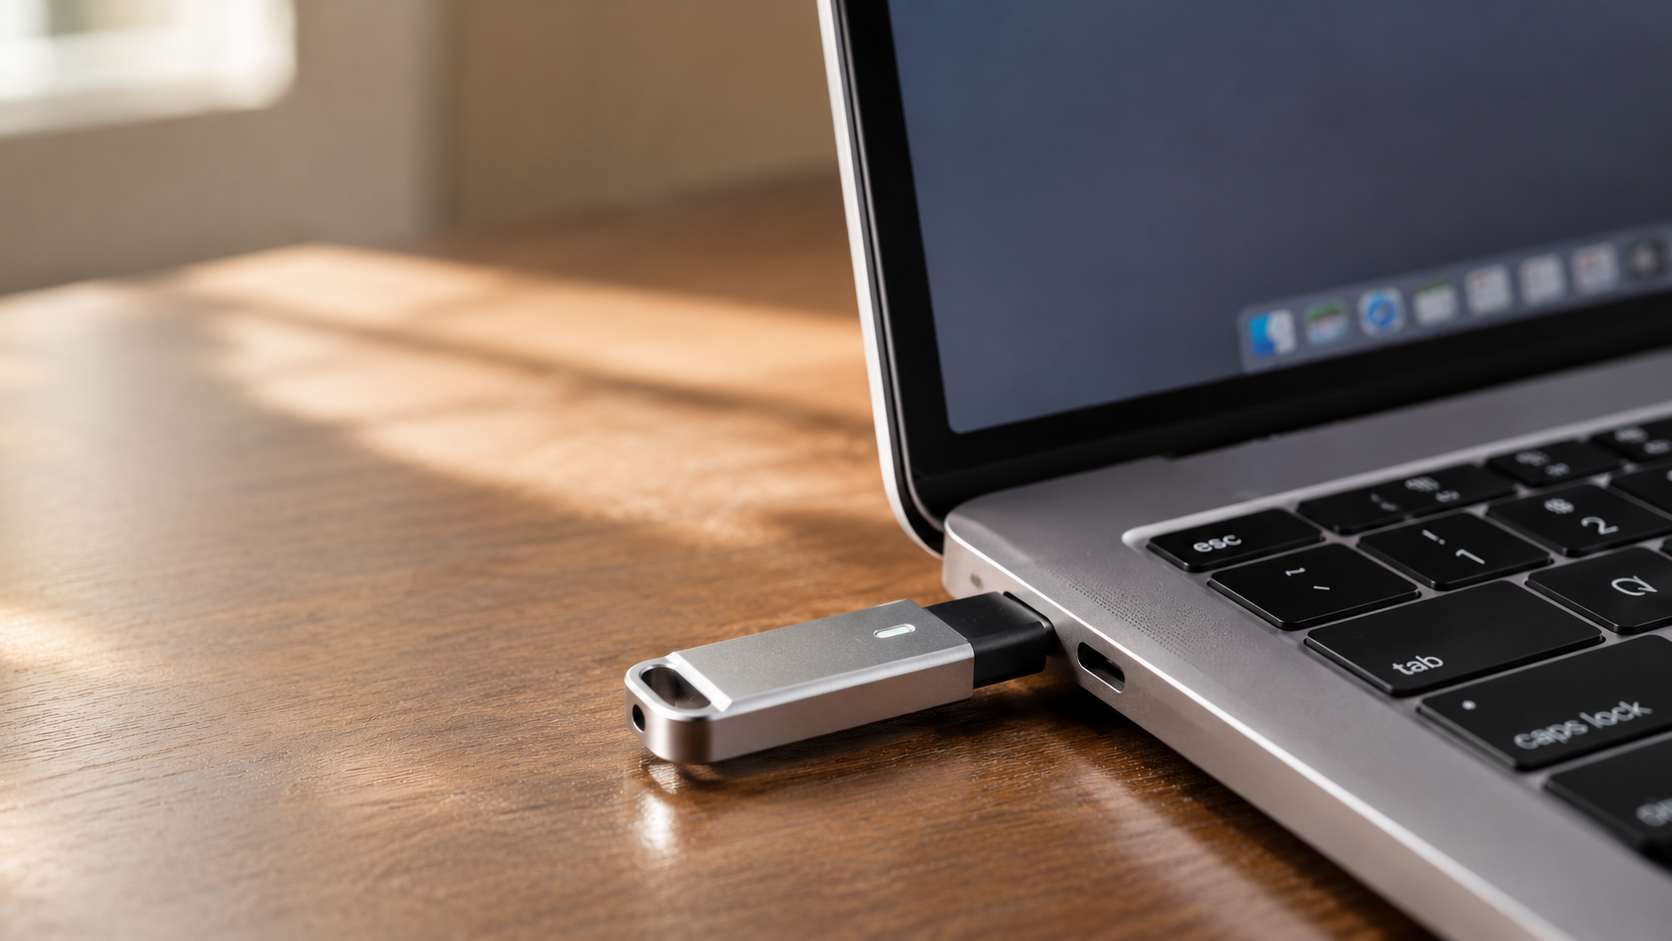
Plugging in a flash drive only to find your USB not showing up on Mac can be frustrating. You might need to transfer important documents, back up photos, or access a presentation. However, your MacBook may not display the connected device.
This problem does not always indicate hardware failure. Hidden Finder settings, connection problems, incompatible file systems, and temporary macOS glitches can prevent external drives from appearing.
Understanding the cause can help you avoid unnecessary repairs and potential data loss. Most USB detection problems can be investigated using built-in macOS tools.
In this guide, we explain why your MacBook might not recognize a USB drive. You will also learn how to locate hidden storage devices, check USB connections, and troubleshoot common detection errors. Follow these practical solutions to restore access to your external storage safely.
Why Is My Mac Not Detecting My USB Stick?
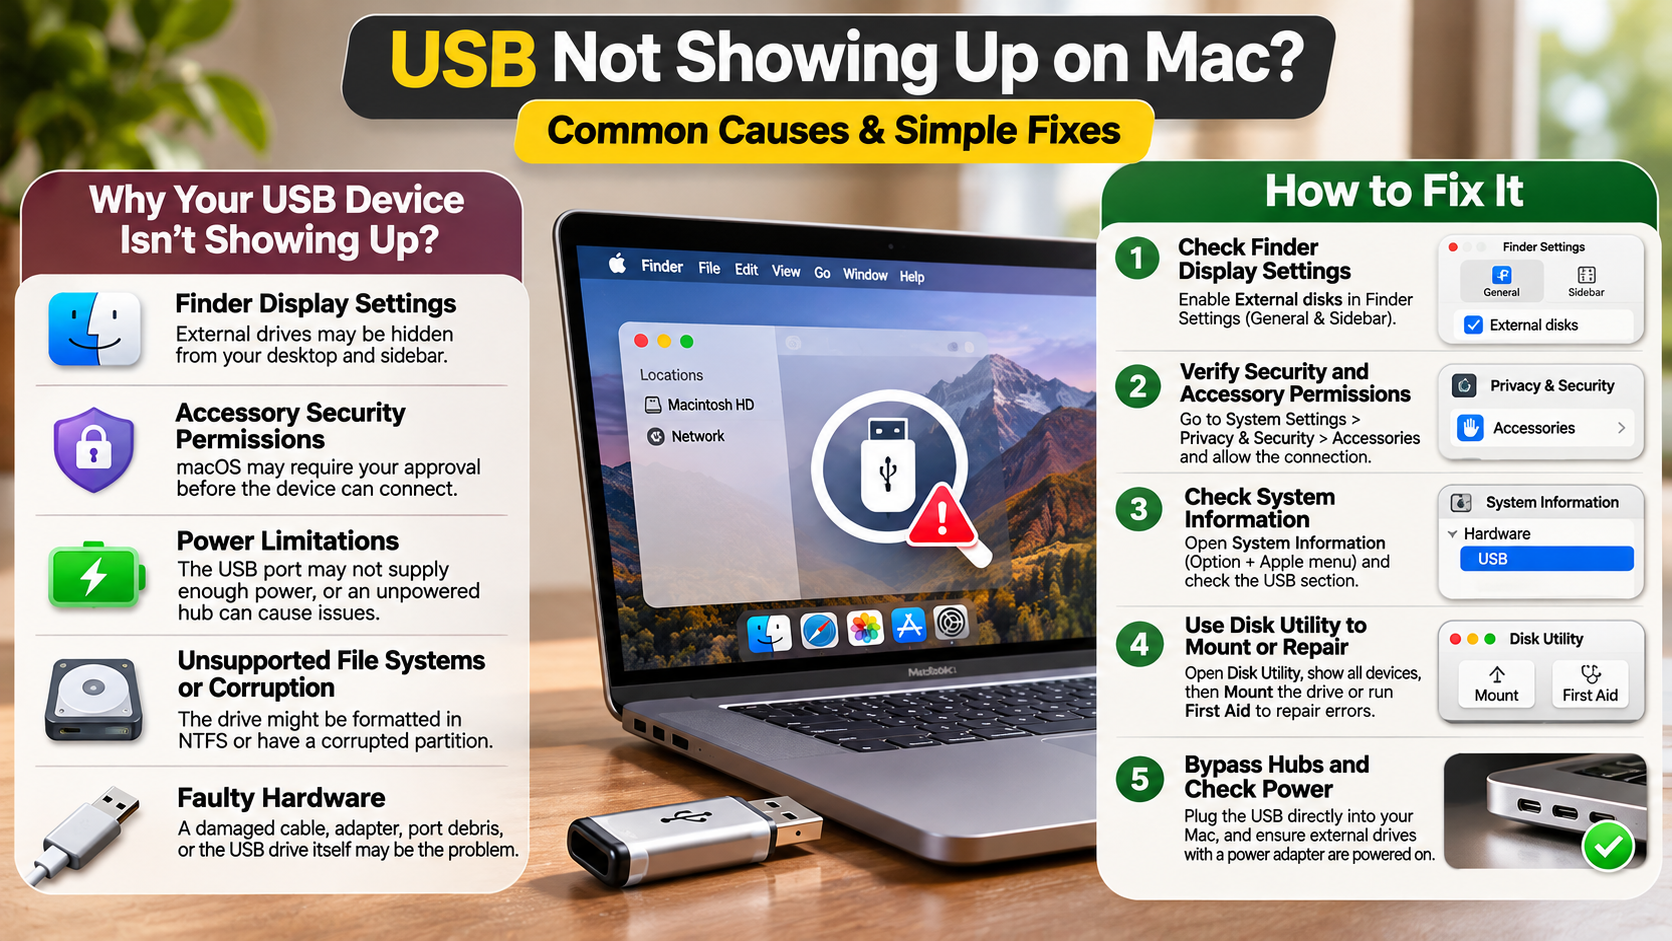
Your MacBook might not detect a USB stick because of connection problems, incompatible file systems, or insufficient power. Sometimes, dust inside the USB-C port prevents proper contact between the connectors. A damaged cable or unreliable adapter can also interrupt communication.
File system compatibility is another possible reason. macOS can generally read NTFS drives but does not support native writing to them. A corrupted file system or damaged partition can also prevent a volume from mounting.
Additionally, some Apple Silicon Macs running newer macOS versions require permission before connecting certain USB accessories. A security prompt may appear when you connect an unfamiliar device.
Before assuming your flash drive is damaged, check these possible causes. Testing another port, adapter, or computer can help identify whether the problem comes from your Mac or the USB device.

Check Your Ports and Security Prompts
Start by inspecting your MacBook’s USB ports and the flash drive connector. Look for visible dust, physical damage, or bent connectors. Avoid inserting sharp objects into the ports because they can damage internal components. If a USB port is physically damaged and stops recognizing connected devices, you may need to consider repair options and understand how much it costs to replace a USB port on a laptop.
Next, disconnect unnecessary USB accessories and hubs. Connect your flash drive directly to your Mac using a reliable adapter. If possible, test another USB-C port to rule out connection problems.
If you use an Apple Silicon Mac, check whether macOS displays an accessory permission notification. Depending on your security settings, you may need to approve the connection before the accessory works.
You should also try another compatible USB adapter or cable. A faulty adapter can prevent your Mac from recognizing an otherwise functional flash drive.
If the device works on another computer, investigate your Mac’s settings and ports. If it fails everywhere, the flash drive itself may have a hardware or file system problem.
How to Find a USB That Won’t Show Up on a Mac?
If your USB drive does not appear on your Mac’s desktop, check whether macOS recognizes it elsewhere. Finder settings sometimes hide external storage icons, even when the connected device works correctly.
Start by opening Disk Utility through Spotlight. Press Command + Space, type Disk Utility, and press Return. Examine the sidebar and look under the External section. Your flash drive might appear even if Finder does not display it.
If you cannot find the device there, check System Information. Hold the Option key, click the Apple menu, and select System Information. Open the USB section to inspect connected hardware.
These two tools help distinguish between connection problems and mounting issues. If System Information detects the device but Disk Utility does not display a usable volume, further troubleshooting may be necessary. If neither tool recognizes it, investigate the physical connection first.
Using Disk Utility to Mount Drives
Disk Utility provides a useful way to inspect and manage external storage devices. It can help you identify a USB drive that Finder does not display.
Follow these steps:
- Open Spotlight using Command + Space.
- Search for Disk Utility and press Return.
- Select View from the menu and choose Show All Devices.
- Examine the External section in the sidebar.
- Select your USB drive or its associated volume.
- If the volume appears unmounted, click Mount.
If the mounting process succeeds, open Finder and check whether your files are accessible. You can also inspect the drive’s format and available storage information.
Sometimes, Disk Utility displays the physical device but not its volume. This can indicate partition or file system problems.
Important: Avoid clicking Erase if your USB contains important files. Erasing removes existing data and can make recovery more difficult. If the files matter, consider professional data recovery before attempting destructive repairs.
How to Make USB Visible on Mac?
Your Mac might recognize an external drive without displaying its icon on the desktop. This often happens because of Finder’s display preferences rather than a problem with the USB connection.
To make your flash drive visible, open Finder from the Dock. Click Finder in the menu bar and select Settings. On older macOS versions, this option may appear as Preferences.
Under the General tab, locate the section showing items on the desktop. Enable External disks to display connected storage devices on your wallpaper.
Next, open the Sidebar tab. Find the Locations section and enable External disks. This setting allows supported external storage devices to appear in Finder windows.
Once you update both preferences, reconnect your USB drive if necessary. Check your desktop and Finder sidebar again. If the device still remains invisible, restart Finder or inspect it through Disk Utility. These steps help determine whether the issue involves display preferences or a deeper macOS detection problem.
Restarting Finder to Refresh Icons
Finder manages your Mac’s desktop, file windows, and external drive locations. Occasionally, Finder may stop refreshing correctly after you connect a new storage device.
Restarting Finder can resolve temporary display problems without restarting your entire Mac.
Follow these steps:
- Locate the Finder icon in your Dock.
- Hold the Option key on your keyboard.
- Right-click or Control-click the Finder icon.
- Select Relaunch from the menu.
- Wait for Finder to restart.
- Reconnect your USB drive if necessary.
After Finder reloads, check your desktop and sidebar for the missing device. You can also open a new Finder window to refresh the available storage locations.
Remember that restarting Finder does not repair damaged USB hardware or corrupted file systems. It only refreshes the file management interface.
If your USB still does not appear, open Disk Utility and check whether macOS recognizes the physical device. This helps you determine whether the issue comes from Finder or the storage connection itself.
Why Is My USB Not Getting Detected?
A USB device may stop getting detected because of hardware damage, connection failures, or file system corruption. Understanding these problems helps you identify the correct troubleshooting method.
Damaged USB cables and adapters are common causes. Their internal connections can wear out after repeated bending or regular use. Similarly, loose USB ports and unreliable hubs can interrupt communication between your Mac and external storage.
File system corruption is another possible explanation. Removing a flash drive while macOS writes data can interrupt file operations. This may damage the file system or partition information, preventing the volume from mounting correctly.
Outdated macOS software can sometimes cause compatibility problems with connected accessories. Restarting your Mac and installing available updates may resolve temporary software issues.
In more serious cases, a damaged controller chip or failing flash memory can make the device unreadable. Testing the USB on another computer helps identify whether the problem is specific to your Mac.
The Danger of Improper Ejection
Removing a USB drive while your Mac transfers or writes files can interrupt important storage operations. This may leave incomplete files or damage the file system.
macOS sometimes continues background writing even after a file appears to have finished copying. Therefore, immediately pulling out your flash drive is not always safe.
Always eject external storage properly before disconnecting it. Follow these steps:
- Open Finder and locate your USB drive in the sidebar.
- Click the Eject icon beside its name.
- Wait until the drive disappears from Finder.
- Disconnect the USB device safely.
If you cannot see the drive in Finder, you can also select it in Disk Utility and use the available unmount option.
Proper ejection reduces the risk of data corruption and unexpected mounting problems. It also protects important documents, photos, and other files during regular transfers.
If your USB becomes unreadable after an improper ejection, avoid immediately formatting it. First, check whether Disk Utility recognizes the device and consider data recovery if the files are important.
How to Fix an Undetected USB?
You can troubleshoot an undetected USB drive using Disk Utility, connection checks, Finder settings, and macOS updates. Start with simple solutions before attempting repairs that could affect your stored data.
First, reconnect the flash drive using another compatible port or adapter. This helps eliminate basic connection problems. Next, open Disk Utility and check whether macOS recognizes the device.
If the volume appears but refuses to mount, try the Mount option. You can also run First Aid to check and attempt to repair supported file system errors.
Restarting your Mac can resolve temporary software and connection glitches. You should also check for available macOS updates under System Settings.
If these methods fail, investigate the drive’s file system and partition structure. Do not immediately erase the device, especially when it contains important documents.
Formatting can restore a usable file system, but it deletes existing data. Only consider this option after confirming that you no longer need the stored files or have secured a backup.
Choosing the Right File Format
Choosing the correct file system is important when formatting a USB drive for your Mac. Different formats offer different levels of compatibility with Apple devices and Windows computers.
Here are two commonly used options:
- exFAT: Suitable for transferring files between modern Mac and Windows computers. It also supports large individual files.
- APFS: Designed for Apple’s storage ecosystem. It is suitable for Mac-focused use but is not natively supported by Windows.
To format your USB drive, open Disk Utility and select the correct physical device. Click Erase, enter a name, and choose your preferred file system. Select the appropriate partition scheme if prompted, then confirm the operation.
Remember that formatting permanently removes existing files from the selected drive. Make sure you have backed up everything important before proceeding.
If your USB contains valuable files that you cannot access, do not format it simply to make it visible. Consider professional data recovery first. This reduces the risk of permanently losing important information.
Conclusion
A USB not showing up on Mac can be frustrating, especially when you need access to important files. However, the problem does not always mean your flash drive is damaged. In many cases, checking Finder settings, reconnecting the device, restarting Finder, or using Disk Utility can resolve the issue.
Start with basic troubleshooting before attempting advanced repairs or formatting. For additional guidance, check Apple’s official guide on connecting and using external storage devices with Mac. It explains how to connect USB drives, access files through Finder, and safely eject external storage.
Always back up important files and eject external storage safely to prevent data corruption. If your Mac still cannot recognize the USB, test it on another computer to identify possible hardware problems.
With the right troubleshooting steps, you can often restore USB access without professional assistance and keep your important files safe.