
 (Photo from iStock)
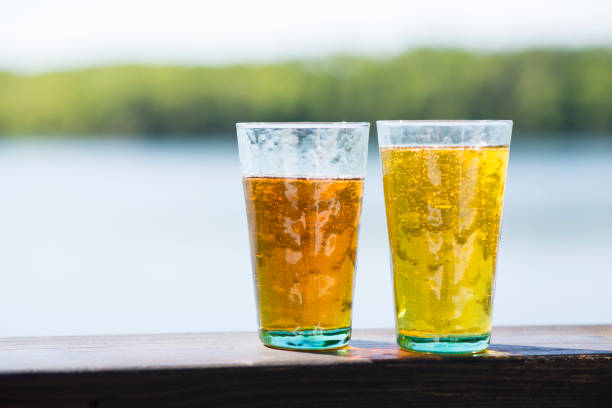
Making your own beer at home is simple, affordable, enjoyable, and will almost certainly result in a beverage that is far superior to that tasteless canned beer. Your beer mates will start to think of you as Bacchus! We’ll outline the fundamental procedures for getting started and demonstrate how to develop your abilities and increase the number of beer variants you can brew.
Cleanliness is the secret
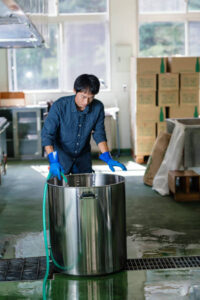
Any seasoned brewer will tell you that cleanliness is 80% of the formula for success. Clean and disinfect everything that will come in contact with your beer thoroughly. Using an electric dishwasher set to the high heat setting or a powdered cleaner like PBW (Powdered Brewery Wash) are the two simplest ways to accomplish this.
Use a scrubber that won’t scratch the surface of whatever it is you are cleaning because bacteria love to thrive in the grooves left behind and are nearly impossible to sanitise. Thoroughly rinse before taking a quick soak in a bleach or iodine solution.
Rinse everything properly
 (Photo from iStock)
Use incredibly clean potable or distilled water to rinse off bleach before using objects. Never assume that tap water is sterile when using it to rinse brewing equipment.
If you’re using bleach to sanitise, mix one ounce (30ml) of bleach with one ounce (30ml) of white vinegar in five gallons (19 litres) of cold water. Before adding the vinegar and bleach to the water, do not combine them. The vinegar will increase the water’s acidity, allowing the bleach to sanitise more effectively.
Iodine solutions shouldn’t be rinsed; instead, let equipment drip dry.
Be aware that bleach can impart undesirable flavours to your beer and that it must be rinsed, which exposes your sterilised equipment to germs.
Take bote before starting
Get a notebook and start recording everything you do before you start home brewing, including the cleaning procedure, the yeast strain, the quantity and kind of malt, the type of hops, and any speciality grains or additional additives.
This will enable you to duplicate any particular brew or provide you a starting point for exploration and development.
Steeping grain
 (Photo from iStock)
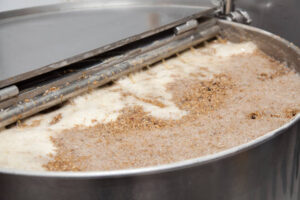
Put any speciality grains in a grain bag (a mesh bag to retain the grains; similar to a tea bag, but much larger) and steep them for about 30 minutes in the large stock pot with three gallons (10 litres) of very hot water that is around 150°F (66°C).
Take out the grains and let the water fall into the saucepan from the grain bag. Squeezing the bag could cause tannins to be extracted, which would give your beer an astringent flavour.
Add malt extract and boil everything
The timings will be specified for you in the instructions included with the kit for your particular style of beer. Hops are typically added at various intervals to provide flavour, bitterness, or aroma.
Generally speaking, early addition of hops to the boil will result in a greater bitterness contribution at the price of flavour and aroma. The flavour and aroma of hops added towards the end of the boil will be more noticeable, but they won’t considerably increase the beer’s bitterness.
If you want your beer to taste more vibrant and less bitter, think about dry hopping it.
Chilling your wort
The liquid, which is referred to as wort and is pronounced “wrt,” must be immediately cooled after it has boiled. The simplest method is to submerge the entire pot in an ice-filled washbasin or bathtub.
While you can gently stir the wort to hasten cooling, avoid splashing or aerating it while it’s still hot (this can result in weird flavours).
You are prepared to transfer it to the fermenter once it reaches about 80°F (27°C).
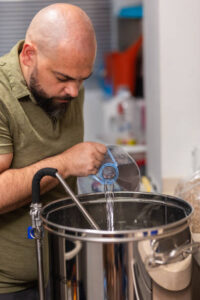
Pouring cooled water into fermenter
 (Photo from iStock)
Splashing should only be encouraged after the wort has cooled and before fermentation begins. Splashing the wort as you pour it into the fermenter will provide the oxygen that the yeast needs to grow.
You should limit exposure to air once fermentation has begun because it will result in off flavours and odours.
Scoop out the hops using a large strainer—you’ve already extracted all the beneficial components—which is typically found at restaurant supply stores. Strain the wort as you pour it into the carboy if using one.
To make five gallons (20 litres), add water. Now that you are prepared, “pitch” (add) the yeast.
Prepare for bottling
The activity from the airlock will eventually come to a standstill after about a week. Two weeks should pass since the beginning of the brewing or fermentation process. It’s now time to put the beer in bottles. Most likely, your kit included priming sugar or DME (dry malt extract). Once your beer is in the bottle, this is used to give it carbonation.
Heat up some sugar in some water, then let it cool. Then, add it to your fermented beer or the empty, clean, and sanitised bucket with the spigot.
Transferring brew
Use the cleaned and sanitised plastic tubing as a syphon to move the beer as gently as you can from the fermenter to the bottling bucket that has the priming sugar solution in it, ensuring that there is little to no aeration. Try to avoid getting any trub (fermenter sediment) into the bucket used for bottling.
Your cleaned and sanitised bottle filler should be connected to your clean and sanitised plastic tubing, with the other end of the tubing connecting to the spigot’s bottom end. (It’s crucial to allow the fermented beer to settle after adding the priming sugar solution if you’re using just one bucket. The beer will taste sour because of the trub (sediment) on the bottom.
Clean and sanitized bottles
 (Photo from iStock)
Simply open the spigot on the bottling bucket and pour the bottle filler into a bottle. Beer will flow if the bottle filler is pushed to the bottom.
If utilising the one bucket technique, place the bottle filler in a glass, bottle or the sink. Press down to allow the water flow out. And the beer will begin to flow in the tube like a syphon. Fill the tube (connected to the bottle filler) with water. Place the open end in the fermented beer, and place the bottle filler in one of these locations.
Reference:
wikiHow
Want to do a meal prep, what are you waiting, go check some amazing ideas for meal prepping, click on the link below:
How to do your meal prepping routine