

Building chicken coop: A guide for beginners
You recently inherited some chicken, it’s storming, and you’re bored. You could count the minutes while lounging on your couch. You might be thinking about building a home for your chicken using the tools and the bits of wood you found in your garage.
Deciding size of the chicken coop while building
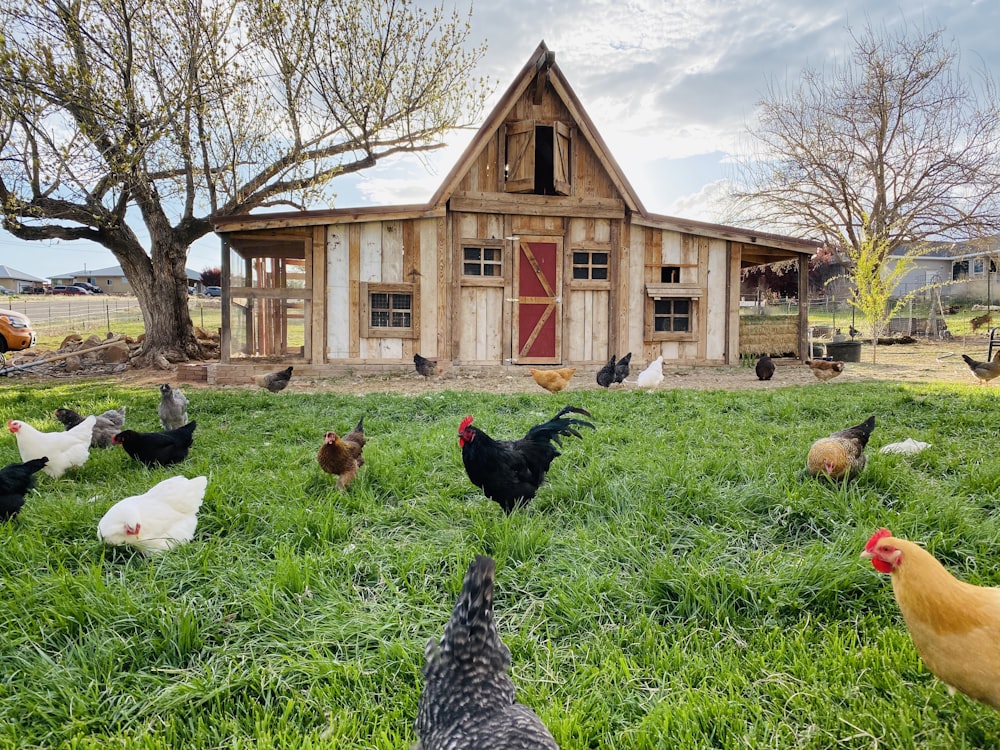
Image via Unsplash.com
Depending on the style of coop and the number of chickens you have, the appropriate size of a coop might fluctuate significantly. Here are some general guidelines for a few of the most popular styles of chicken coops:
Coop without outdoor pen: The only component of this sort of chicken coop is the actual indoor building, making it the most basic. Allow at least 5 square feet per chicken because the birds will be confined to the indoor area until someone deliberately lets them out.
Outdoor coop for hens: This is a little more challenging to construct than the basic coop, but it will provide your chickens more room and the choice to be outside. For the coop, allot 2 to 3 square feet each chicken.
Winter-only coop: During the winter, chickens are kept inside of this coop. Give each chicken between 7 and 10 square feet since it is doubtful that they will be permitted outside during the depressing months.
A nesting space of at least 1 square foot per 4 hens and a roosting space of 6 to 10 inches (15.2 to 25.4 cm) per chicken are also necessities for egg-laying hens. The elevation will keep your chickens dry during rainy weather; therefore roosts should be at least 2 feet (0.6 m) from the ground.
Choosing the location of chicken coop: building coup
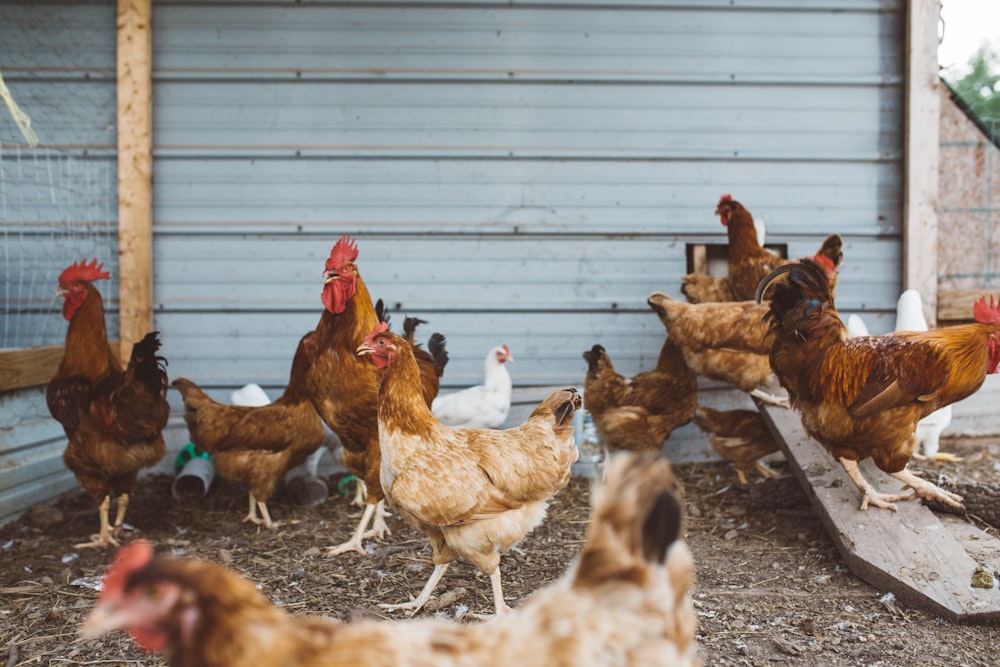
Image via Unsplash.com
Place your coop as close to a huge tree as you can, which will provide shade in the summer and prevent your chickens from overheating.
Egg-laying is stimulated by sunlight, so avoid positioning your coop directly in the shade. Instead of using white or blue light inside the coop, you might instead use warm yellow lighting to boost egg production.
What to put inside chicken coop

Image via Unsplash.com
Less space will be available for the chickens as you place more items inside the coop. In order to account for the loss of space in your building plans, it is crucial to have a clear notion of the items you will be placing within.
A place to perch: The elevated perch, which is frequently just a stout stick or piece of wood hanging between the coop walls, gives your chickens more room as well as a cozy place to sleep.
Breeding Ground: By placing straw or sawdust inside of boxes or baskets, you can create a nest. Your chickens will lay eggs on the ground if there is not enough nesting area, which increases the chance that they will break. Remember that a chicken will lay an egg every one to two days on average. The number of chickens you have and how frequently you intend to collect eggs should be reflected in the size of your nesting space. In average, 4–5 hens should have enough space for one nesting location.
Ventilation: The right ventilation systems are required to prevent diseases brought on by stale air. Make careful to add tiny windows wrapped in chicken wire if you intend to construct a year-round, closed coop to ensure optimum airflow.
A dust box: Chickens frequently use dust baths to clean themselves. Consider adding a few boxes filled with dirt or sand to keep your chicken content and odor-free.
Building a new coop or redoing the old

Image via Unsplash.com
By adding the aforementioned features, you might be able to save yourself some time and turn a disused garage, shed, or even a sizable dog cage into a chicken coop. If you are starting from scratch to create the coop, pick a plan that meets your requirements as stated above. You may construct a straightforward coop following the steps shown here, which is great for pairing with an outdoor pen. If that isn’t what you’re looking for, typing “chicken coop building plans” into your preferred search engine will return hundreds of blueprints.
Think of convenience. Keep in mind that you must frequently replace the food and water and clean out the chicken coop. Look for a plan that offers you a few options, such as various “access doors,” if you do not want to construct a coop big enough to stand up in.
Avoid using timber that has been exposed to hazardous chemicals or lead paint if you opt to reuse an old structure to avoid endangering your health and the health of your chickens.
Building the floor
Start with a piece of plywood that has been cut to the proper size (in this example, 4 feet by 6 feet) to make building and cleaning as simple as possible. Make sure the plywood is 12 inch (1.3 cm) to 14 inch (0.6 cm) thick.
If you are cutting the plywood yourself, draw lines first with an obvious pen and a straight edge.
The frame is screwed on. Attach 2x4s to the floor’s bottom perimeter with screws to keep it stable. For added protection, you might also wish to screw one across the center of the floor. Make use of a lengthy pipe clamp to achieve a tight union at the corners.
Build the strong wall
The only wall that will not have an opening is this one, making it the simplest to construct. Use a piece of plywood that is 6 feet (1.8 m) long and 1/2 inch (1.3 cm) thick. Attach 2x2s to the vertical edges’ undersides using screws. Make sure the 2x2s stop 4 inches (10.2 cm) from the plywood’s underside.
Building the last wall
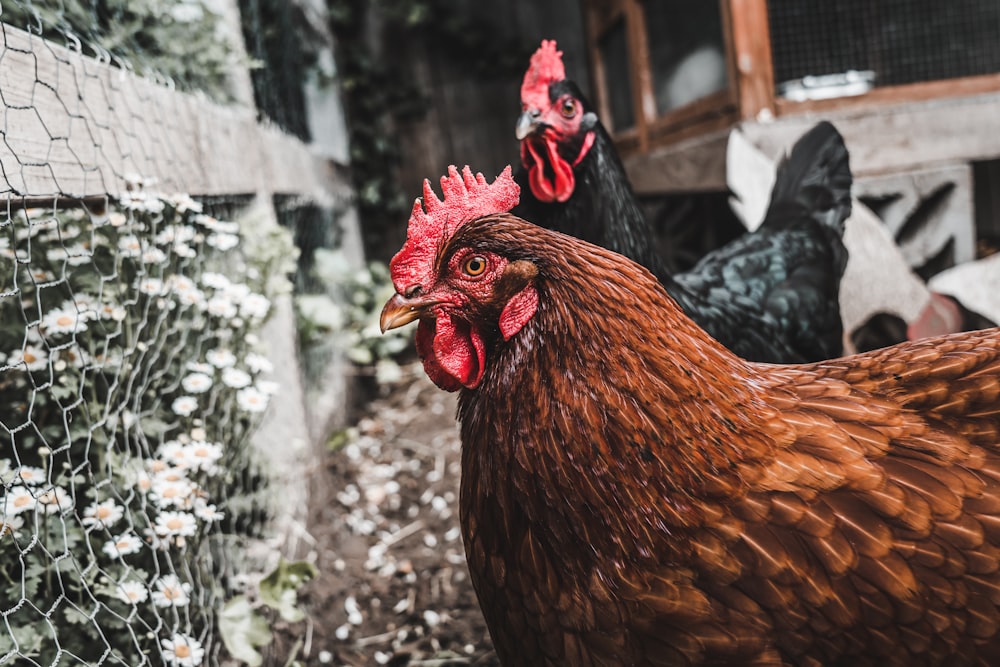
Image via Unsplash.com
Instead of using one large piece of plywood, this will be accomplished with three smaller ones. Cut one 4 to 5 foot (1.2 to 1.5 m) long piece of plywood that is half as broad as your coop’s tall and two 2 foot (0.6 m) long pieces of plywood to get started. A 2 foot (0.6 m) long piece of plywood is then attached with a 2×2 to the bottom of one of its vertical edges. On the second 2-foot (0.6-meter) long piece of plywood, repeat this procedure.
Make sure the 2x2s stop 4 inches (10.2 cm) from the plywood’s bottom, just like with the other side.
USEFUL LINKS:
How to build a chicken coop
How to keep your pets warm during winters