Gorgeous Outdoor Photos: Tips you need to know
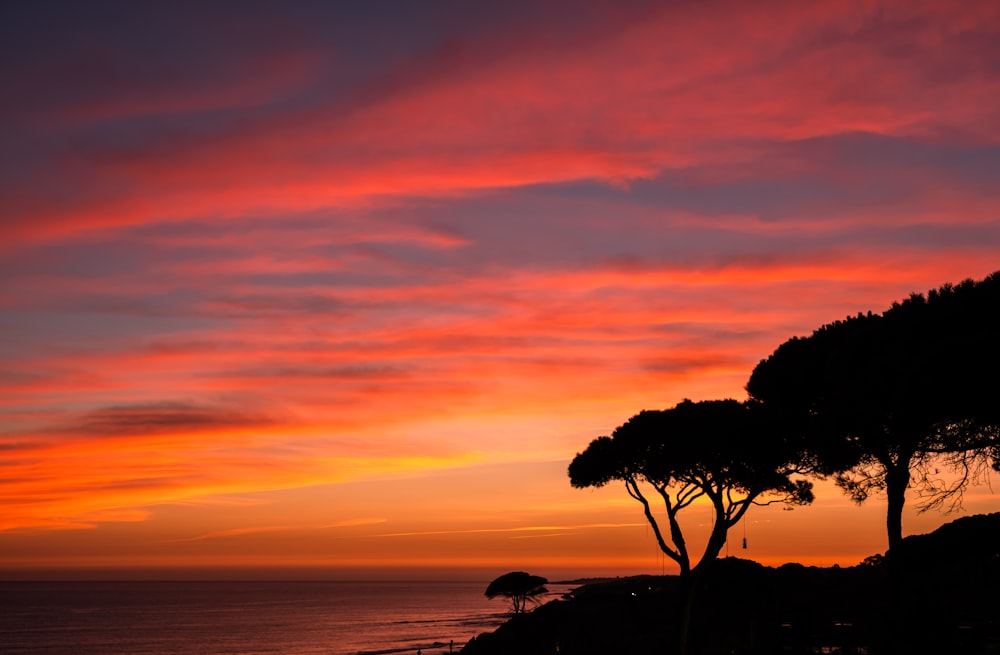
Whether you want to take elegant shots for business or informal pictures of friends and family, being able to take exceptional outdoor portraits is a crucial talent. Outdoor portraiture is also highly gratifying because it allows you to get stunning images in glorious light while also taking in stunning views of the outdoor landscape and urban environment.
However, taking beautiful pictures is no easy task. Working with your subject, making the appropriate settings, managing the light, thinking about your compositions, and many other things are all necessary. It’s understandable why so many aspiring portrait photographers find it difficult to get started.
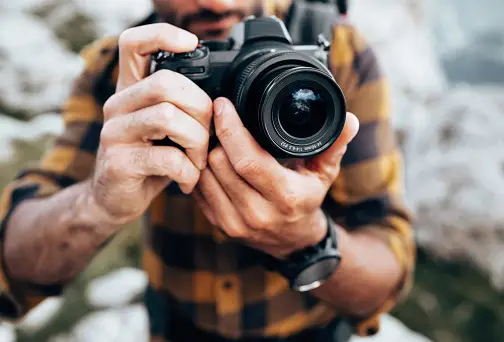
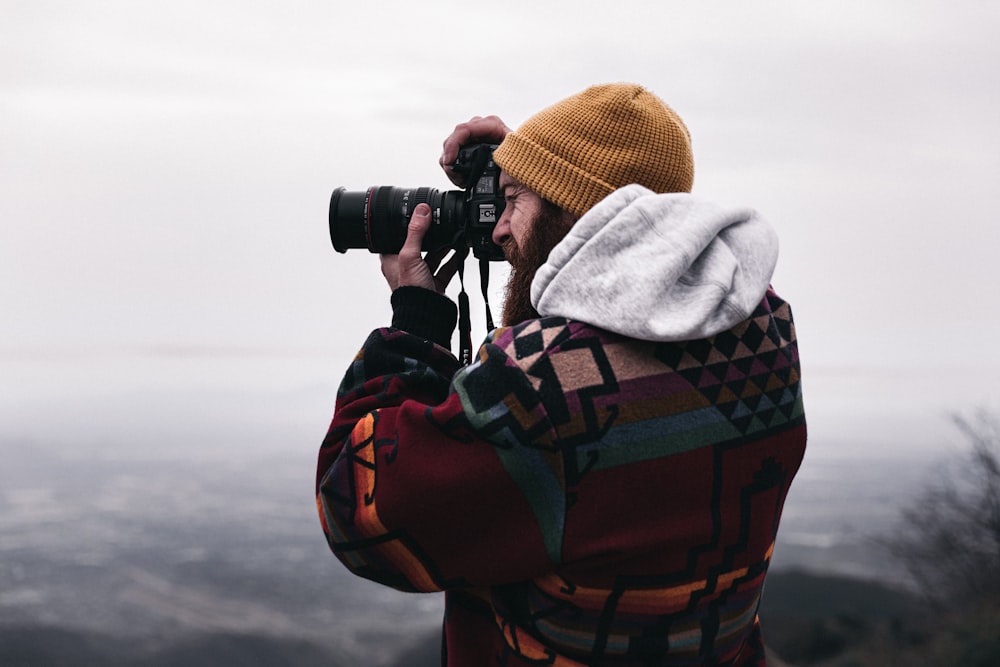
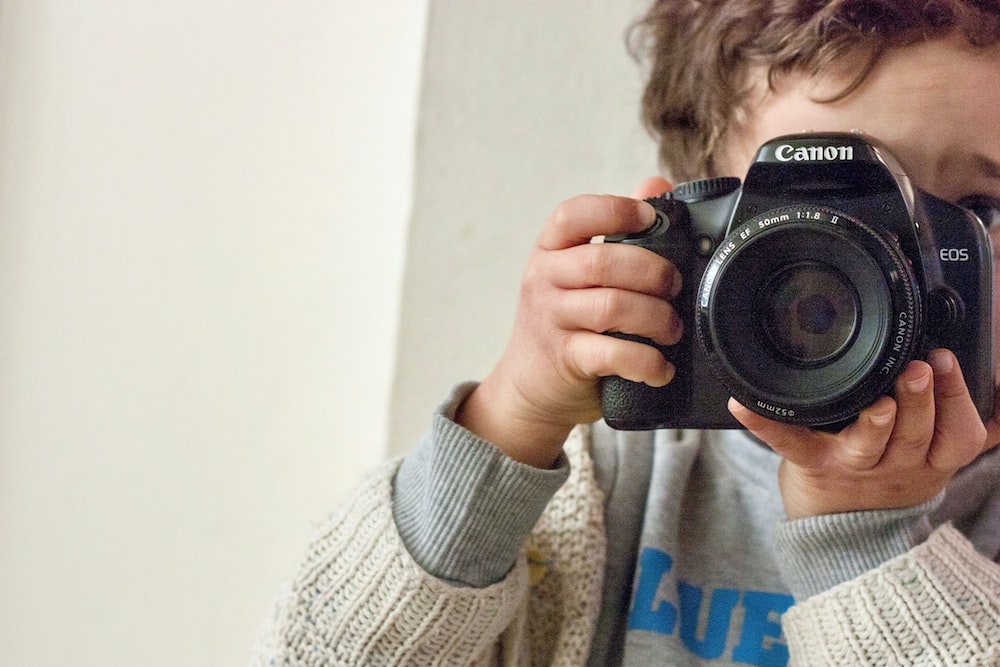
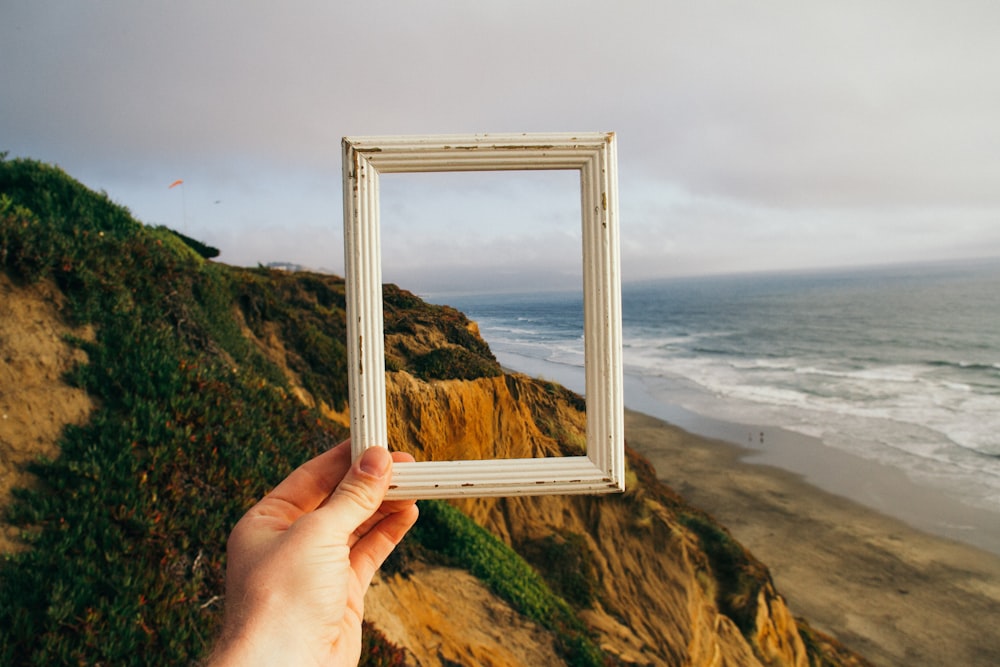
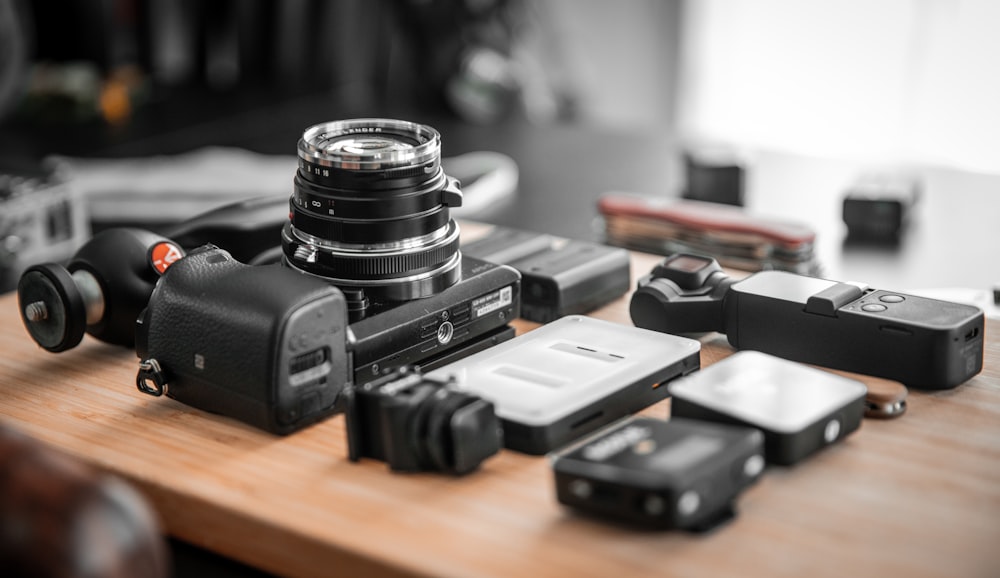
Choosing the right camera: outdoor shoot

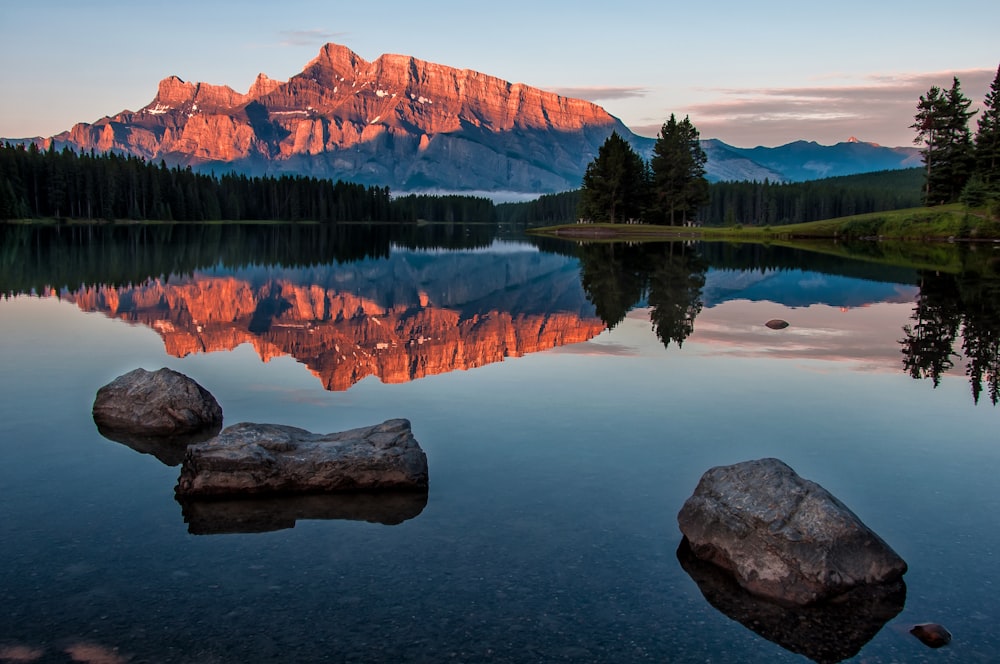
IMAGE CREDITS: Unsplash.com
You may take stunning outdoor photos with practically any camera model, from the most basic smartphone to the most sophisticated full-frame DSLR. However, if you want to increase your chances of success, I strongly advise that you pick your camera carefully.
Be sure to first get a DSLR or mirrorless model. One big advantage these cameras have over fixed-lens point-and-shoot cameras is the ability to use a range of lenses to capture different angles and looks. Your decision on a full-frame, APS-C, or Micro Four Thirds camera will be based on your level of interest, your financial situation, and how portable you need the camera to be.
Proper focal length
Although focal length and lens selection may not appear crucial, they can have a significant impact on your images. Because differing focal lengths call for you to be nearer or farther from your subject, perspective distortion will become more pronounced the closer you are.
Unchecked perspective distortion frequently produces unattractive body proportions; if you’re not careful, you’ll wind up with a long list of dissatisfied customers. (After all, asking “Why does my head look swollen?” from a client is the last thing you want to hear).
Remember that you don’t need to buy a specific portrait lens because almost every kit lens includes some of these focal lengths. If all you have is the lens that came with your camera, you’ll be OK.
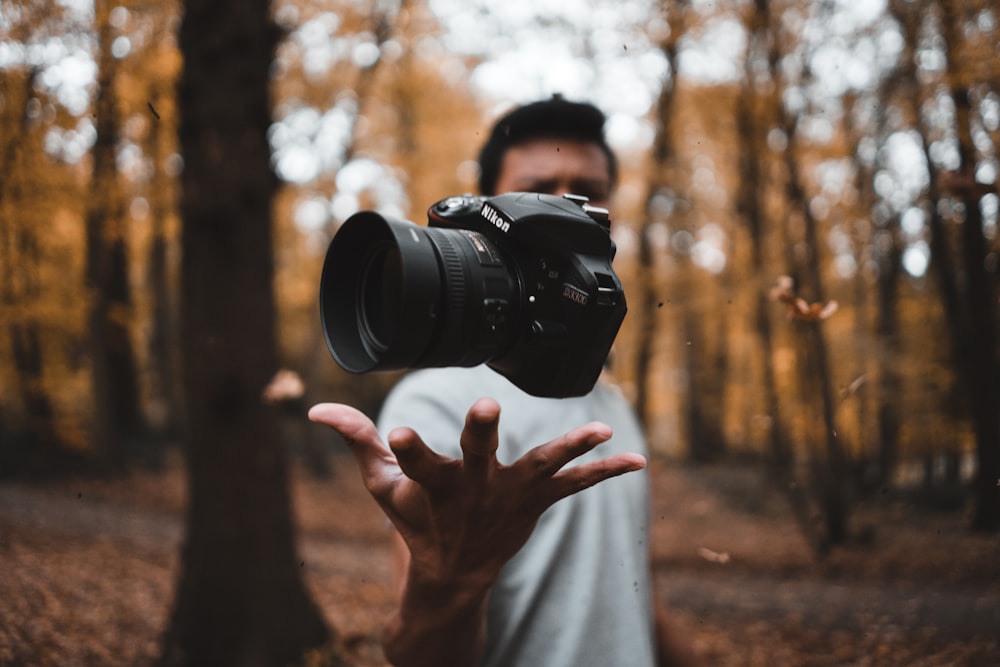
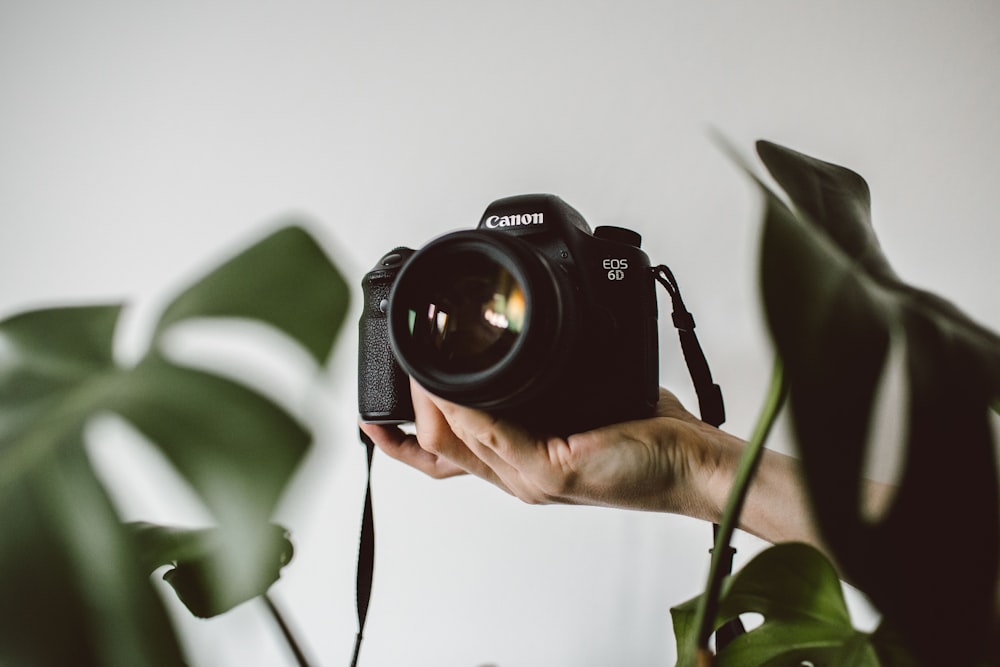
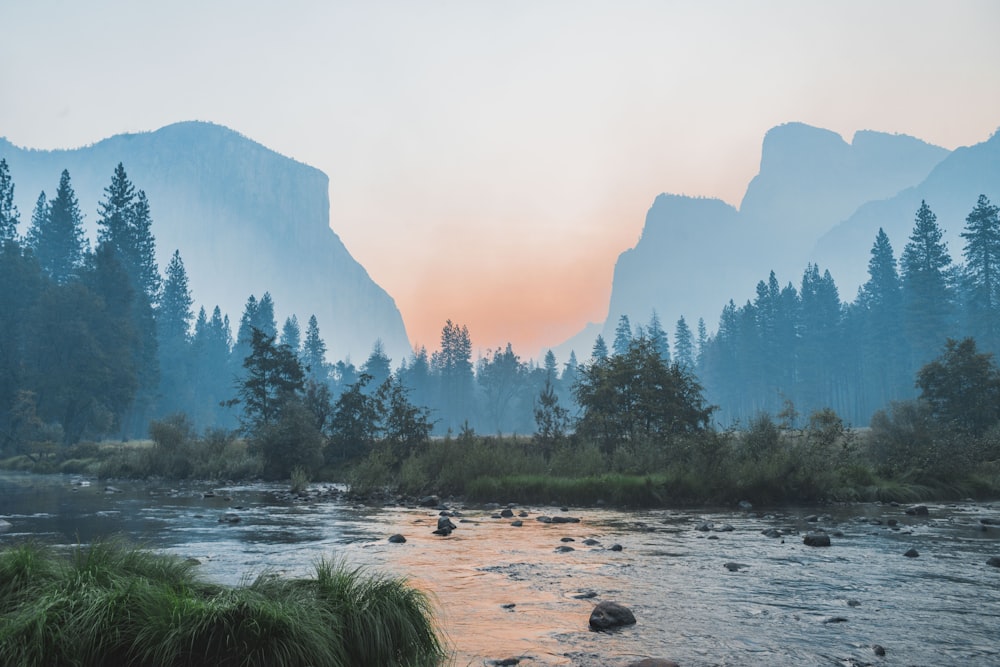
Always shoot in RAW, avoid JPEG: outdoor shoot


IMAGE CREDITS: Unsplash.com
I’ve said these words a thousand times, and I’ll say them a million times more. The RAW file format is an unaltered compilation of the data collected by your sensor during the exposure. It is a digital negative of yours. Additionally, it offers you tremendous post-processing freedom and enhances image quality.
On the other side, a lot of what you record is lost when you photograph in JPEG format. You lose a lot of important details, such as tone range and colour nuance. It will only end in tragedy.
Shooting with right aperture and shallow depth
A shallow depth of field effect from a wide aperture will blur the background and highlight your subject. This is a crucial component of the “look” that expert portrait photographers adore, and it’s the kind of thing that can quickly transform your photos from ordinary to outstanding.
Therefore, if you can, shoot at f/2.8 or possibly f/1.8. Naturally, not every lens can operate at such a wide aperture; some stop functioning at f/5.6 and higher. If you can, I’d suggest investing in a wide-aperture lens (there are many fantastic low-cost ones, such a 50mm f/1.8).
Don’t include all points for focus: outdoor shoot
Always keep in mind that you must master focus if you hope to consistently get excellent outdoor pictures.
And a major, major focusing error I observe novices making? employing a lot of focus points in the hopes that one will capture the subject, or using the Auto AF area option where the camera chooses the focus point for you. Unfortunately, neither of those approaches is effective, and you’ll frequently get fuzzy, out-of-focus pictures, especially if you’re using a wide aperture.
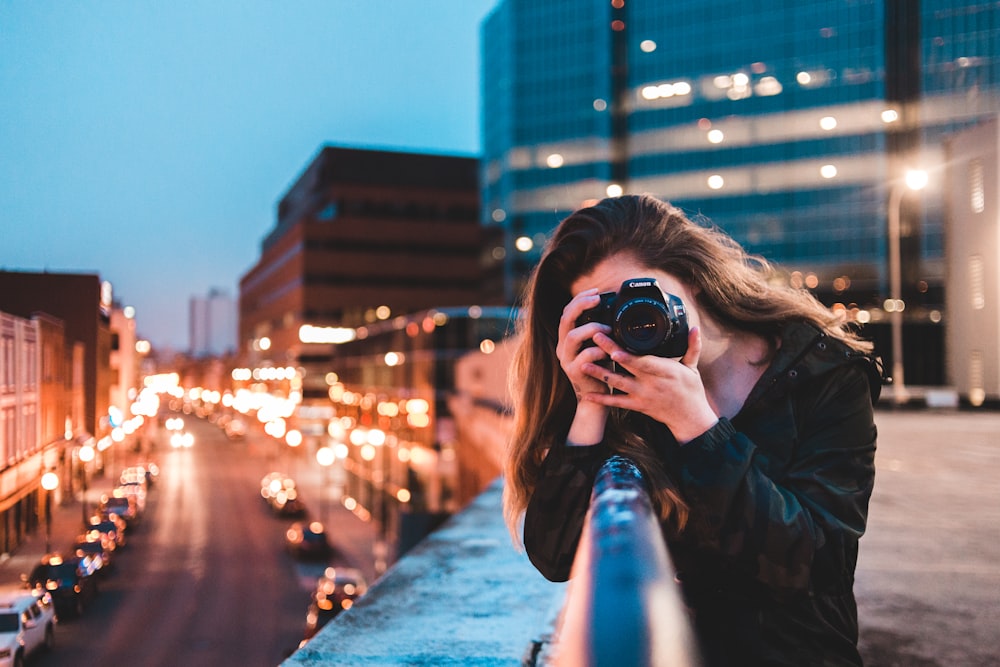
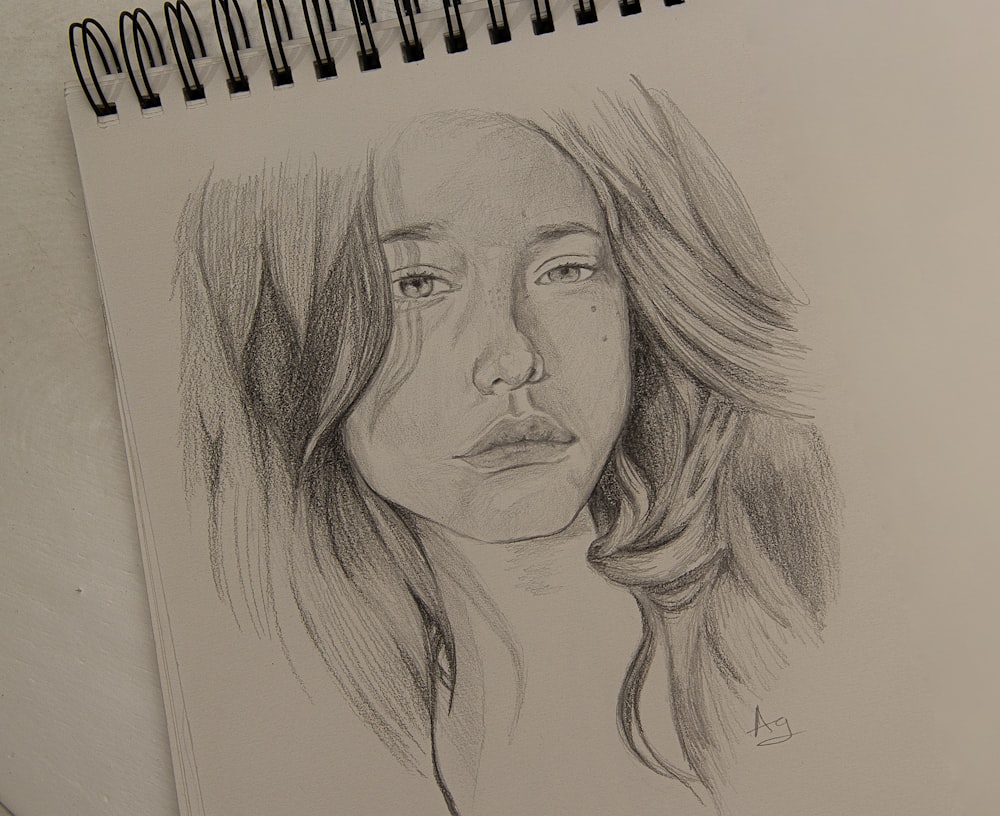
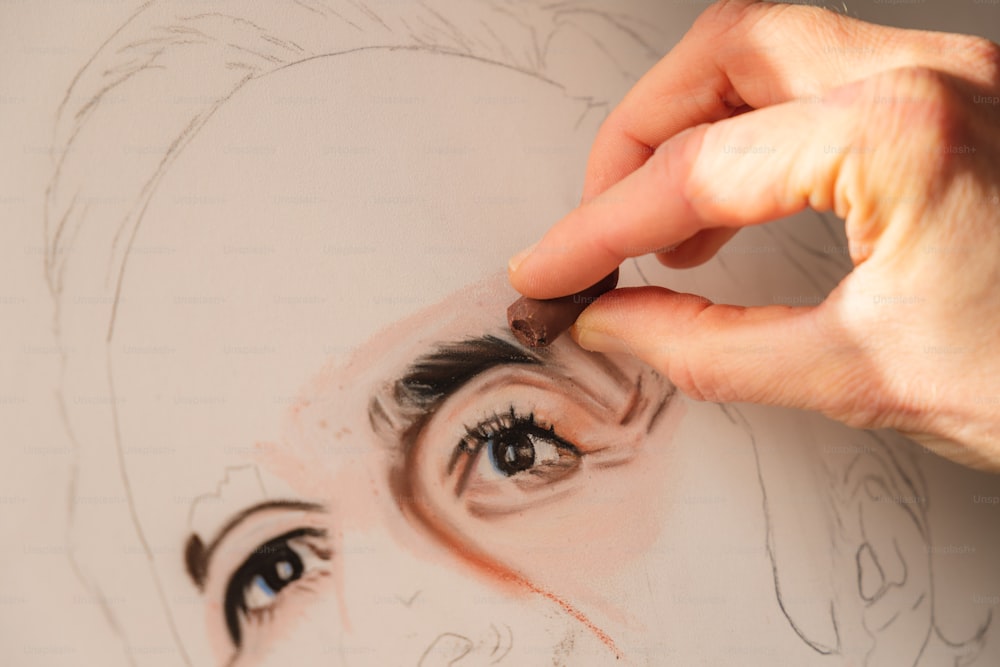
Always focus on the eyes

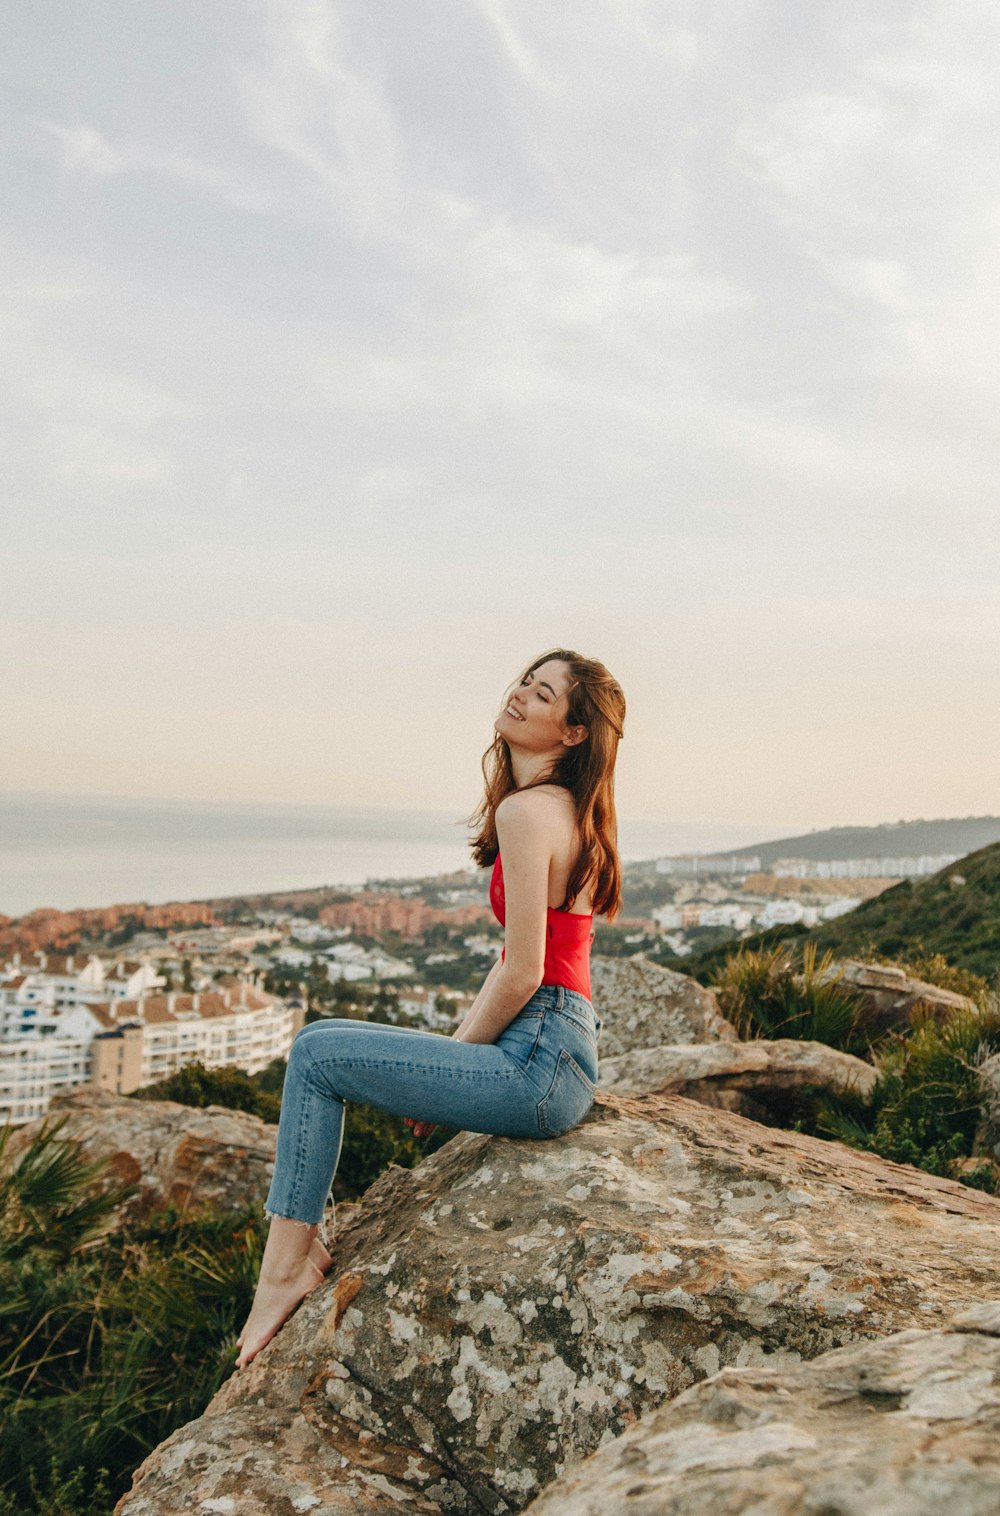
IMAGE CREDITS: Unsplash.com
Yes, it’s crucial that you get your portrait images’ focusing right, but what exactly does it entail? maintaining razor-sharp vision, of course!
As the windows to the soul, eyes are the natural subject of any good portrait. The eyes should also be represented properly because they are the feature on the face with the highest detail.
Using a grey card: outdoor shoot
Grey cards are not always used by outdoor portrait photographers. However, I’m a major admirer of grey cards, therefore I strongly advise using one for each and every photo session.
Why? I’m going to explain this backwards to avoid any misunderstanding. There is always a way to choose a custom white balance when opening Adobe Camera Raw or any other RAW image processing program. Typically, you can use an eyedropper of some sort to click on the area of the image that you believe to be neutral grey.
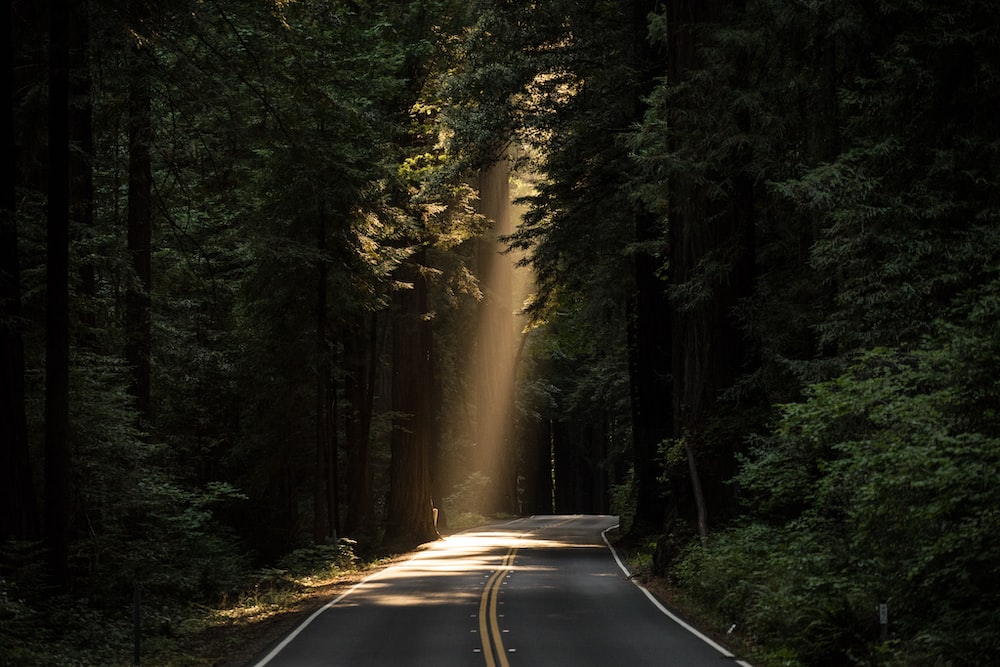
Natural reflector is always beneficial

IMAGE CREDITS: Unsplash.com
While it might seem like there aren’t many reflectors available for outdoor photography, there are actually a lot of both natural and man-made reflectors that you can use to improve your pictures. Therefore, you can always rely on the environment around you if you don’t want to bring a reflector (or you forget yours for a photo).
You see what I mean? Additionally, double- and triple-check your setup to ensure that you have a natural reflector if you’re going to a place where one might not exist. You can buy pop-up reflectors, as I indicated above, but you can also create your own out of foam core or white cardboard.
Powerlines and signs to be avoided: outdoor shoot
We’ve already talked about keeping your camera focused on the subject’s eyes, but you also need to retain the viewer’s attention on the image as a whole and on your portrait subject in particular.
Therefore, pay close attention to the space around your subject before taking even a single photo. Do you observe any deterrents? Anything that could detract from the picture? If so, remove it or reposition your topic so that any backdrop distractions are hidden.
USEFUL LINKS:
Click here to know some more tips on outdoor photography
We have some alternatives to display your photos, see here