Tips for Stress Free Photos of Your Children You Must Follow
How to get their young children to smile and cooperate during the picture shoot is not stress free for parents when it comes to taking family portraits. Getting everyone in the family to look their best and stare at the camera at the same time presents obstacles every time, but you shouldn’t stress about it.
Whether it’s for family photos or individual portraits, we’ve put together a guide to help you get your little ones (and not-so-little ones!) ready for their big day in front of the camera.
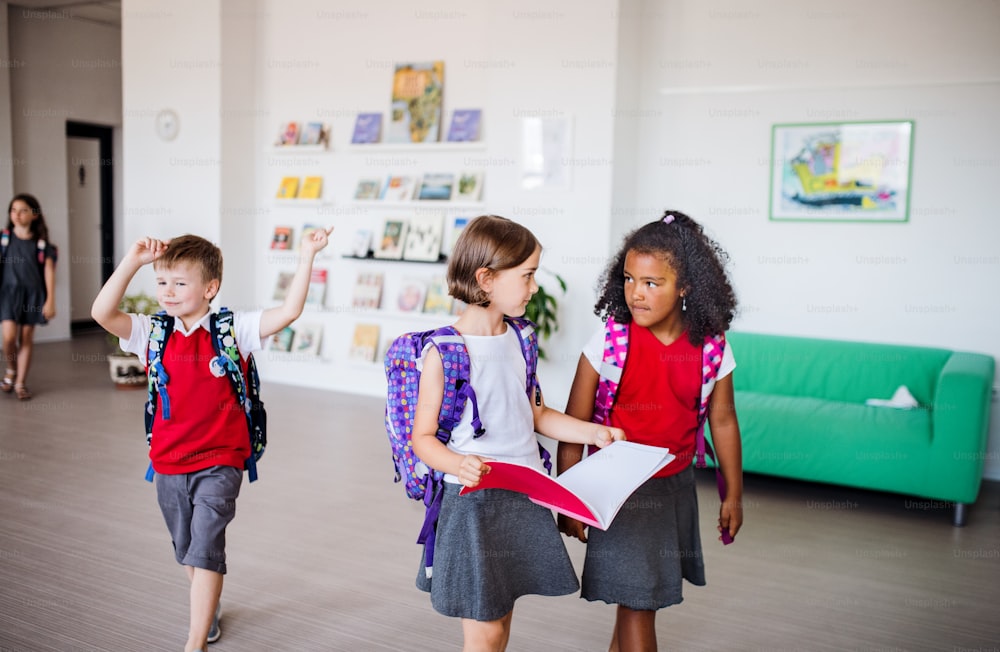
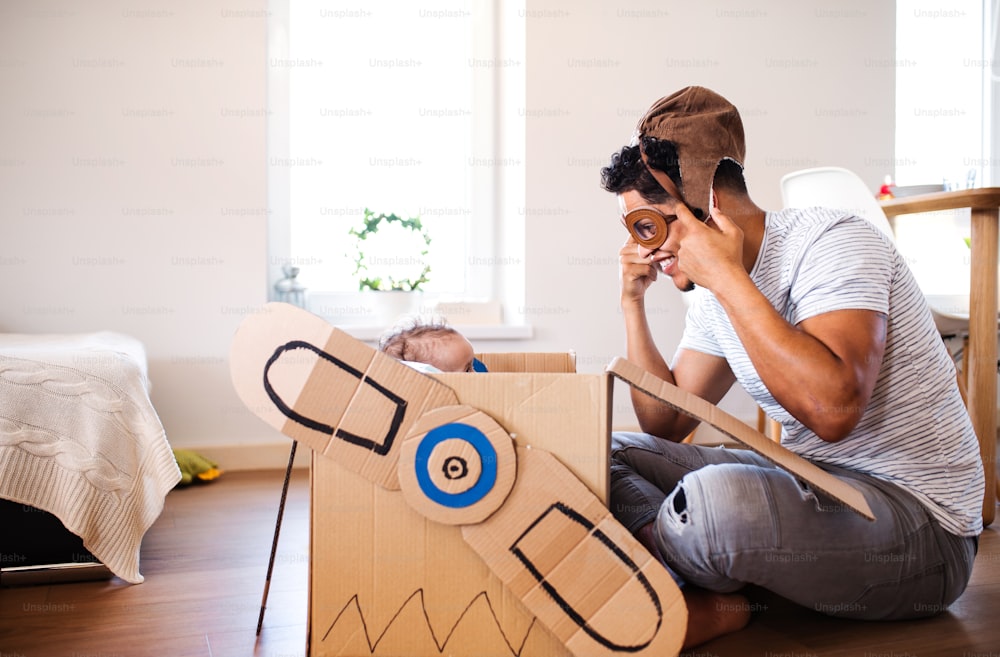
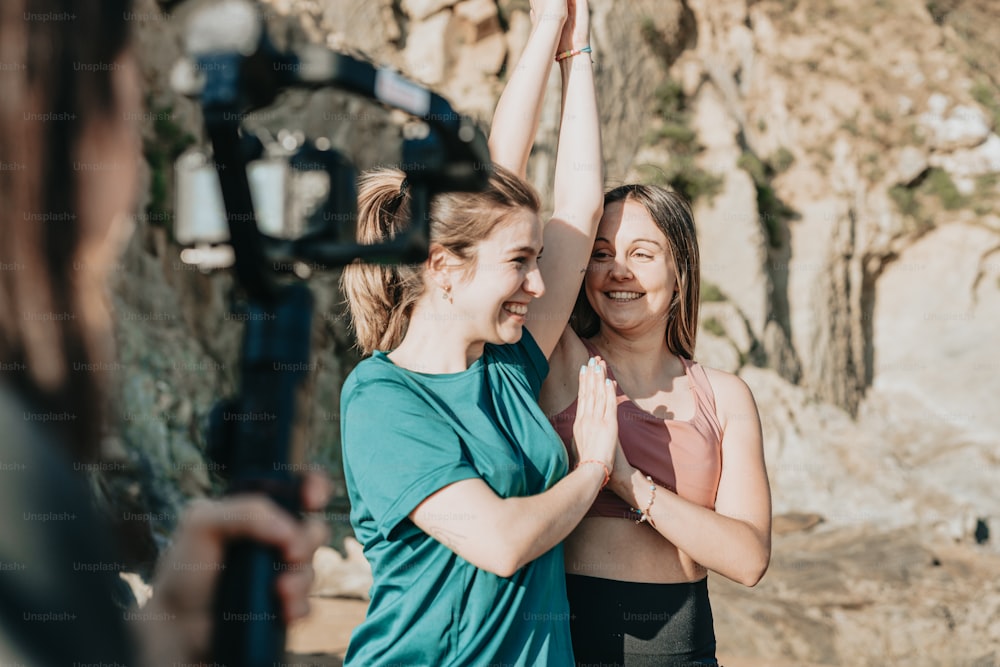
Plan the shoot around kids to remain stress free


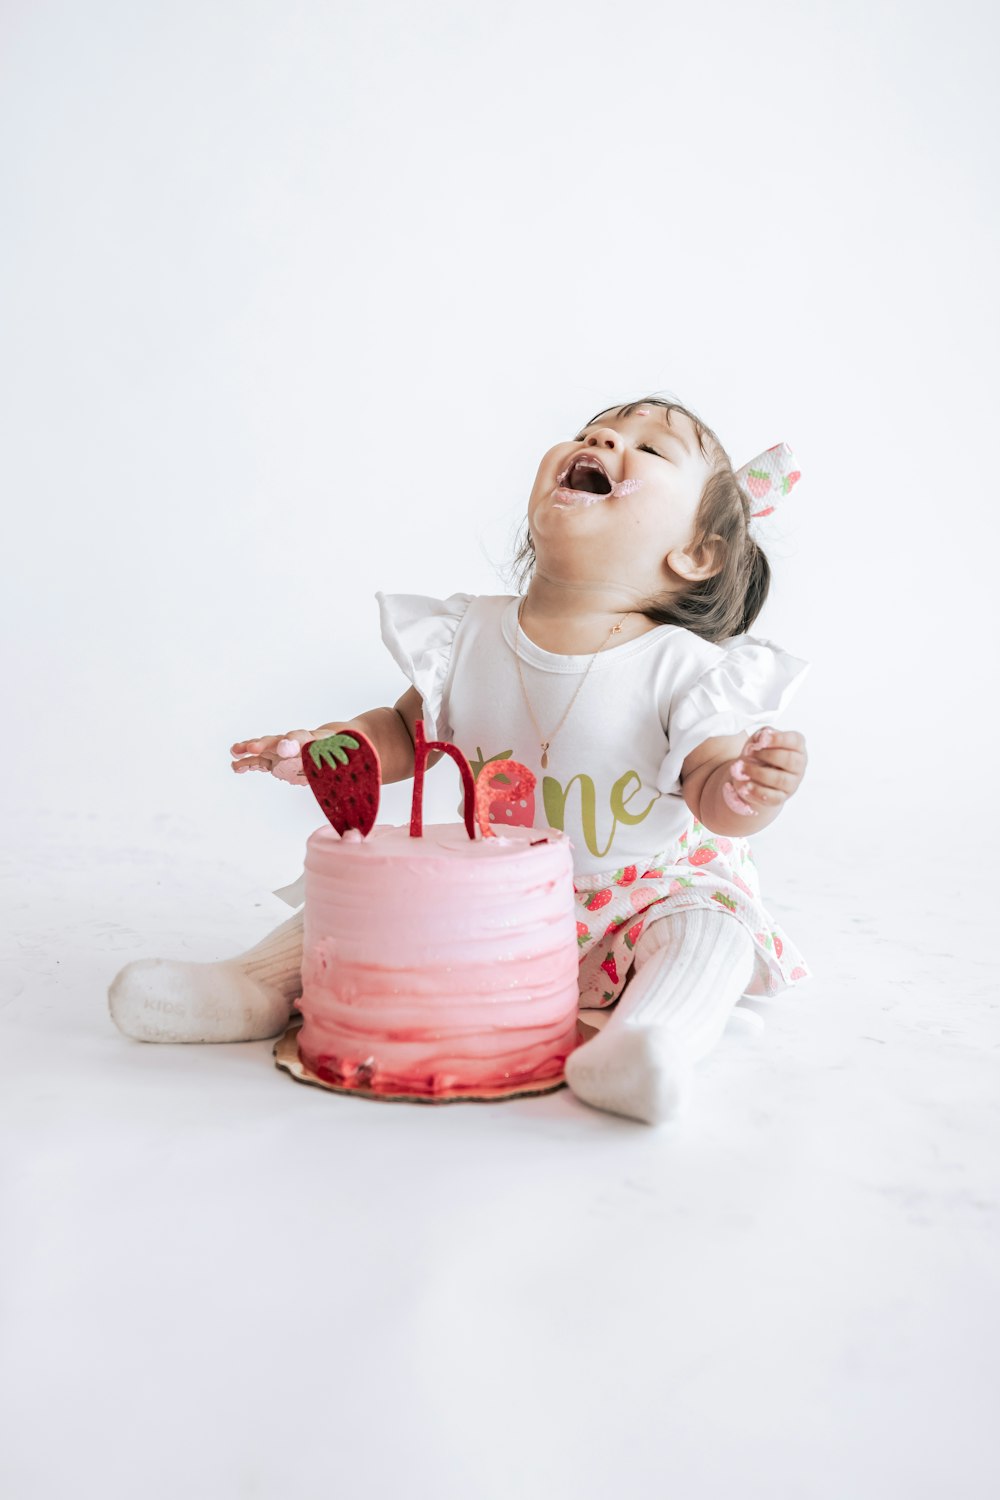
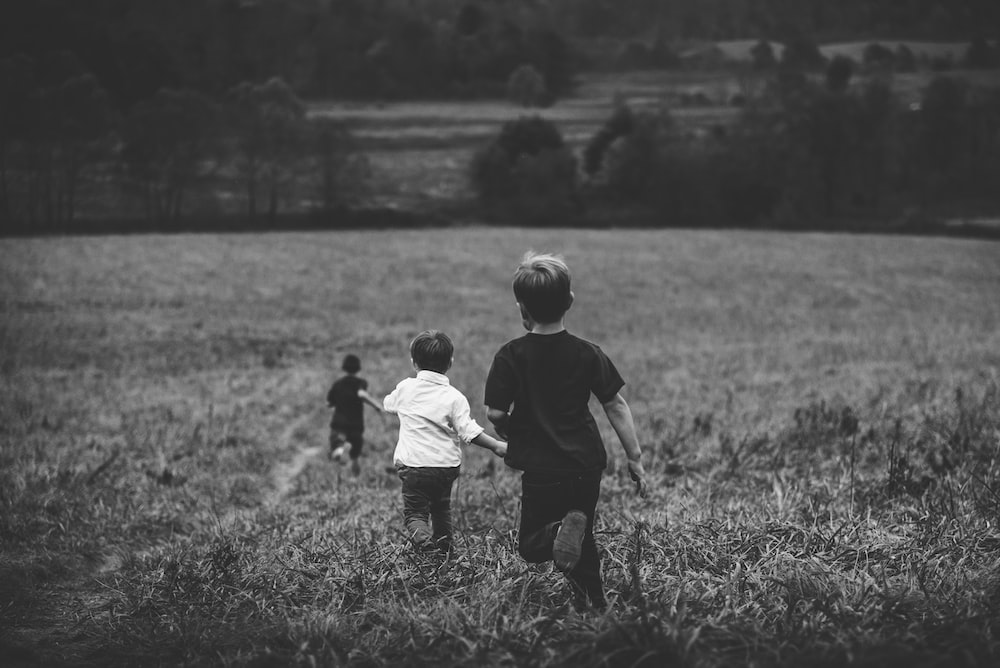
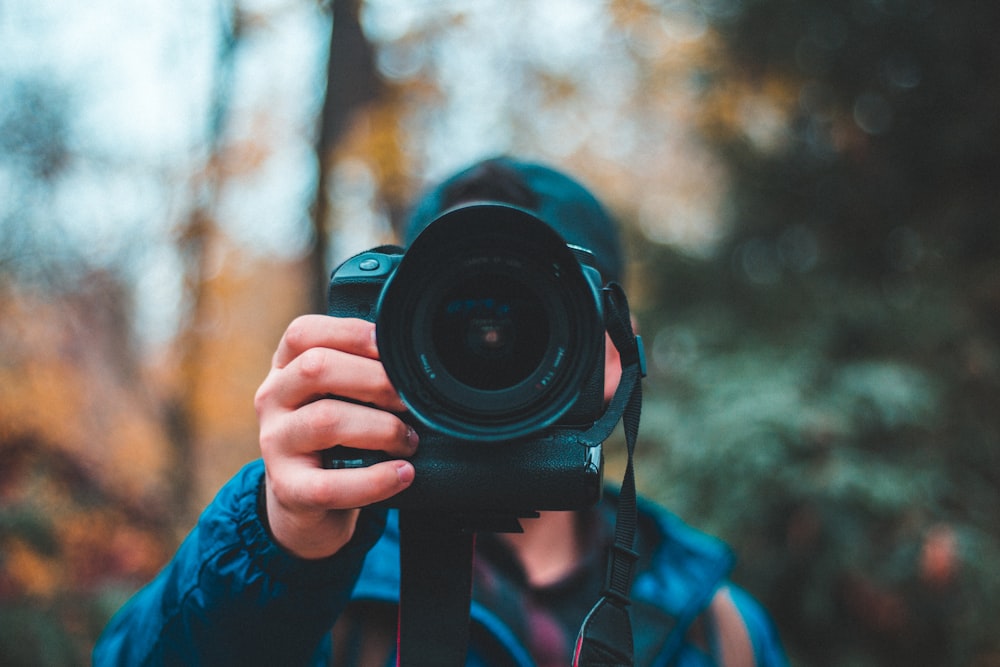
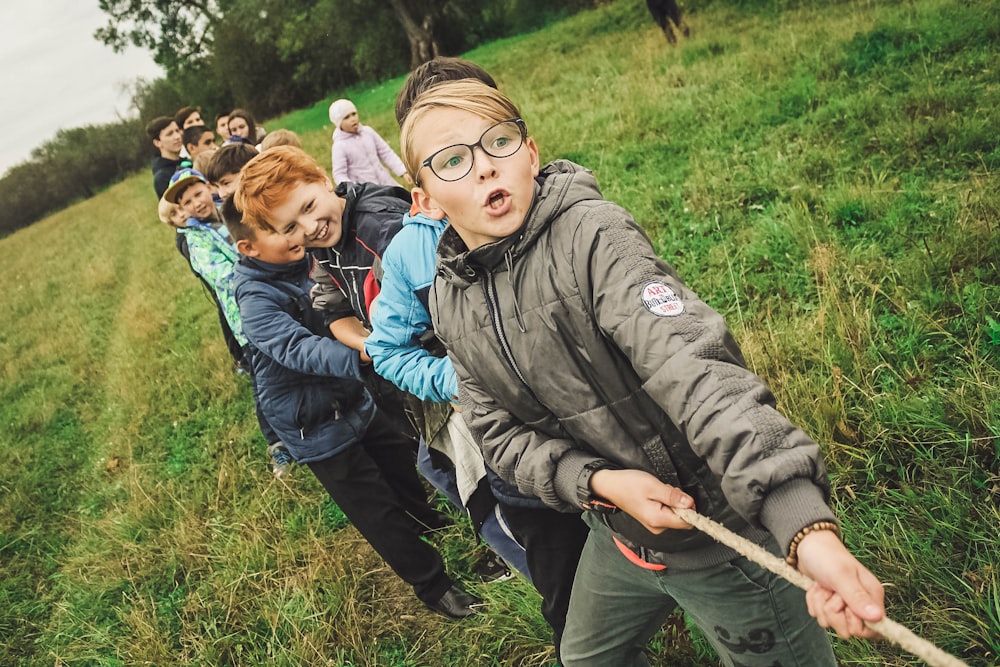
Image via Unsplash.com
It’s advisable to organize your photo shoot around the timetable of your children. To avoid them becoming fussy or irritable during the shoot, try to schedule your work around their naps or feedings.
It is undeniable—and probably not much of a surprise—that cheerful children take far better pictures. We have worked with thousands of children.
However, it may be quite simple to overlook this and unwittingly plan your activities around your personal schedule rather than the times that would be best for your children.
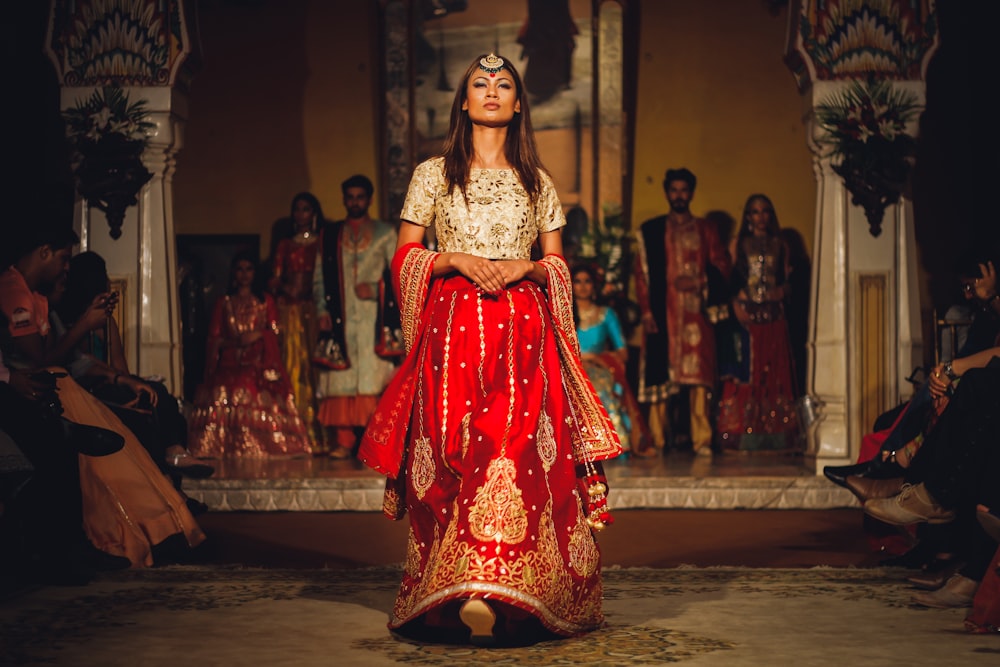
It goes without saying that if you’re having family photos taken, making sure your kids look their best will be a primary focus.
Make them excited so that you are not in stress
You should inform your kids well in advance of the photo shoot if you want them to be enthusiastic. Tell them what is going to occur and let them know what to expect when they arrive. Make it a special occasion to increase their excitement and interest in participating.
It will significantly affect how they behave when they finally get in front of the camera if you can get them excited about having their picture taken. So that they feel included, let them pick out their preferred attire to wear.
Make every effort to let them choose their own clothes, or at least a portion of them, even if mother and dad have to make a few recommendations along the way to steer them away from the superhero suits.
They will be more interested in what is going to happen. If it’s helpful, we can even snap a few pictures of them in their special attire before changing if that’s not the look you’re going for.
Informally discuss it with your children well in advance so they are prepared and are not caught off guard. Casually bring it up in conversation while maintaining that the photo shoot will be enjoyable. Of course, it will be a tremendous deal.
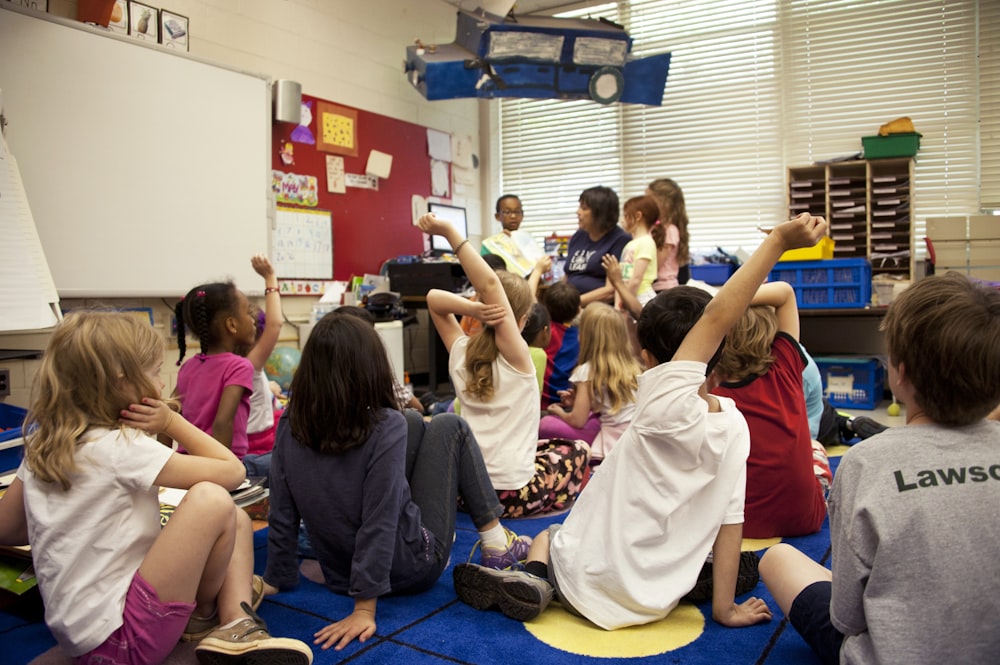
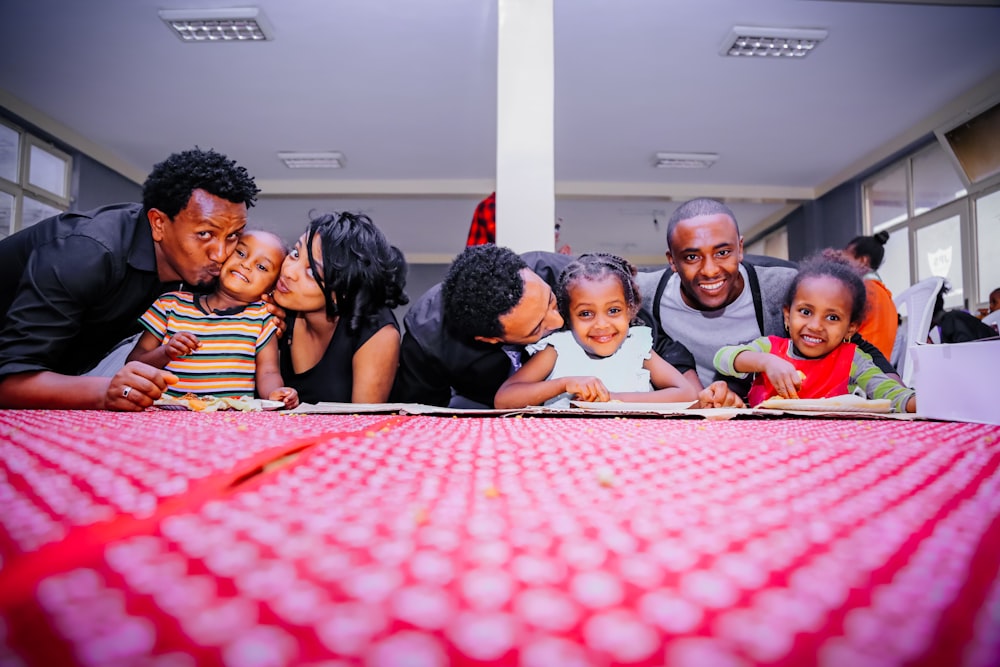
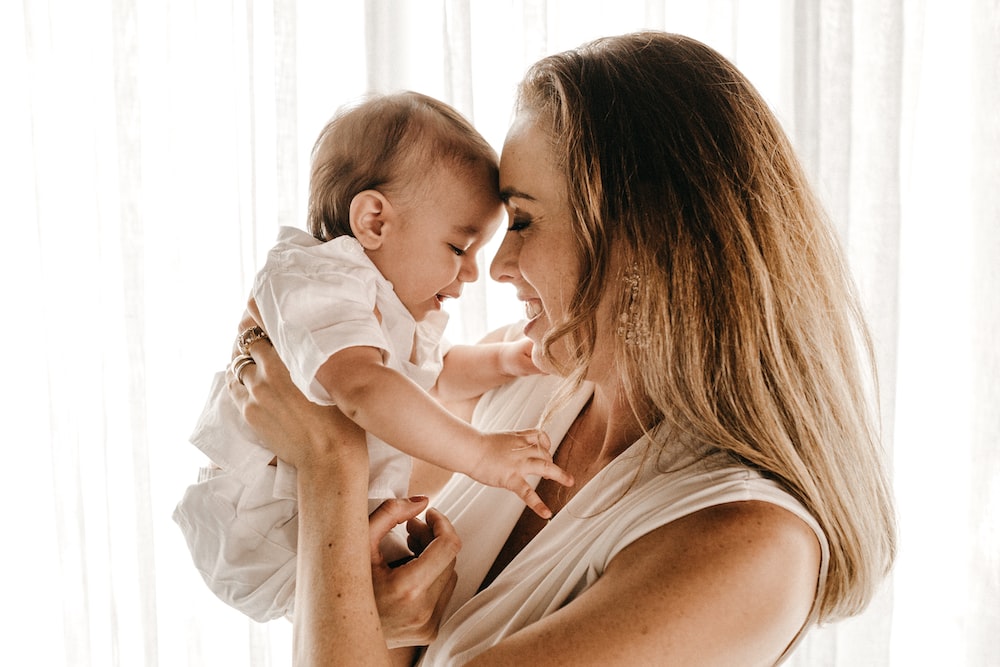
Give them a small treat to relive their stress


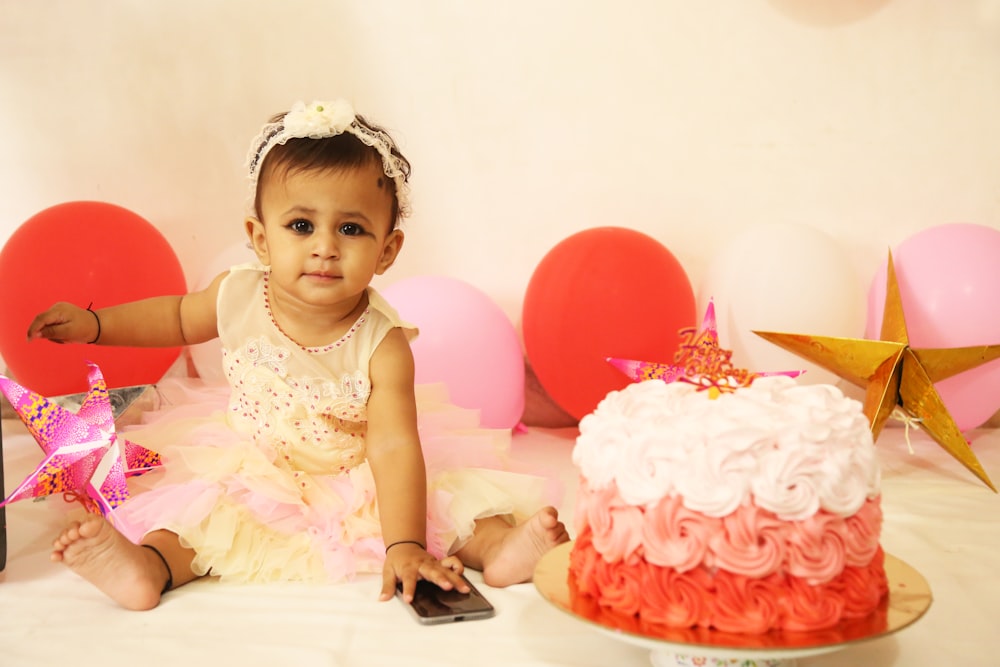
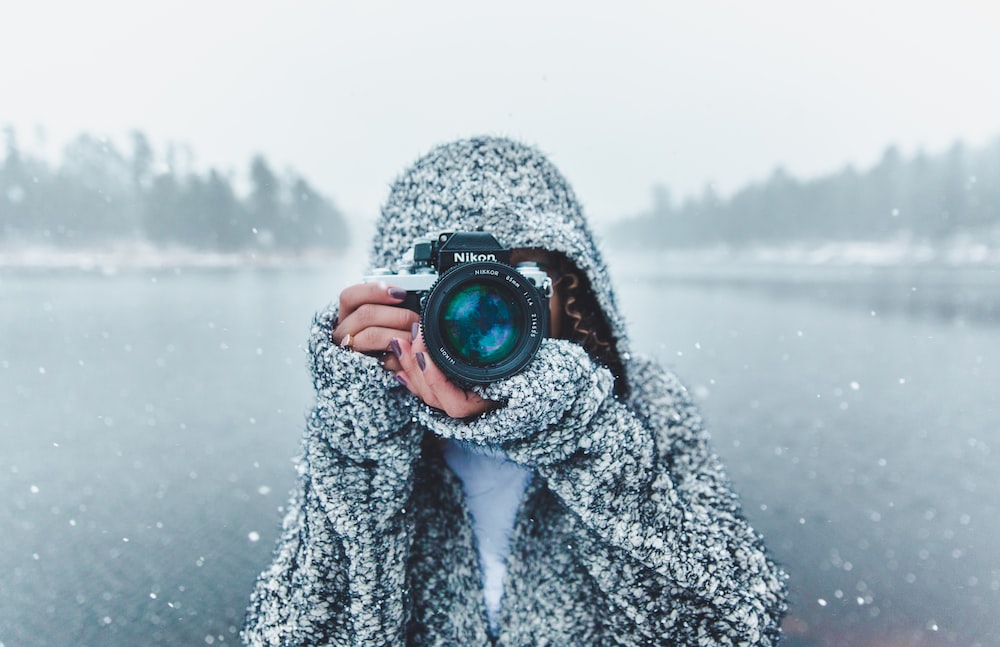
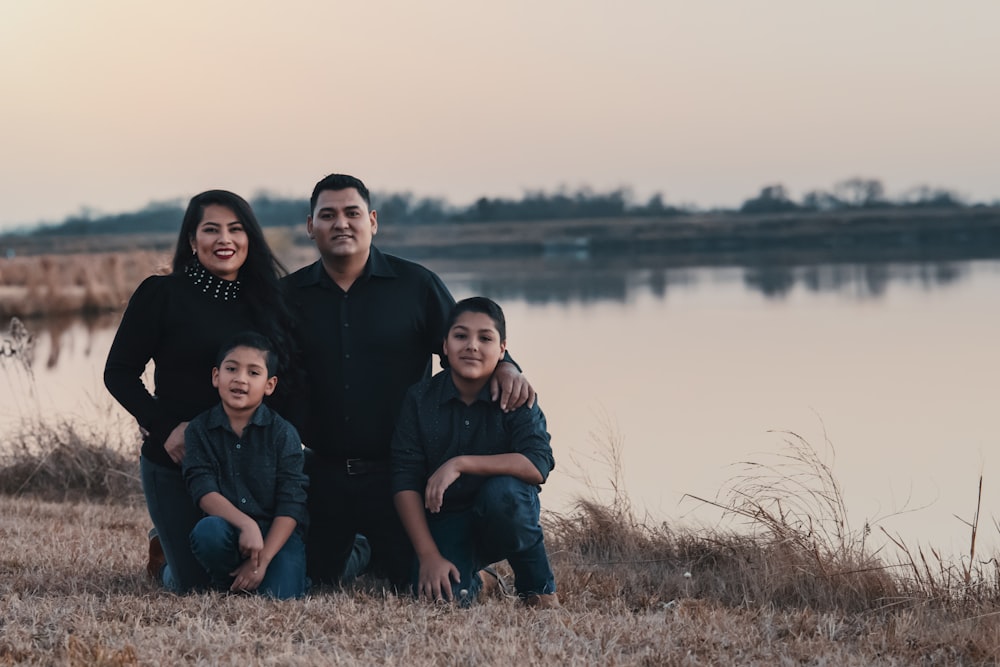
Image via Unsplash.com
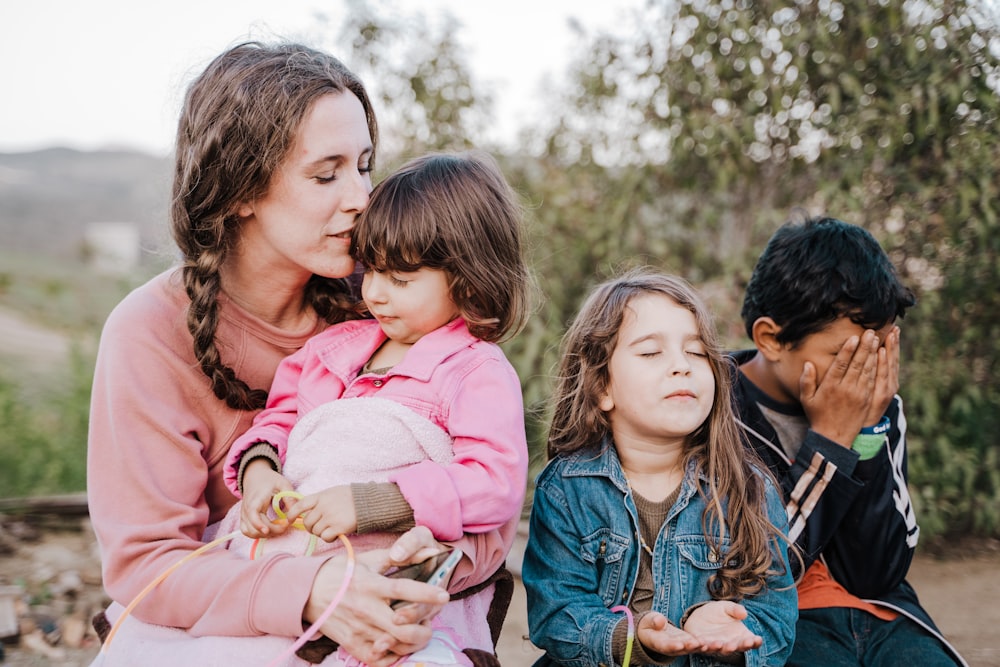
Offering a special gift (such as chocolate or a small toy) after the photo shoot may help children behave, even though you might not enjoy the concept of employing a bribe. A tiny reward can go a long way towards reducing the stress that comes with dealing with an obstinate toddler or preschooler.
If they are experiencing a “moment” at the wrong time, that added incentive might be really helpful. The majority of children like the experience and feel rather special when they are in front of the camera, but it never hurts to have a fallback.
Let your photographer be the instructor
It’s normal for parents to want to instruct their kids during a photo or change their clothes, but this frequently results in parents not looking directly into the camera. Don’t let your concern about what your children are doing effect how you appear in the pictures.
Let us take charge; we’ve dealt with everything you can think of and done this countless times before. You should just concentrate on dressing to impress and getting ready for the camera.
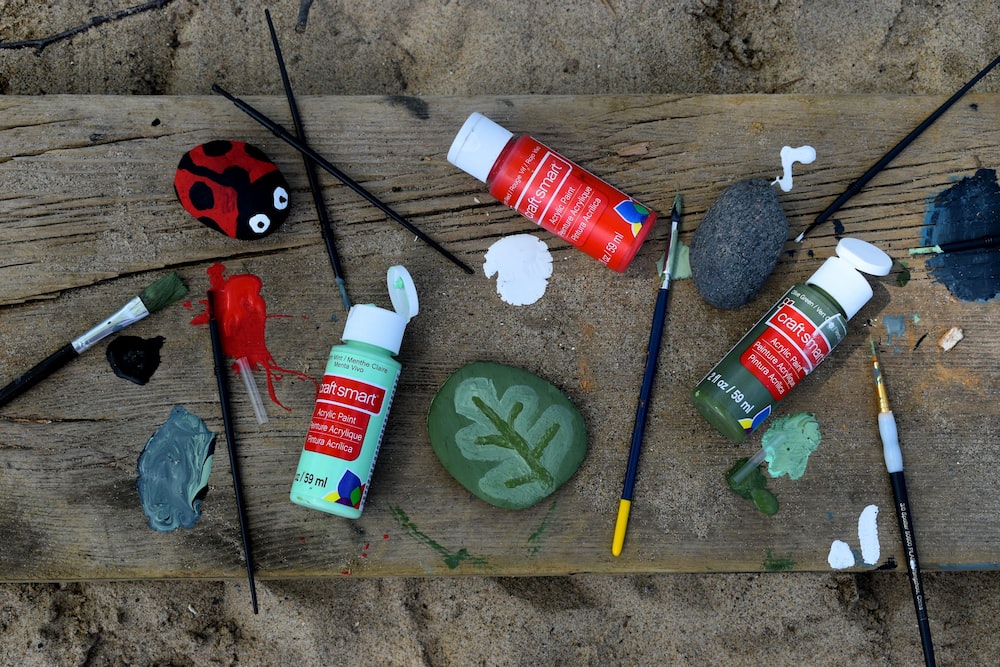
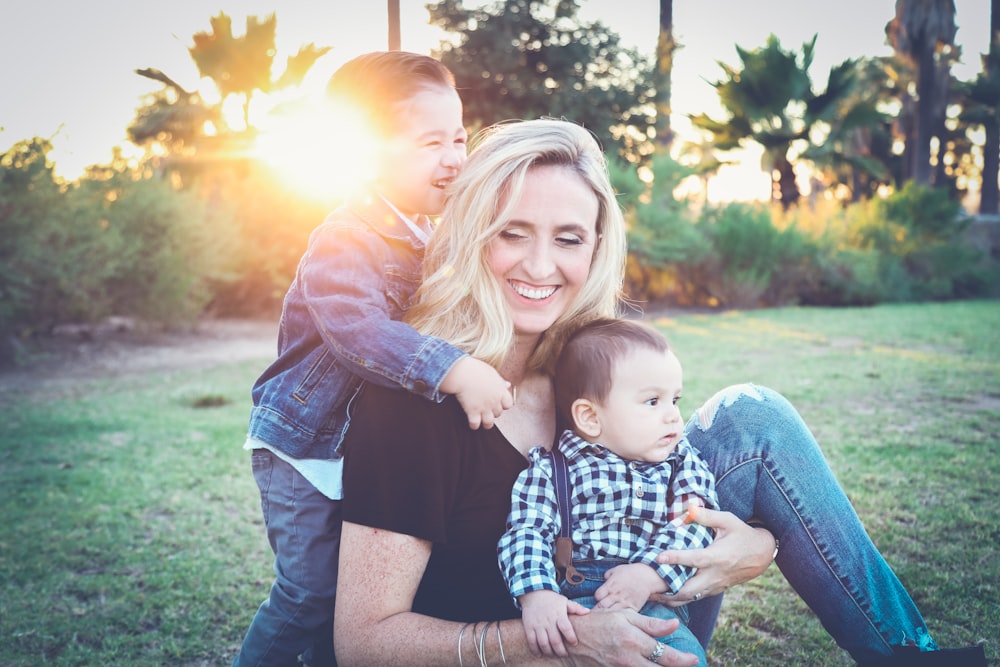
Preplan everything for stress free photoshoot


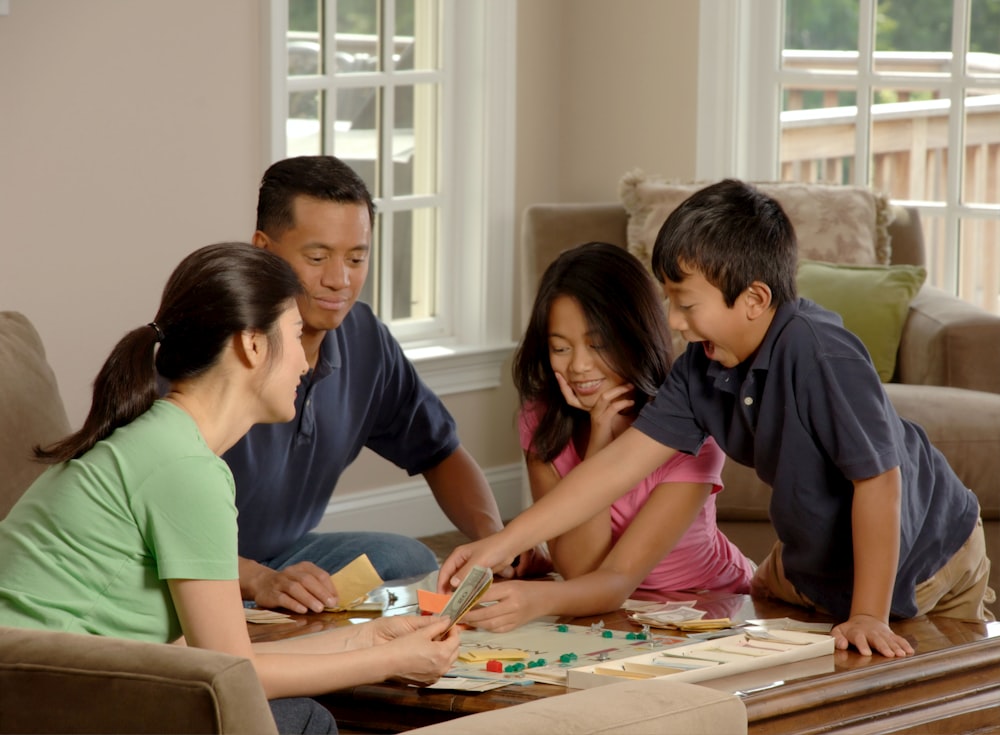
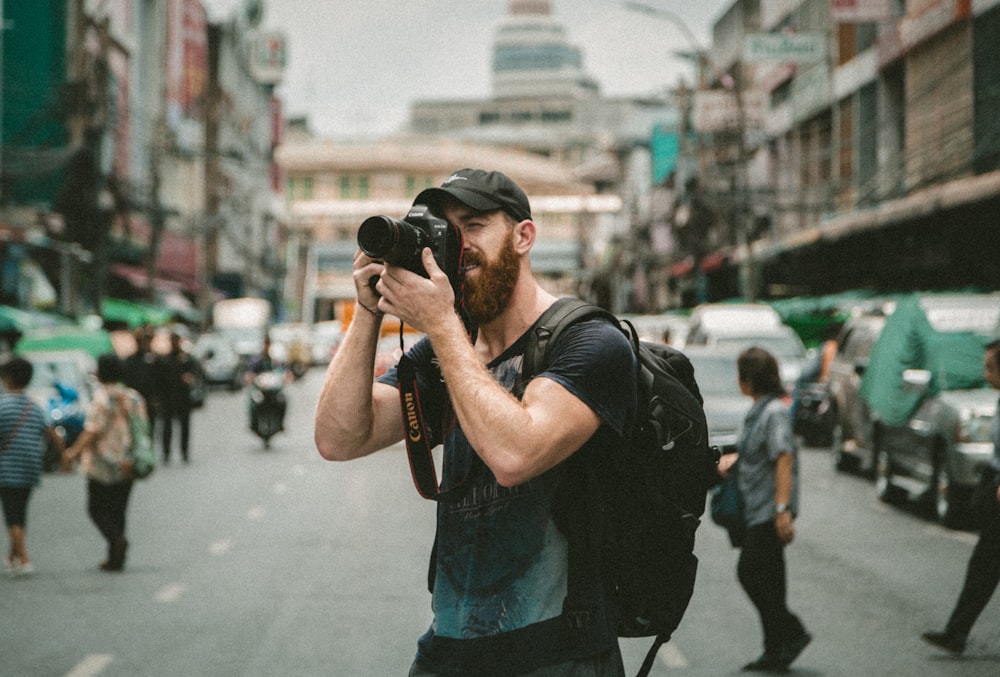
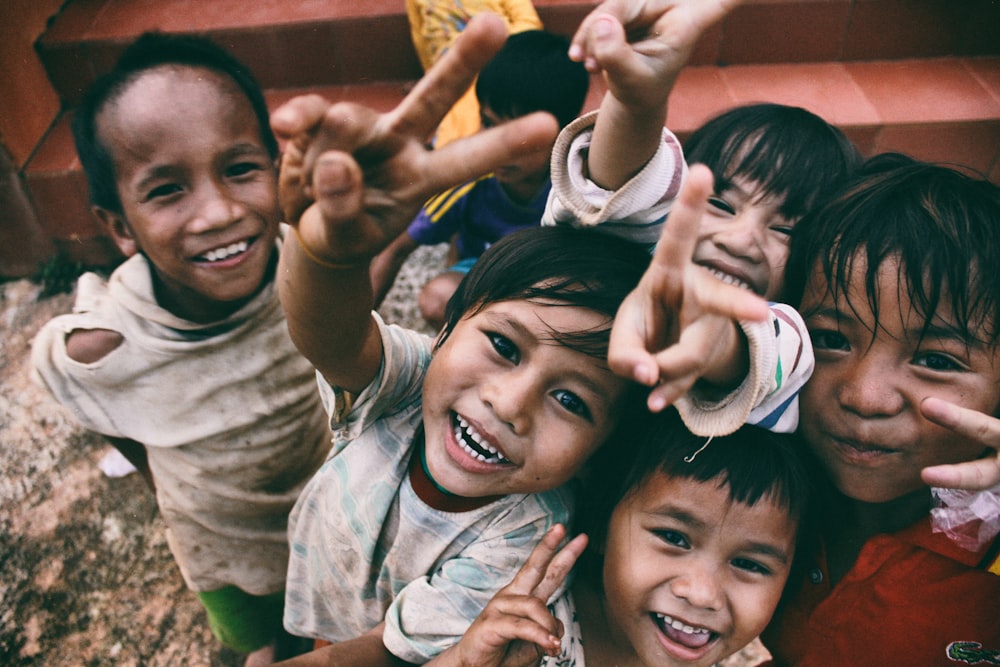
Image via Unsplash.com
The shot should be planned well in advance. Visualizing the picture session is the first stage in the planning process. Put the shoot on your calendar.
Prepare yourself mentally and physically weeks before; go through the kids’ closets to see what clothes they can wear, what accessories they can use, and what you might need to buy to supplement the clothes if necessary.
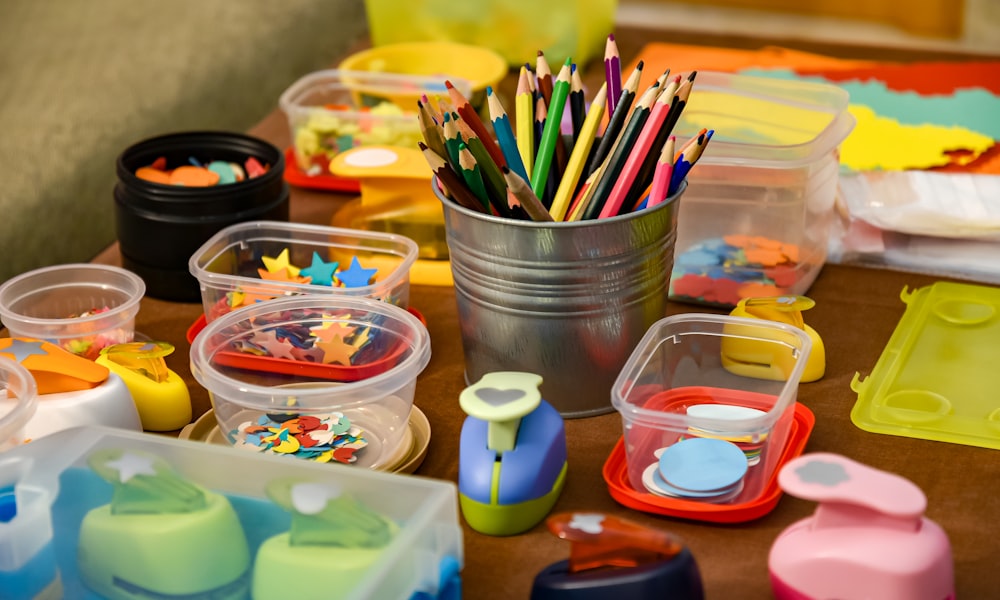
Choose well-lit regions of your home to use for the shoot, or if you’re heading to a nearby park, choose the location in advance. What playthings and props, if any, are available that match the theme and color scheme of the photo shoot, such as their favorite teddy bear, Legos, craft supplies, etc.?
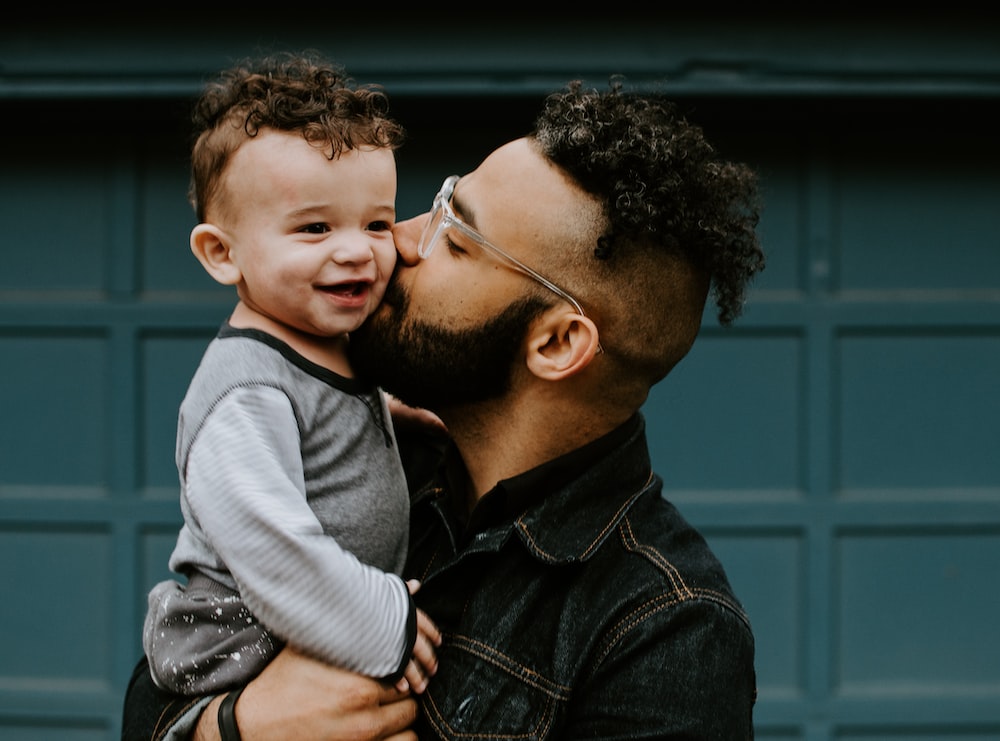
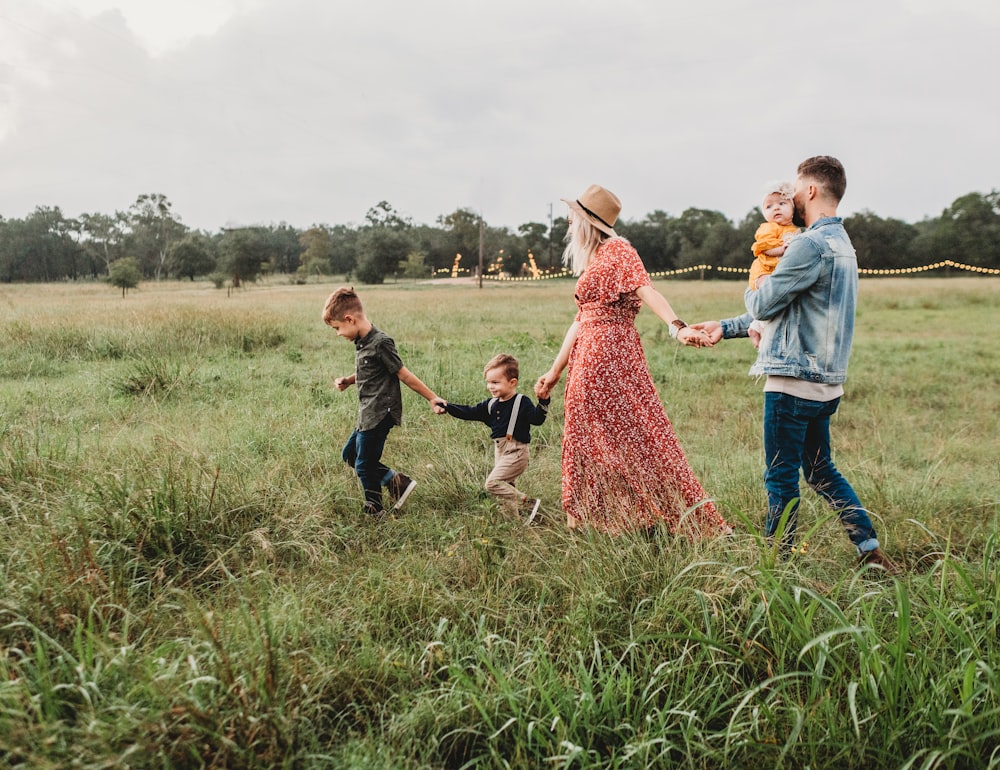
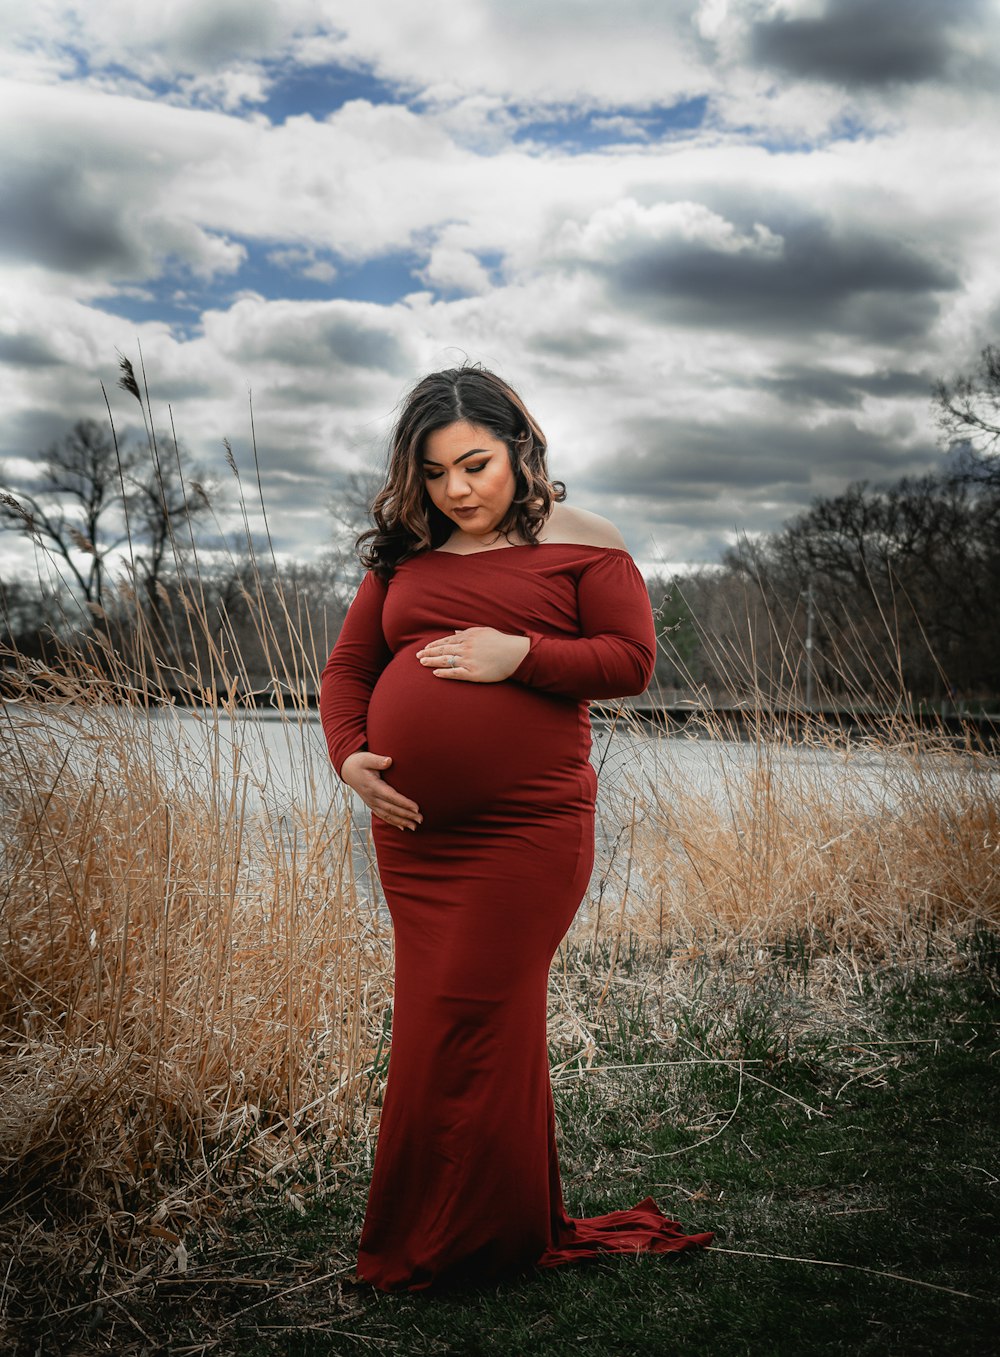
Enjoy the stress free experience
Of course, we get your desire for each photo to be flawless, but your main priority should be taking in the moment with your family and kids.
The moments that appear least ideal at the time are frequently the ones that turn out to be the most idyllic. Don’t have preconceived notions about how the ideal family portrait should look. Rather, concentrate on enjoying the ideal family times.
When your family is interacting joyfully with one another, it really shows that we are capturing them in the most natural way possible. Your photos will be better and your kids will have more fun the more fun you are having.
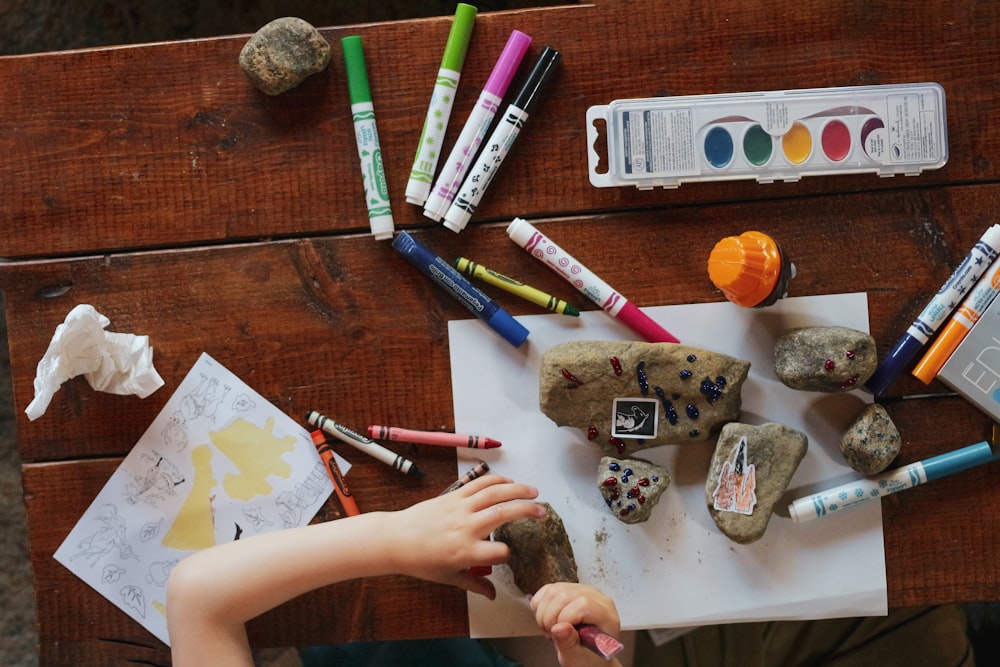
Preparing your home for the shoot


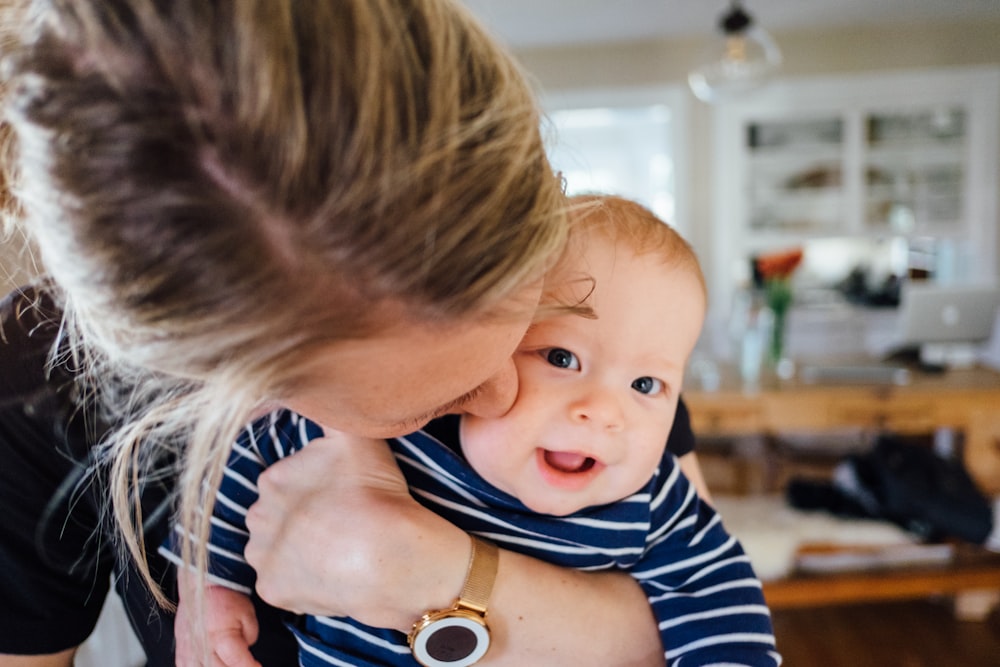
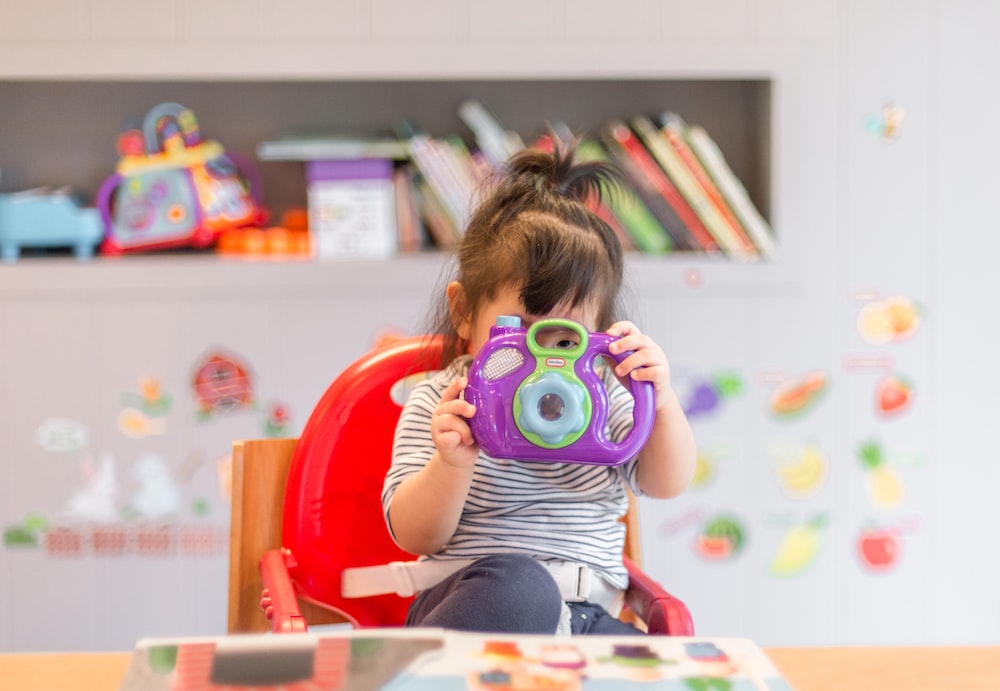
Image via Unsplash.com
Remove debris and other items you don’t want to appear in the photos from the areas you want them to sit in. Select a location with plenty of natural light, such as close to a window. Place some of your favorite toys nearby in a bag.
Prepare your camera’s settings and set your camera aside. Create a distinct area for your youngster to sit in as well as a separate area for you. One toy should be removed from the bag you have already packed and placed in your child’s area. Your child is welcome to play with it.
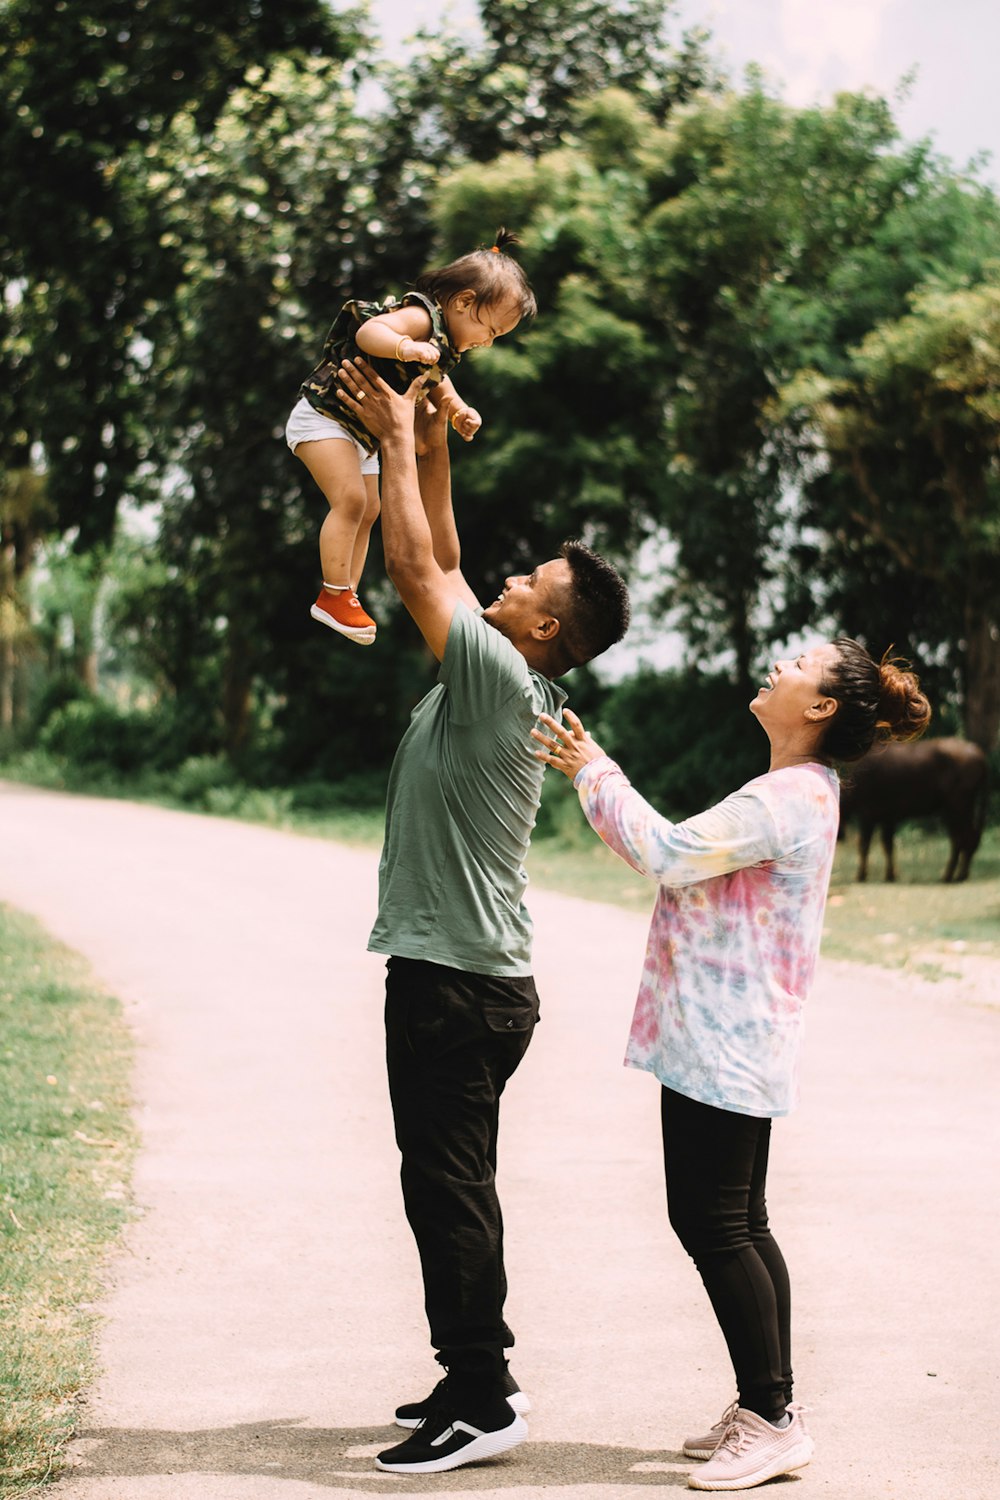
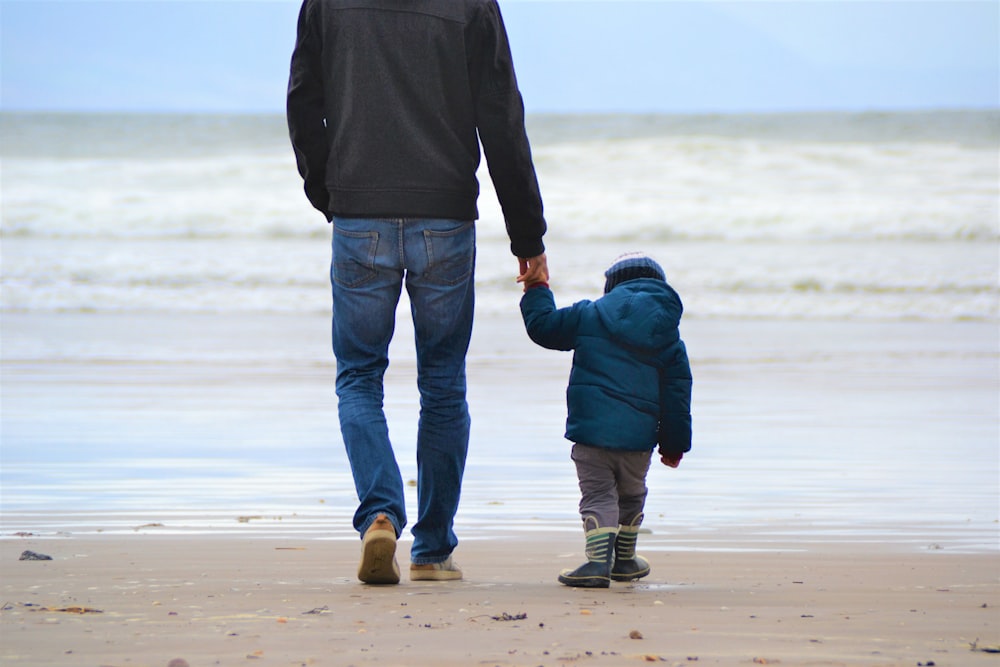
Be a little adventurous


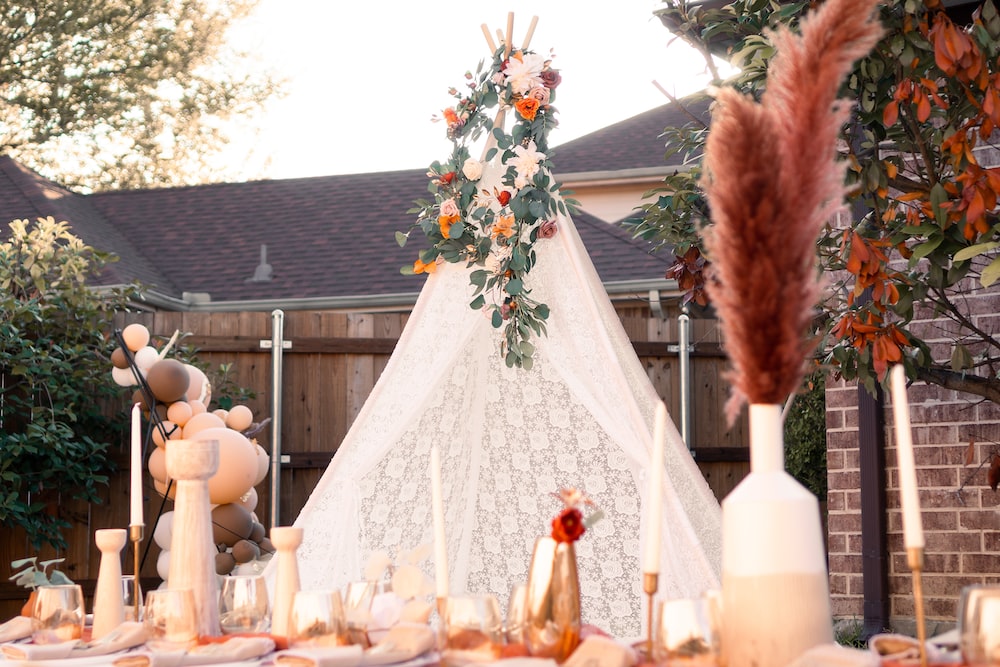
Image via Unsplash.com
Set it up well so it stands out if you’re having the shoot in your yard or on your patio. Additionally, keep it a surprise to pique their interest. Use a tent, some buntings, or a teepee, for instance. Or even better, take them on a picnic or adventure in your neighbourhood park. Make sure that they have a memorable time during the photo shoot.
USEFUL LINKS:
Enjoy a stress free photographing with your kids, click here
Learn how to build a toddler’s bed from scratch


![750+ Kids Pictures [HQ] | Download Free Images on Unsplash](https://images.unsplash.com/photo-1658801956904-43841e89d831?ixlib=rb-4.0.3&ixid=M3wxMjA3fDB8MHxzZWFyY2h8Mnx8a2lkc3xlbnwwfHwwfHx8MA%3D%3D&w=1000&q=80)


![750+ Kids Pictures [HQ] | Download Free Images on Unsplash](https://images.unsplash.com/photo-1540479859555-17af45c78602?ixlib=rb-4.0.3&ixid=M3wxMjA3fDB8MHxzZWFyY2h8M3x8a2lkc3xlbnwwfHwwfHx8MA%3D%3D&w=1000&q=80)

![Best 500+ Happy Kids Pictures [HD] | Download Free Images on Unsplash](https://images.unsplash.com/photo-1498674202614-ac0172c6c61a?ixlib=rb-4.0.3&ixid=M3wxMjA3fDB8MHxzZWFyY2h8NXx8aGFwcHklMjBraWRzfGVufDB8fDB8fHww&w=1000&q=80)