Master the Art of Tackling in Football
Your players will stay safe and your team will win if you tackle with the proper technique and fundamentals. You can master the ability to shoot up and into the offensive player with a high degree of quickness, accuracy, and power. With the proper fundamentals, you’ll never again be trucked over, get juked out of your shoes, or make a lazy arm tackle.
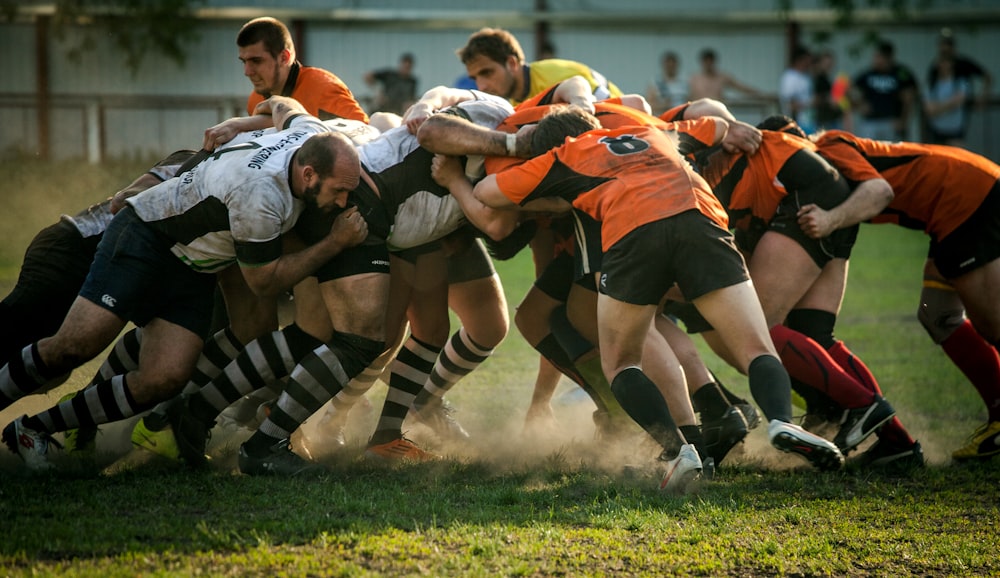
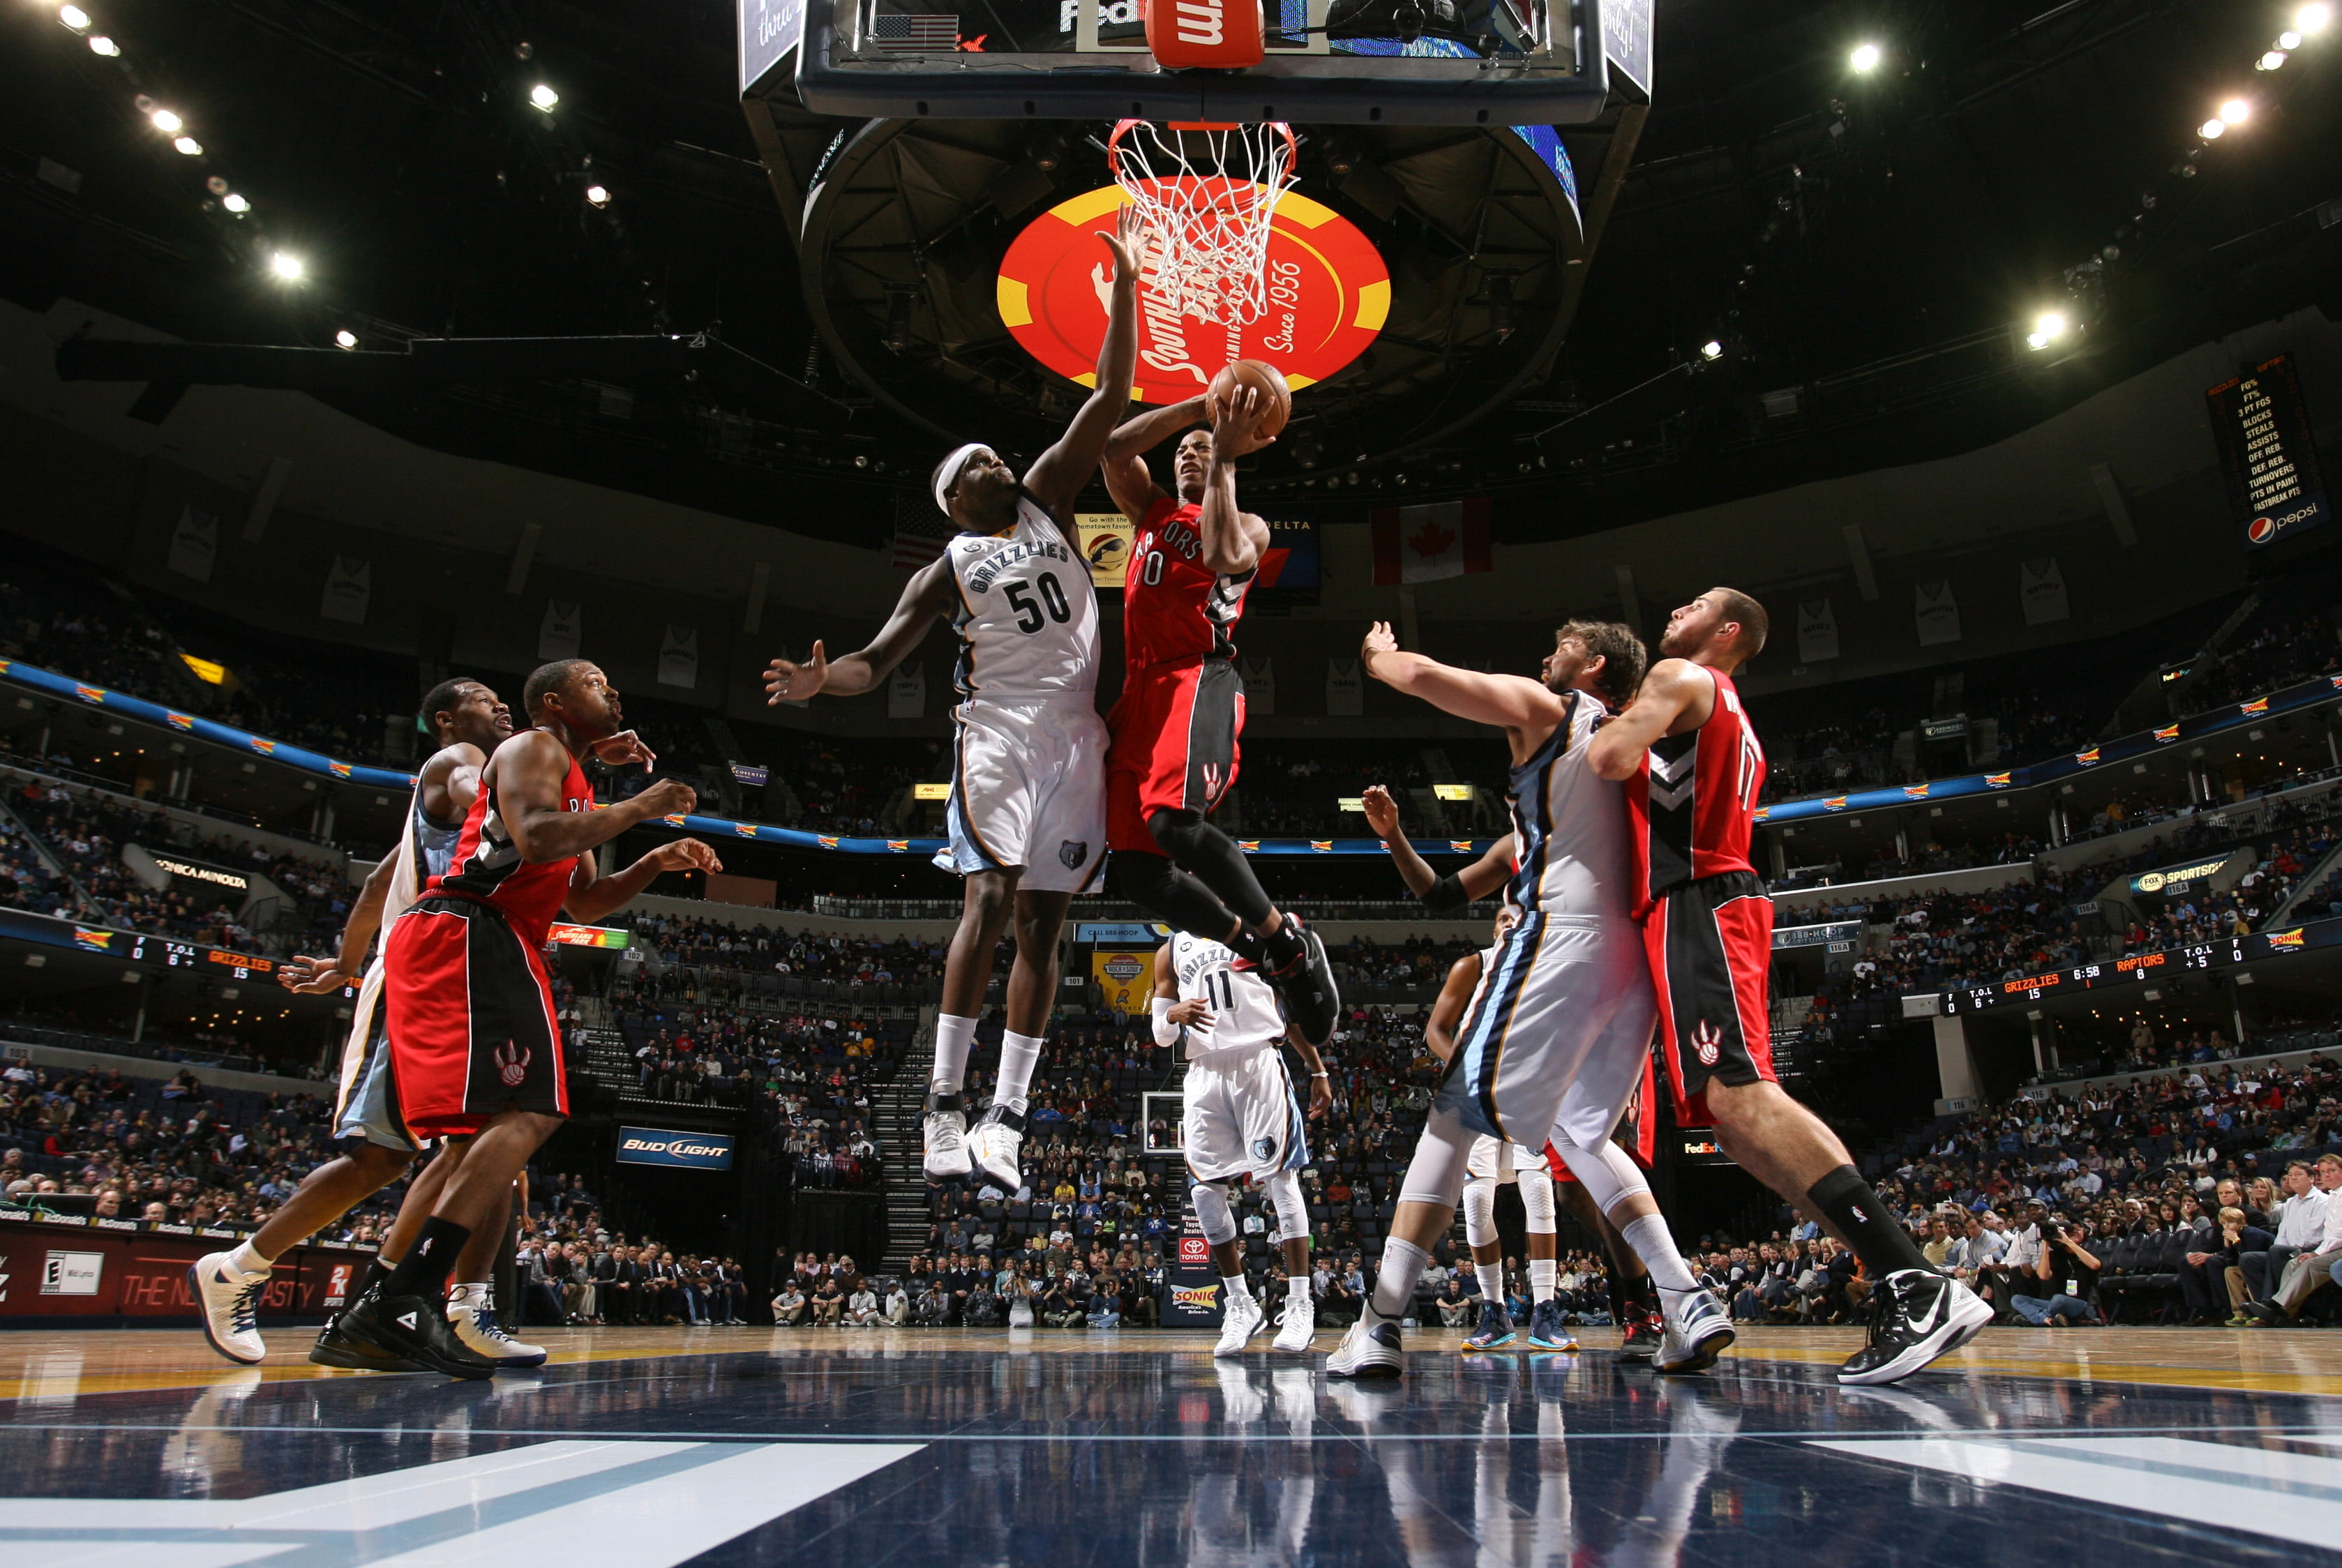
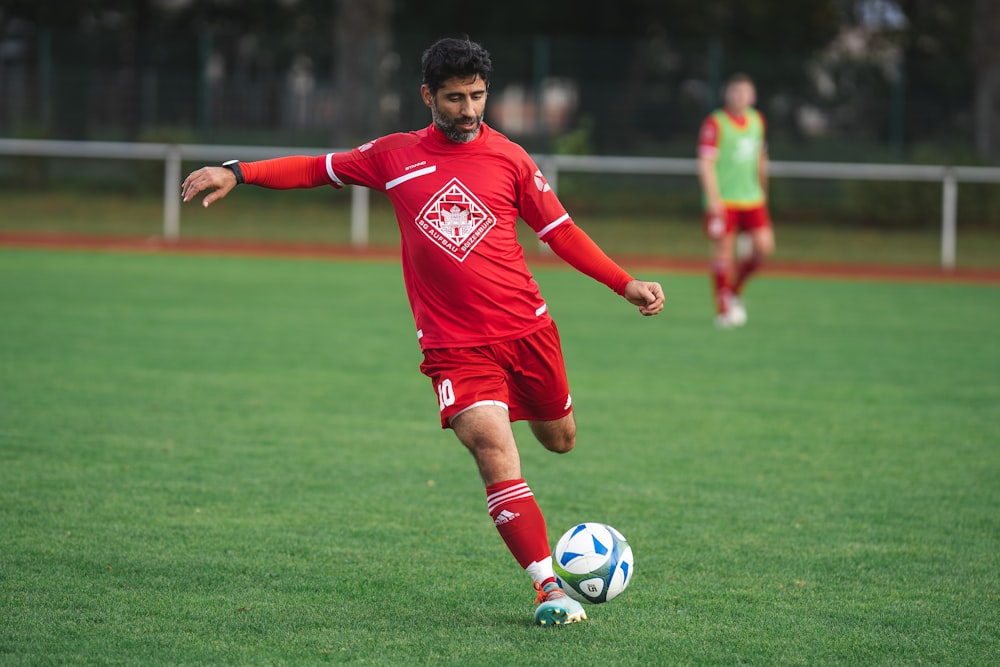
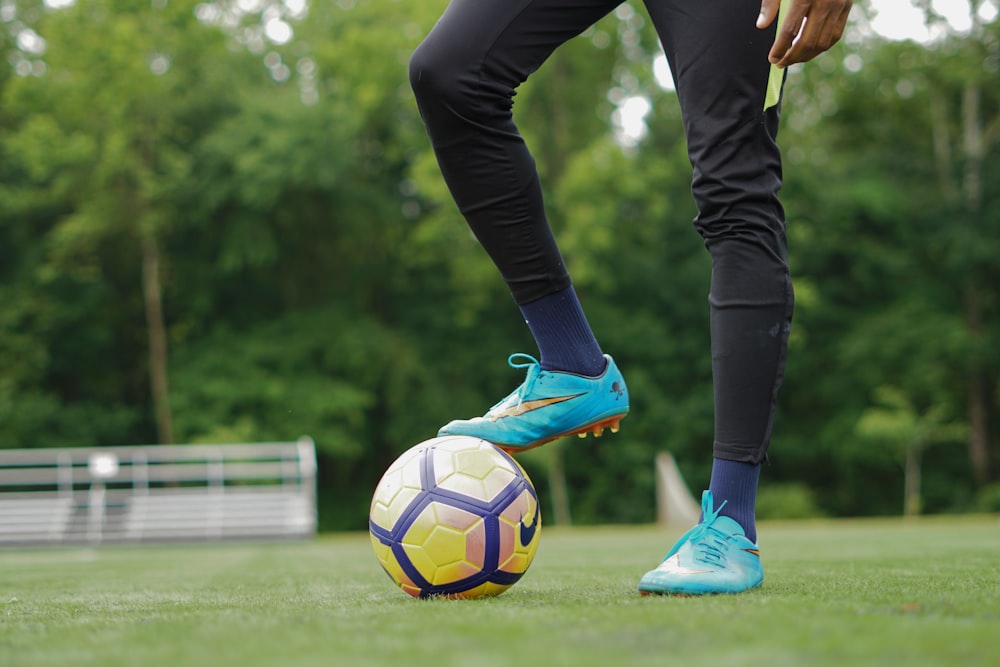
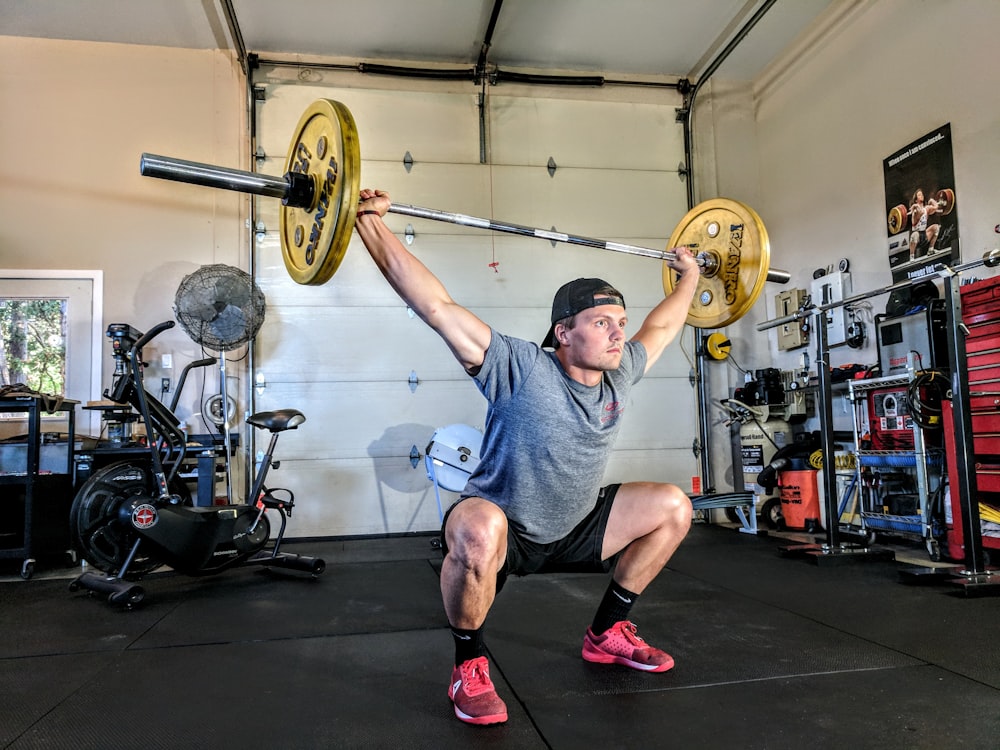
Shoulder feet width apart: master football tackling
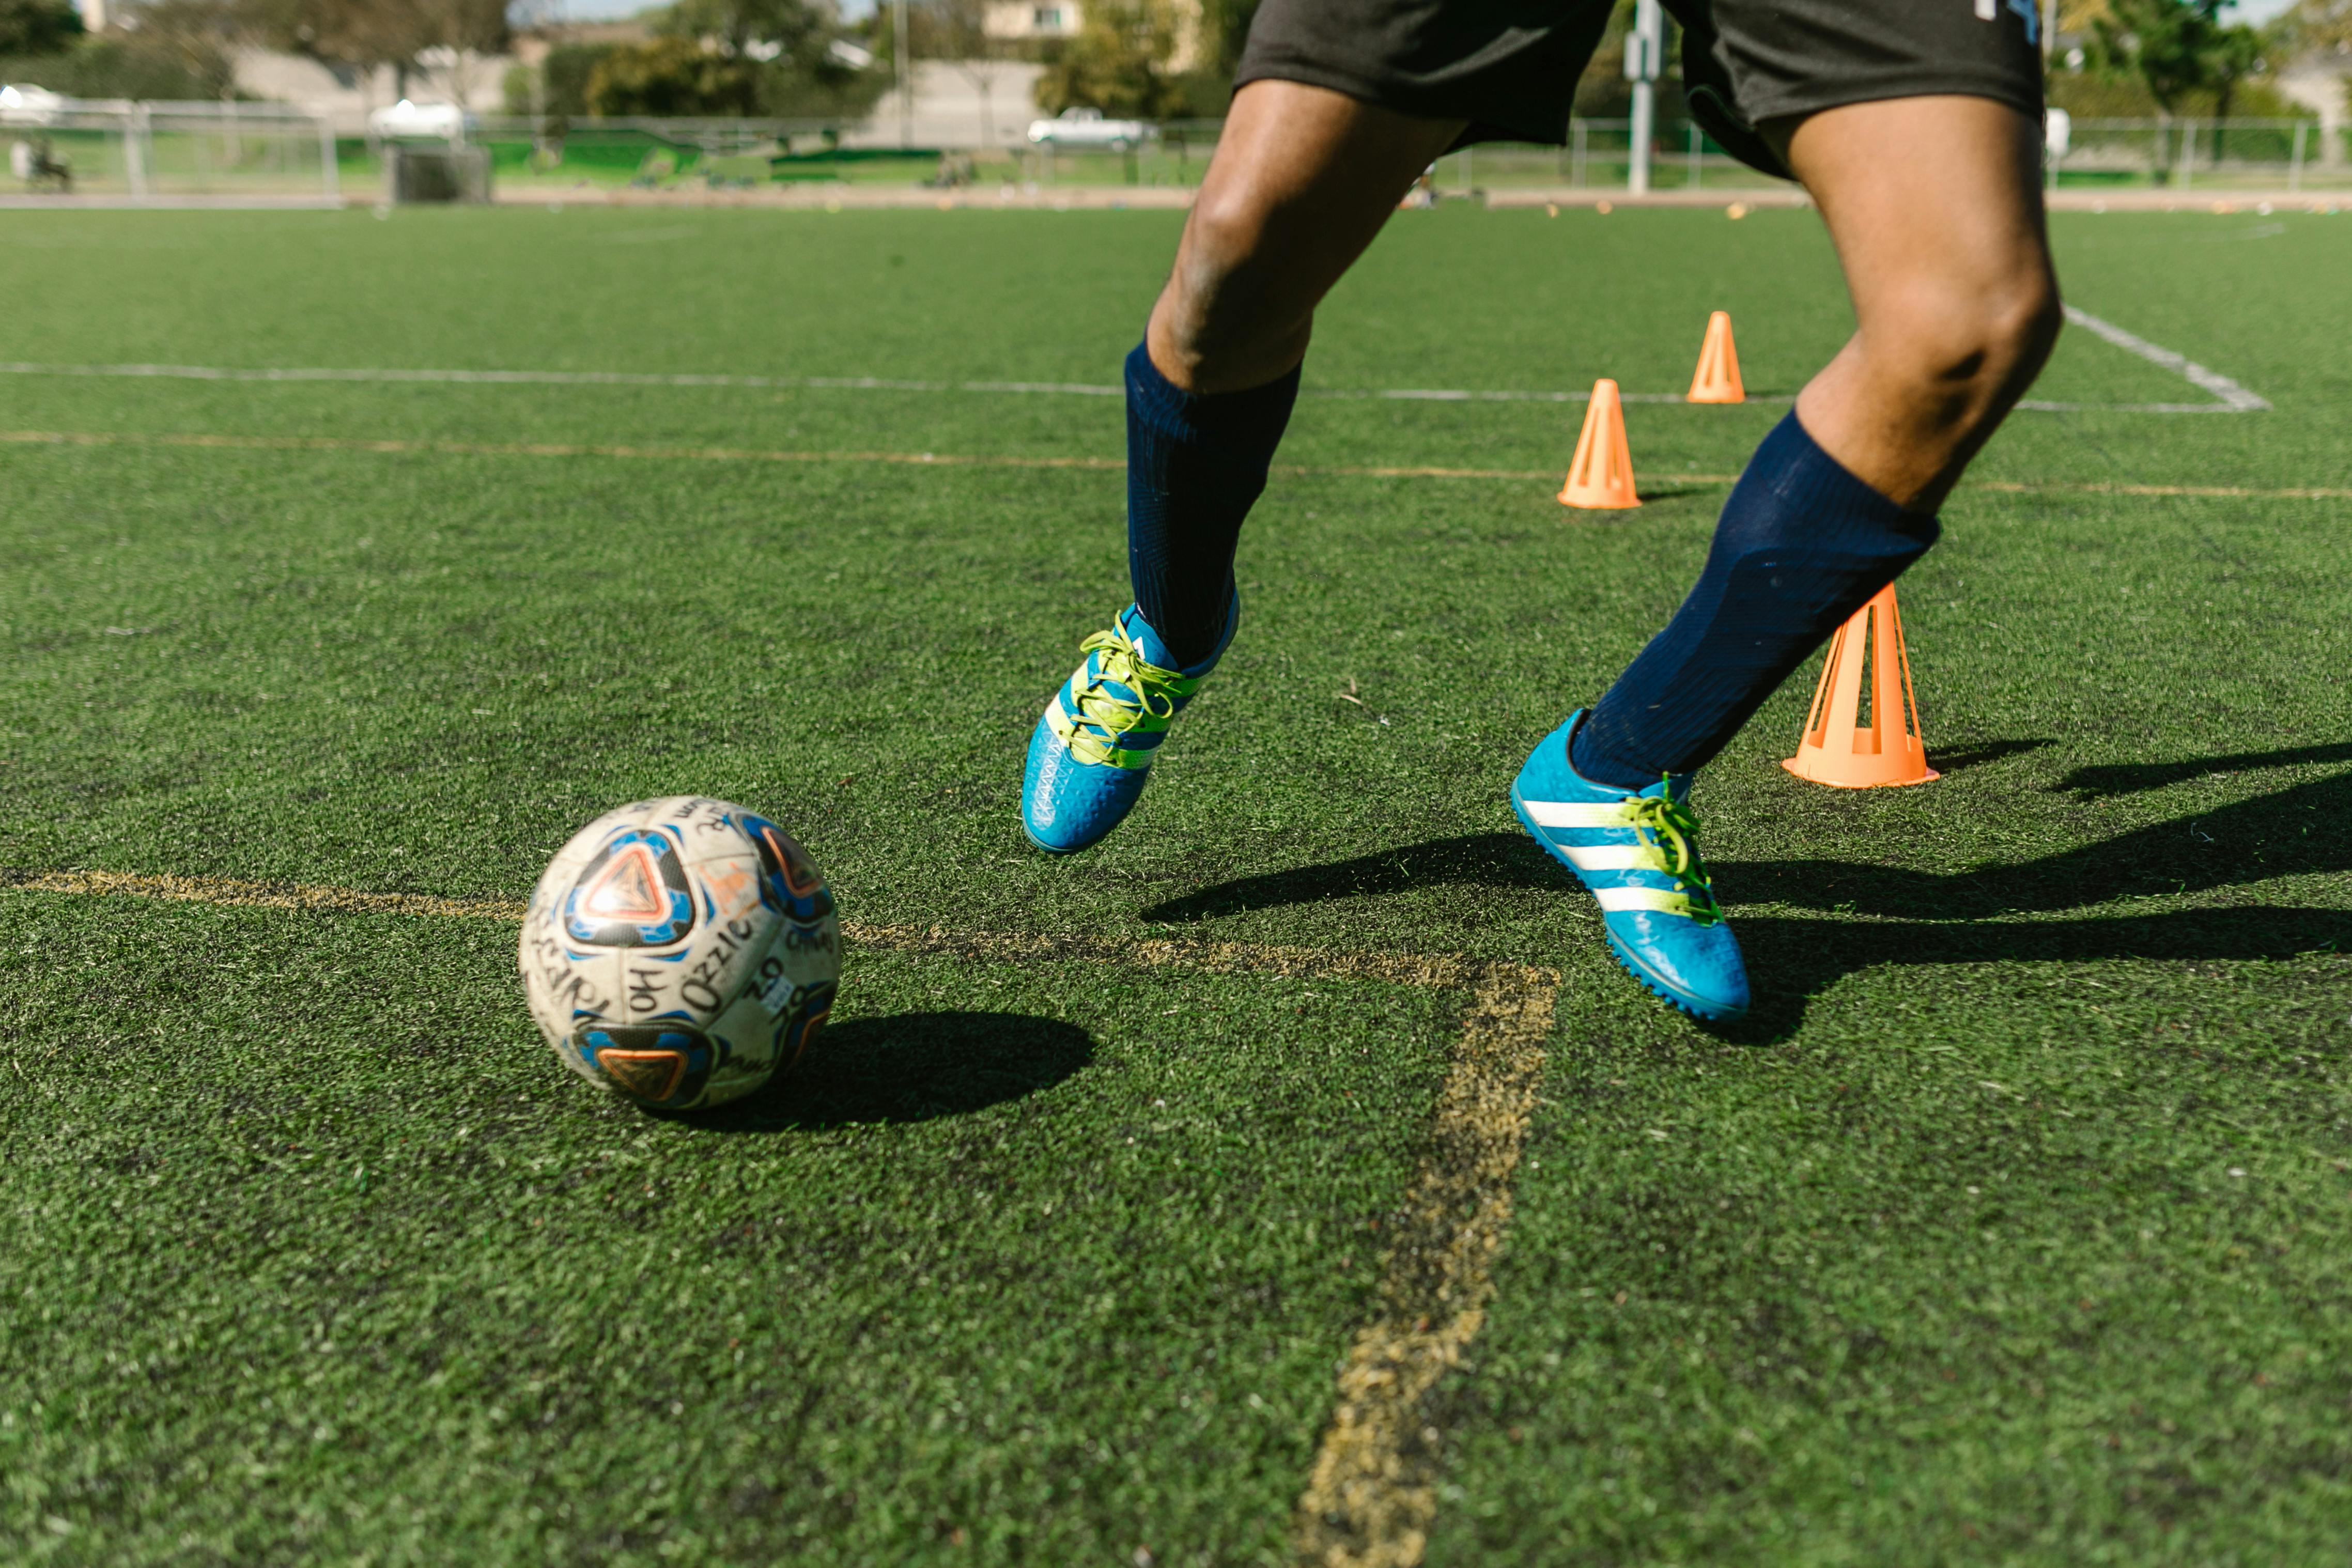

Image via Pexels.com
You must always maintain correct tackling technique, staying low and striking with a wide base, in order to tackle effectively and safely. Start by keeping your feet shoulder width apart and your knees slightly flexed to learn the proper form.
Keep shoulders back
Work on keeping your shoulders back and down to give yourself the maximum power and control during tackles. Practice standing with a wide, powerful base and keeping your shoulders back. It might feel a little funny at first, like you’re sticking your chest out and standing like a duck.
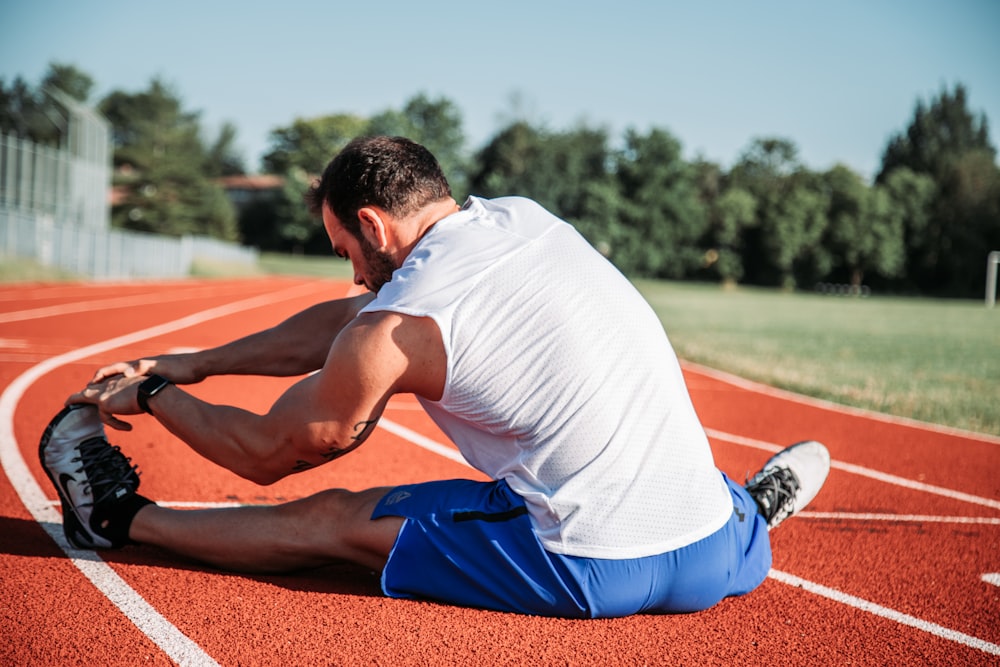
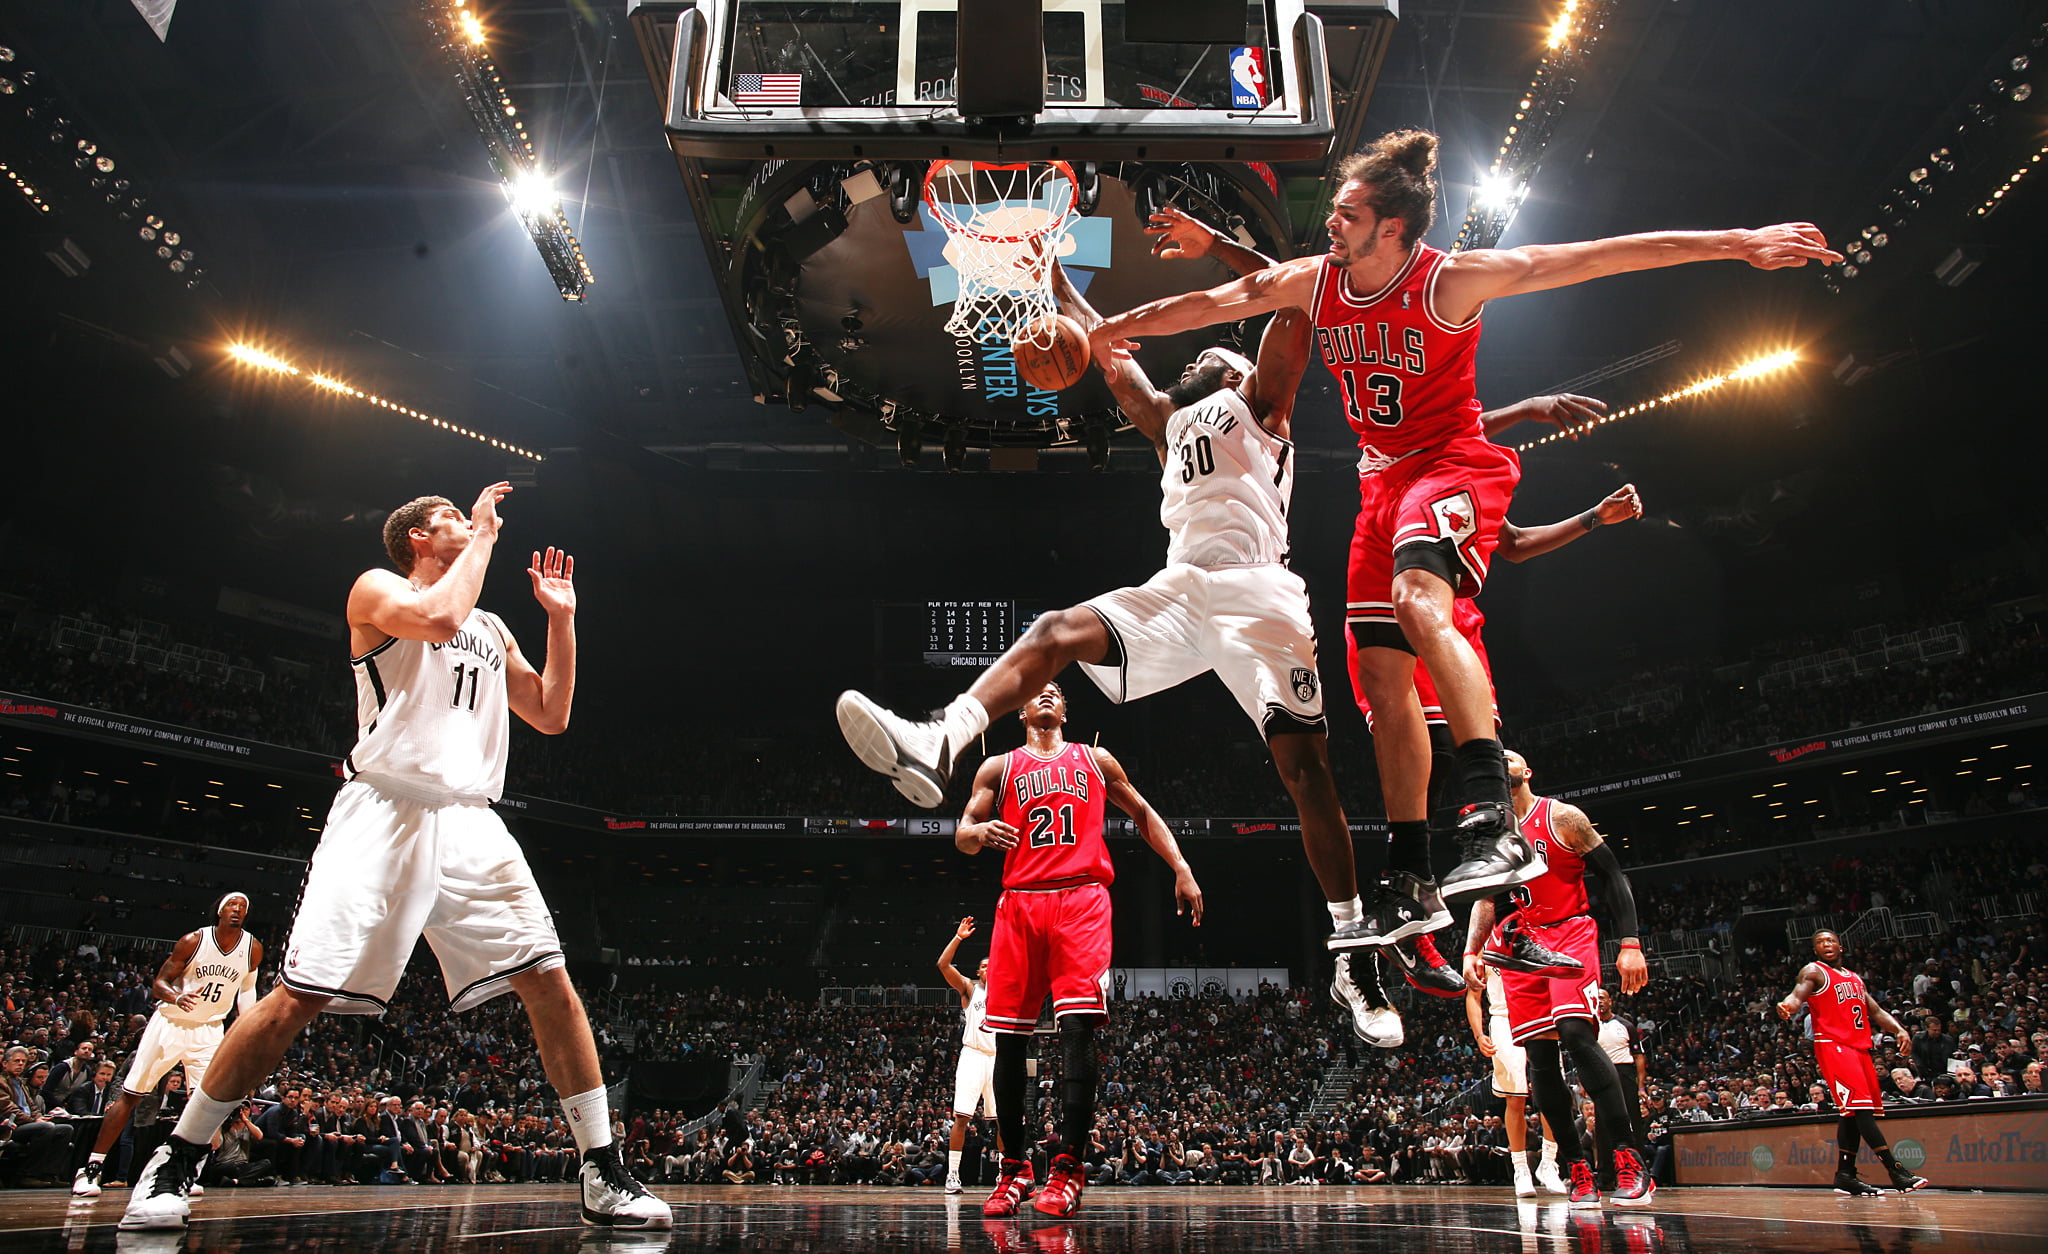
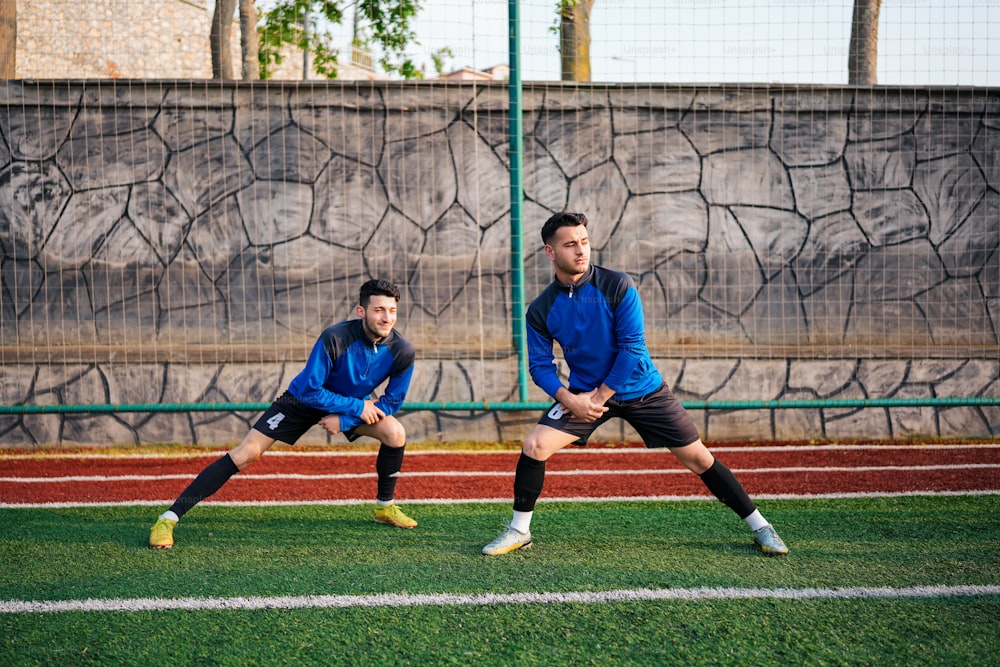
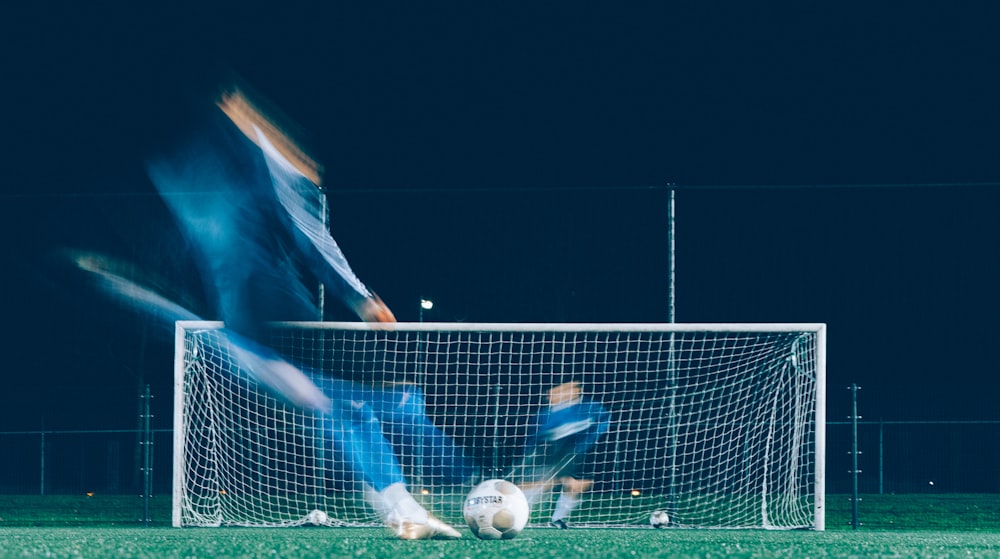
Get low: master football tackling


Image via Pexels.com
Getting low and maintaining an approximately 45-degree angle with your back, which should be straight because your shoulders are back, are essential for proper tackling form. Bring your hands up into what is commonly referred to as the “Breakdown” position, which is your fundamental tackling form, while squatting with your feet still shoulder width apart.
Feet buzzing
When you’re ready to tackle, you should move in numerous little, rapid steps. Some trainers refer to this as “buzzing” the feet, or moving ahead with brief, nimble steps.
In this fundamental position, practice shuffling forward, backward, and sideways while bouncing your feet at all times. When you’re defending the run, in particular, you need to be prepared to leap into action in any direction at any time. To tackle well, one must first get mobile in this position.
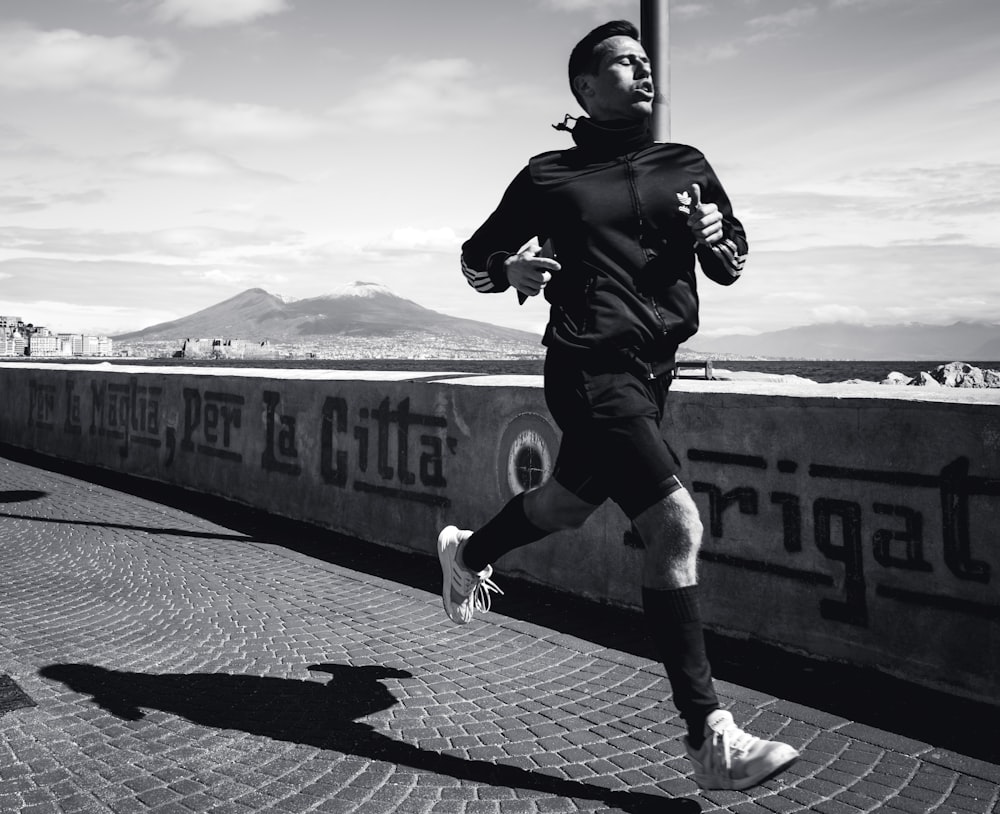
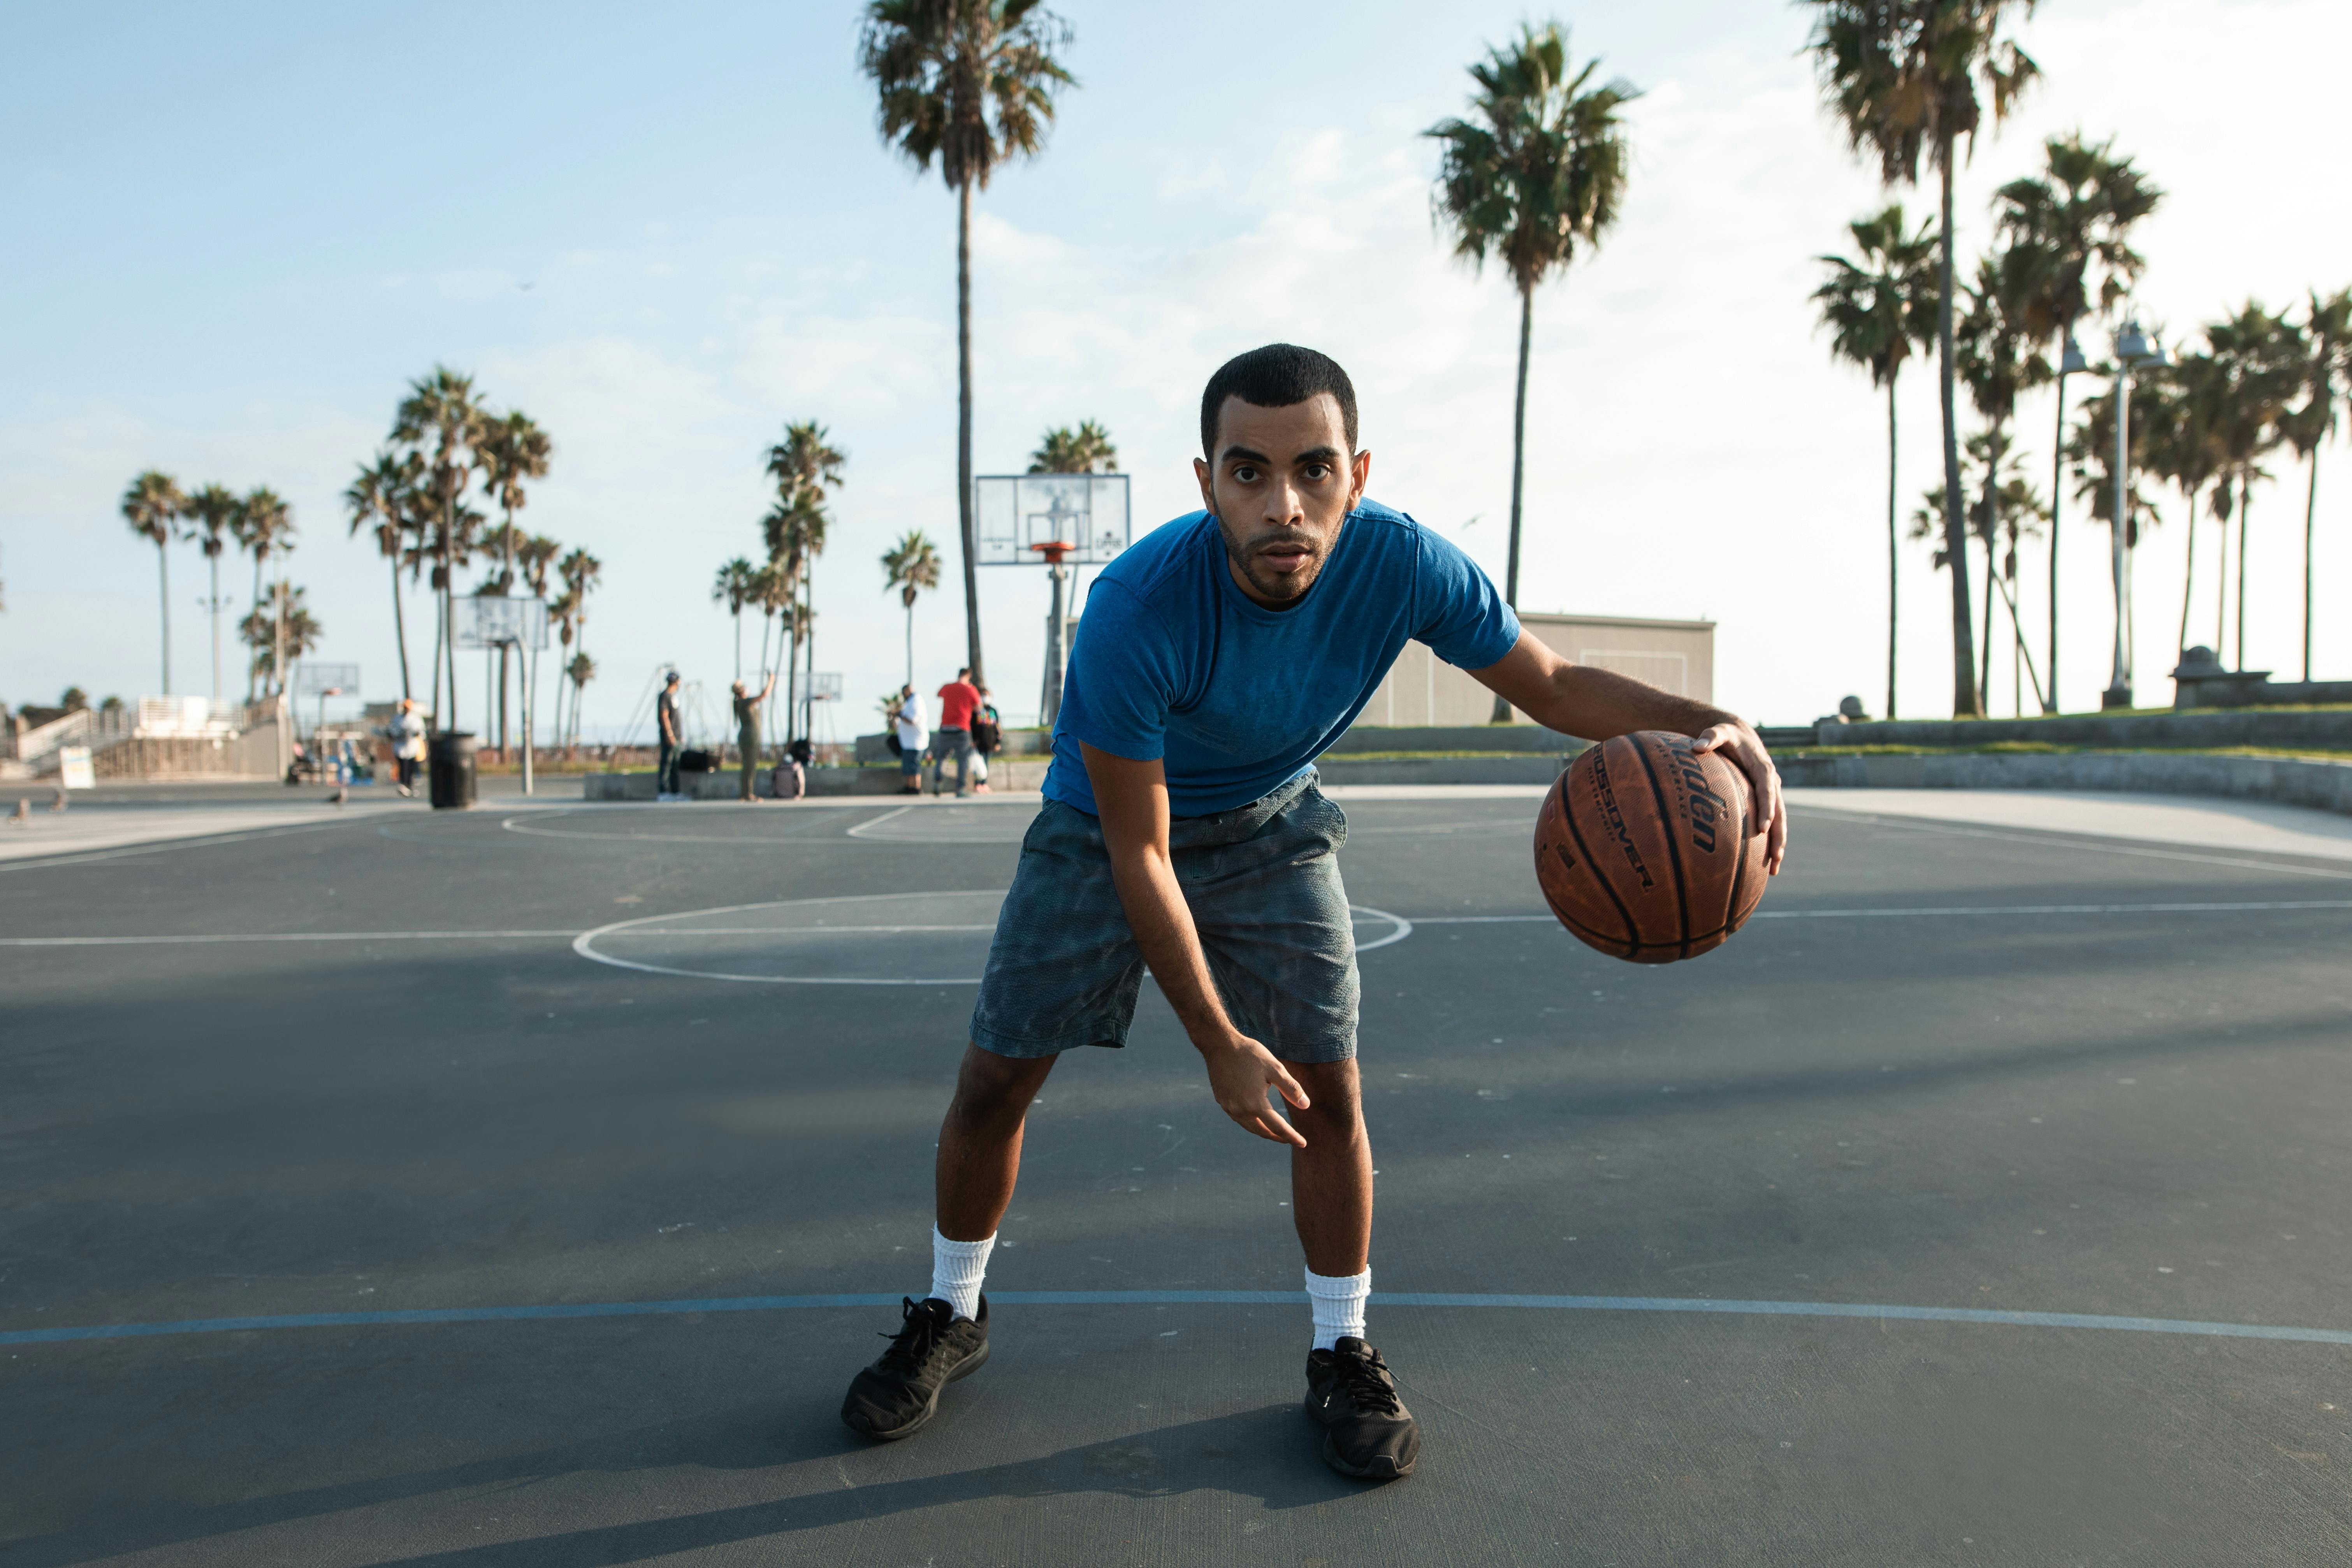
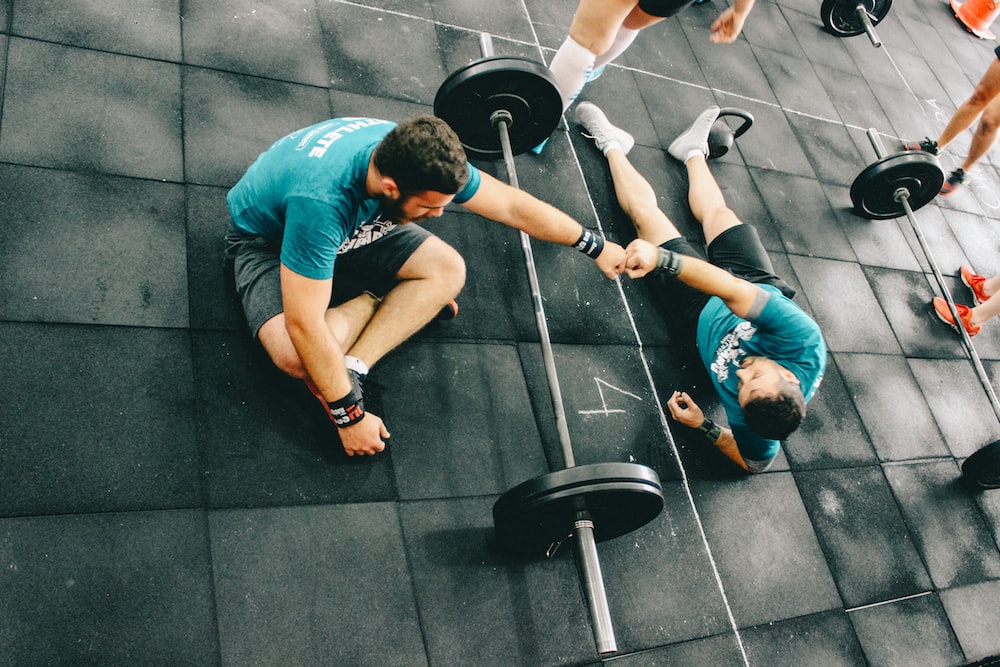
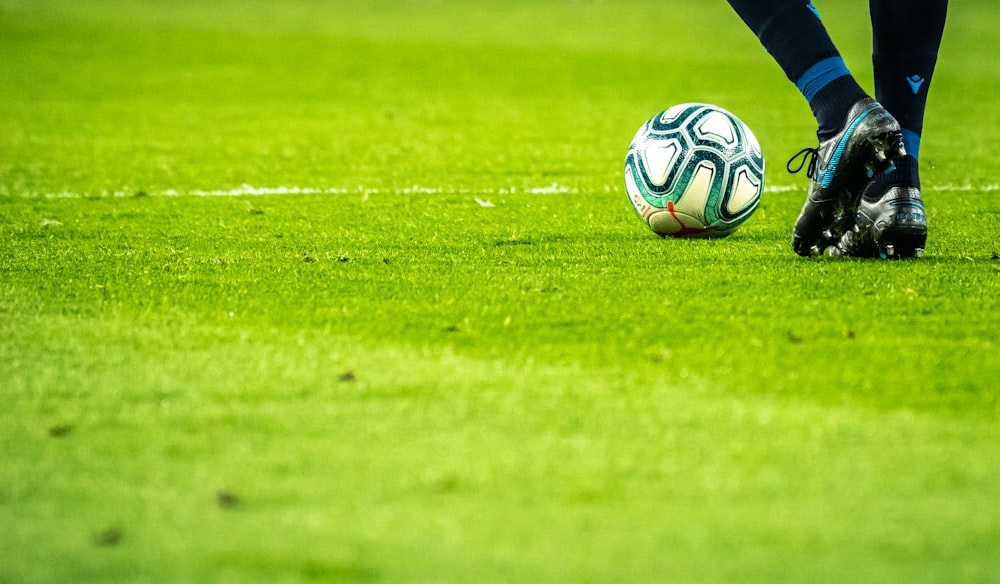
Head up all the time: master football tackling


Image via Pexels.com
You must always keep your head back and your eyes up on the football pitch, regardless of whether you’re moving, tackling or on the opposite side of the pitch from the ball.
Maintain the “laconic position,” in which your eyes are pointing downward and your neck is slightly bent back but not completely straight. By doing so, you will protect your neck while playing and keep your eyes up so you have a clear view of the field.
Injury, paralysis, or death can occur if you lead with your helmet or drop your head during a tackle. This is an essential component of good tackling technique.
Accelerating the ball
Run like you normally would on the pitch, and if a player you need to tackle approaches, drop into your breakdown position with your feet buzzing. Typically, you should execute this when you are three or four steps or less away from your opponent.
Dropping into the breakdown will slow you down, improve your tackle accuracy, and position you for a well-timed and accurate hit.
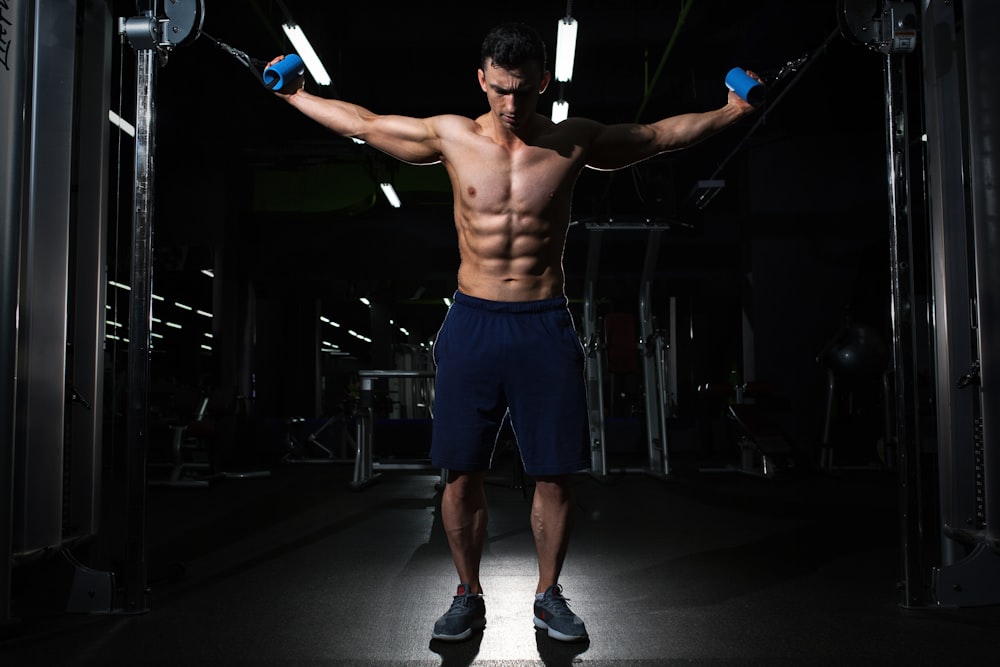
Shoot from breakdown position: master football tackling


Image via Pexels.com
The majority of the force behind your tackle will come from your hips springing forward into the ball carrier. If you tackle properly, you have the capacity to spring from your core and stop their forward motion since you are low and have a wide center of gravity.
Take one plant step as you get ready to tackle, then spring into the following phase of the tackle after making sure your head and eyes are up. Check your hit preparation step with a coach or another player to ensure that your back is straight, your butt is out, and your eyes are up.
The appropriate style of tackling has considerably more to do with it than it does with arm strength or quickness.
Exploding from your plant step
With both of your arms up under the player you are tackling and both of your hands placed behind his back, you will explode up and into him from your plant step. By lifting the player off the ground, you can cause them to lose their footing, balance, and momentum.
A proper rip should conclude with your hands a little higher than your eyes. After you’ve ripped, both of your arms should move up and pull back. embracing the player once more.
Always keep your eyes on the ball carrier and your head up. Your arms should be holding your face mask up and your gaze upward as you make contact with your shoulder.
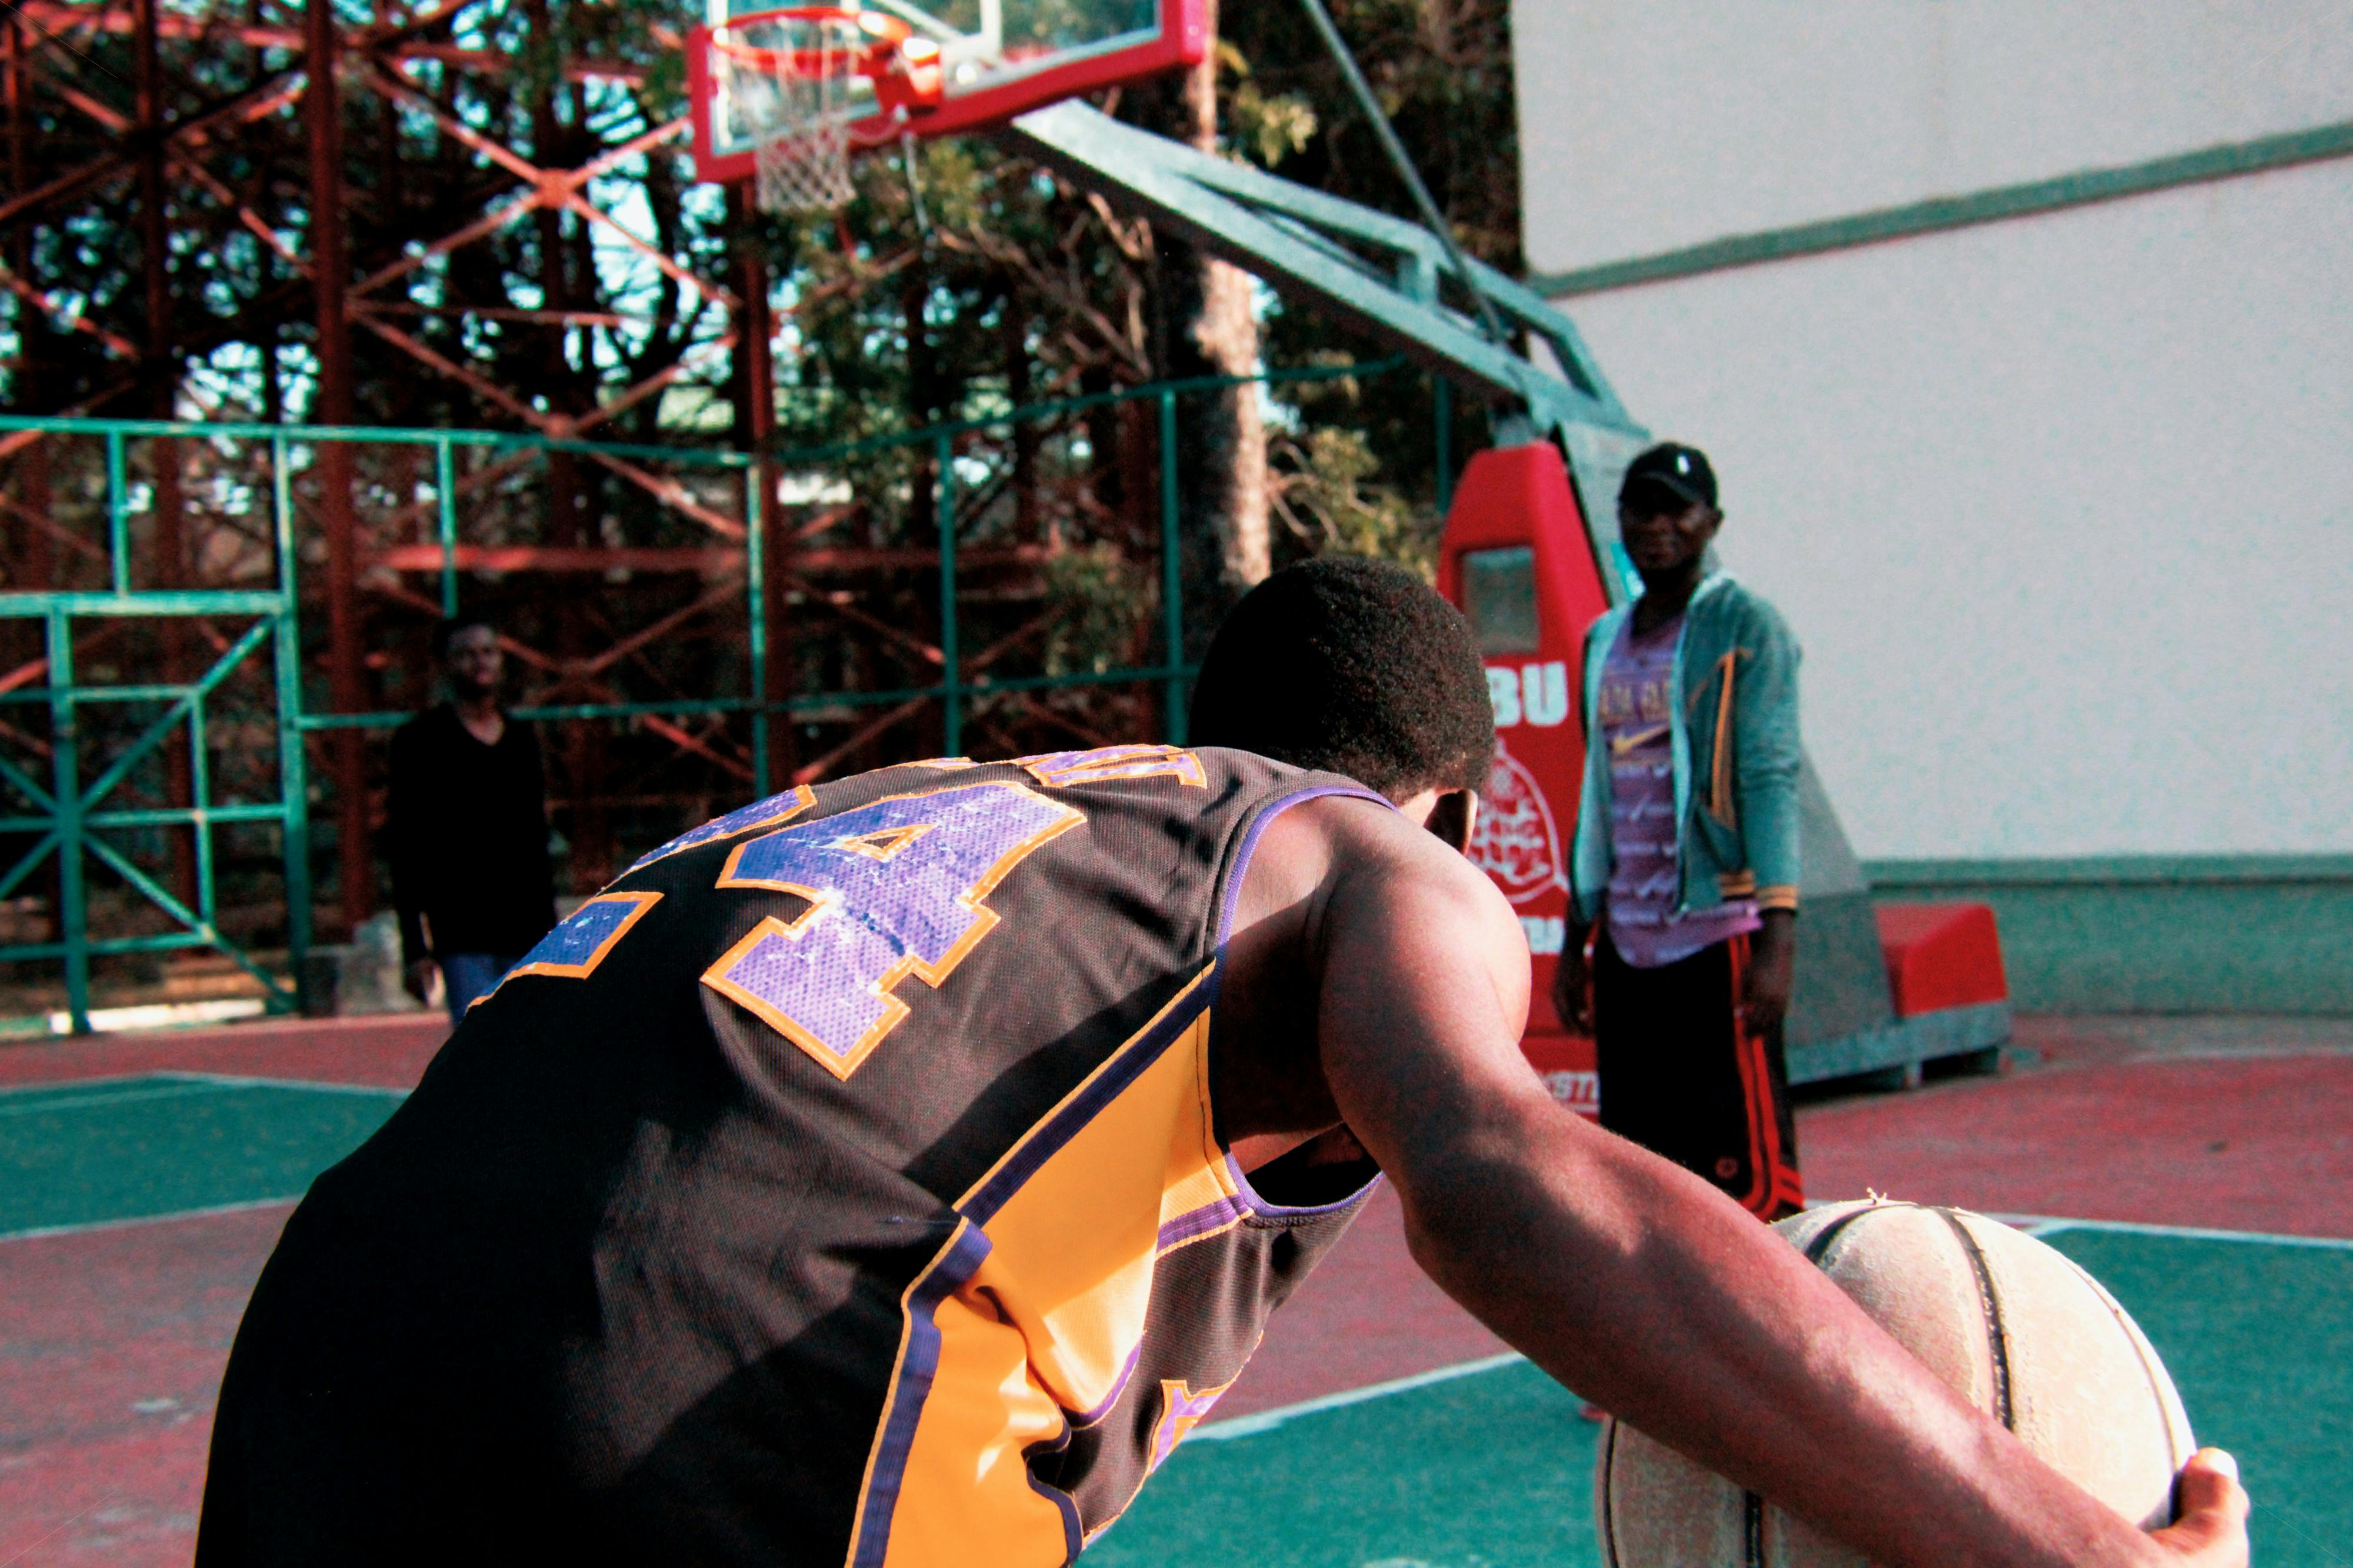
Watch other players’ hips: master football tackling
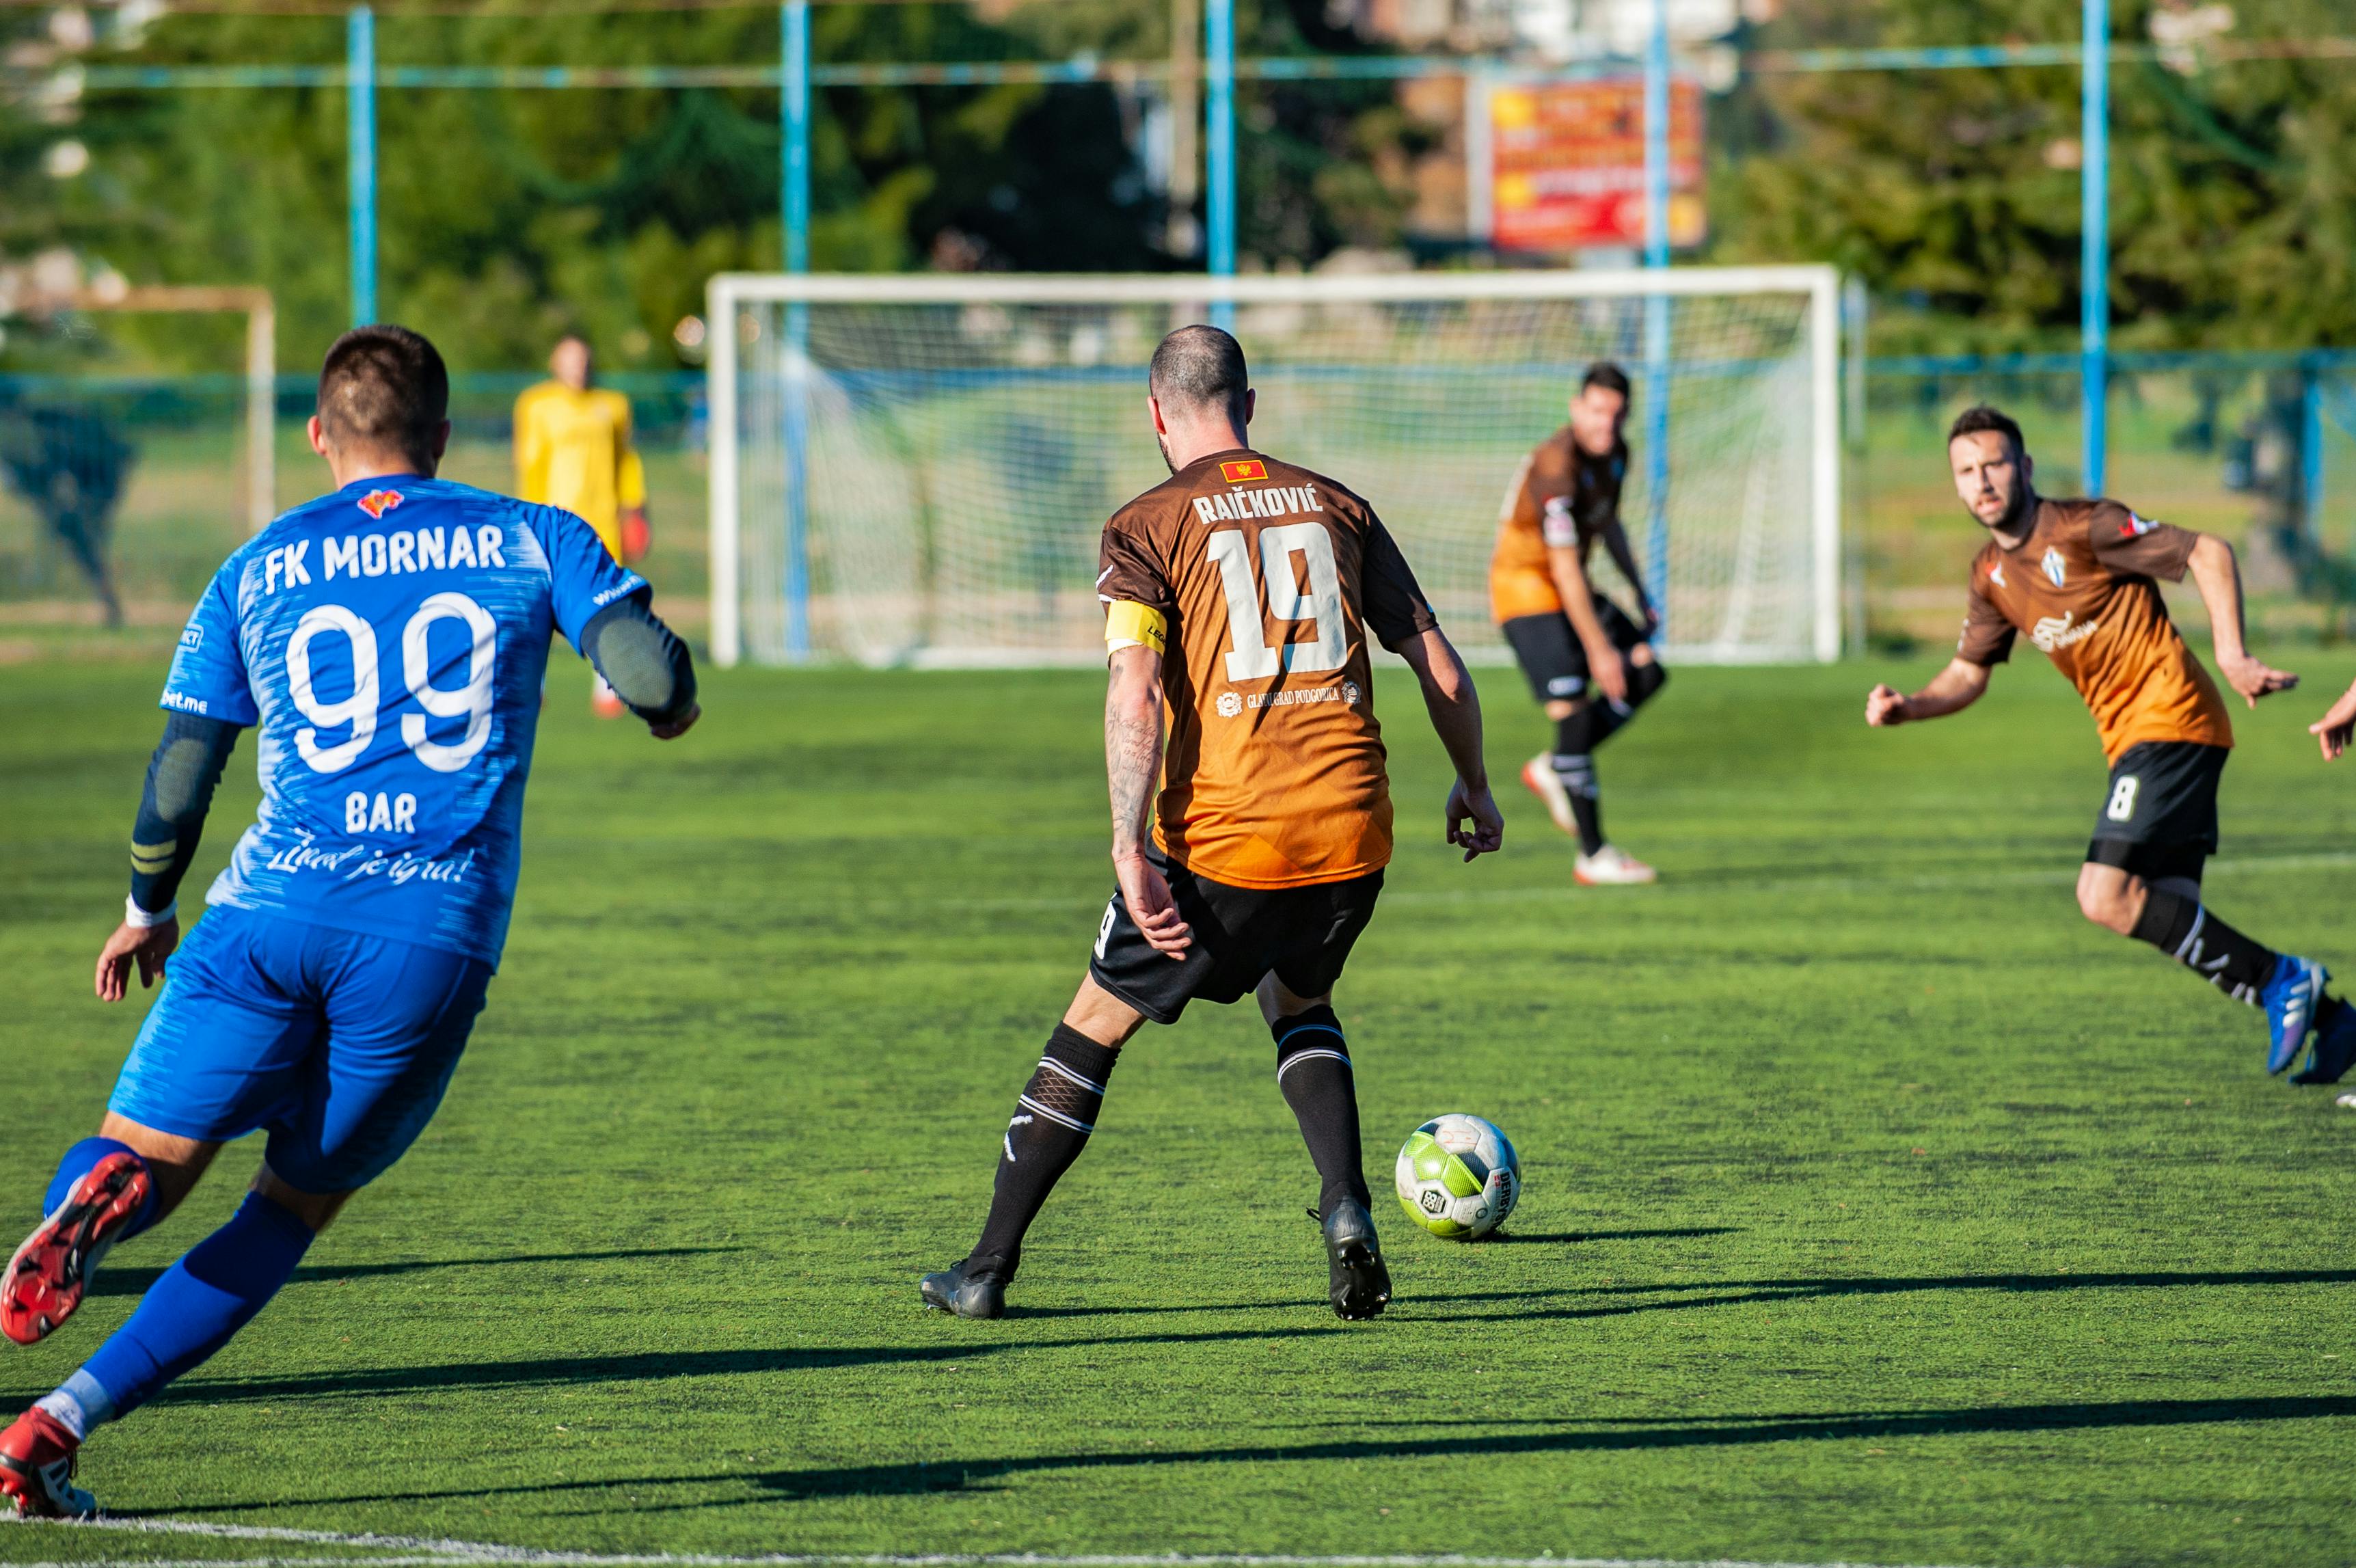

Image via Pexels.com
The majority of jukes and other fake-outs that will have you tackling nothing but air are performed using the upper body and the feet. Hips are not deceiving. To determine the player’s progress and foresee his movement, keep an eye on his belt buckle. To be able to change directions and stay up with his motions, maintain a nice breakdown position and keep your feet humming.
Stay wrapped
If you successfully execute a rip and your player stays upright, hang on as long as you can while wrapping and holding on. It’s okay if you fall; just maintain your hold on his waist, legs, or feet to slow him down as much as you can while you wait for the troops to show up. Simply remain engulfed and deadweight the opposing player to make movement as challenging as possible without trying to do anything spectacular.
Keep your hands free: master football tackling
It’s possible to unintentionally get your hand caught in the opposing player’s face mask when tackling from the side or behind, which is a major penalty at all levels.
As you tackle, try your best to avoid touching the face mask by keeping your hands fisted. In a well-executed tackle, your fingers won’t be able to help you much, so you might as well tuck them in to protect them and prevent a risky penalty or injury.
Stay planted


Image via Pexels.com
For effective and strong tackles, linebackers and safeties alike must stay on their feet and retain good breakdown position. Only tackle up and back, using precise rips, and don’t jump unless you’re defending a pass.


![500+ Bodybuilder Photos [HD] | Download Free Images On Unsplash](https://images.unsplash.com/photo-1603287681836-b174ce5074c2?auto=format&fit=crop&q=80&w=1000&ixlib=rb-4.0.3&ixid=M3wxMjA3fDB8MHxzZWFyY2h8Nnx8Ym9keWJ1aWxkaW5nfGVufDB8fDB8fHww)