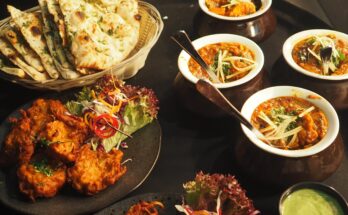
In today’s fast-paced world, convenience often takes precedence over nutrition, leading many individuals to rely on pre-packaged instant meals. While these meals are convenient, they often lack the nutritional value and flavour that homemade dishes offer. However, with a little planning and preparation, you can create your own DIY instant meals that are not only quick and easy but also packed with flavour and nutrients.
In this article, we will guide you through the process of making your own DIY instant meals. Whether you’re a busy professional, a college student, or just someone looking to simplify mealtime, these homemade instant meals will be your secret weapon for healthy and delicious eating on the go.
Chapter 1: The Benefits of DIY Instant Meals
Before diving into the how-to of making your own DIY instant meals, it’s essential to understand the numerous benefits they offer.
- Nutritional Control: One of the biggest advantages of DIY instant meals is that you have complete control over the ingredients. You can choose fresh, whole foods and avoid unhealthy additives, excessive salt, or preservatives commonly found in commercial instant meals.
- Cost-Effective: Homemade instant meals are often more budget-friendly than their store-bought counterparts. Buying ingredients in bulk and preparing meals in batches can help you save money in the long run.
- Customization: You can tailor DIY instant meals to suit your dietary preferences and restrictions. Whether you’re vegan, gluten-free, or have specific taste preferences, you can create meals that meet your needs.
- Flavourful Varieties: Homemade instant meals can be as diverse and flavorful as you desire. Experiment with different cuisines, spices, and ingredients to keep your taste buds excited.
- Reduced Waste: Preparing your own instant meals reduces the amount of packaging waste generated by store-bought options, contributing to a more sustainable lifestyle.
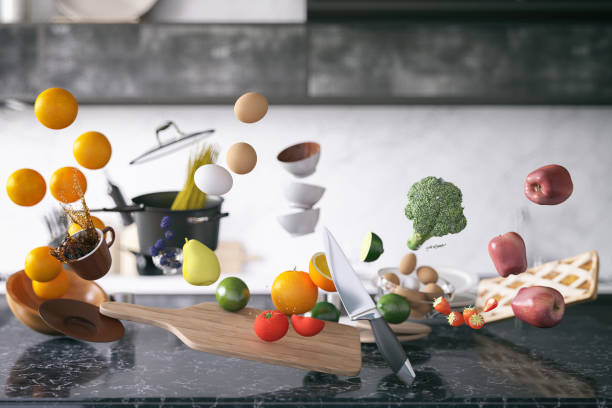
Chapter 2: Essential Tools and Ingredients
Before you begin making your DIY instant meals, you’ll need some essential tools and ingredients. Here’s what you’ll need:
Tools:
 (Photo from iStock)
- Mason Jars or Airtight Containers: These are perfect for storing your DIY instant meals as they keep the ingredients fresh and prevent moisture from seeping in.
- Measuring Cups and Spoons: Accurate measurements ensure that your meals turn out consistently every time.
- A Vacuum Sealer (Optional): If you want to extend the shelf life of your instant meals, a vacuum sealer can help remove air from the containers, preventing freezer burn and maintaining freshness.
- A Stove, Microwave, or Electric Kettle: You’ll need one of these appliances to cook or reheat your instant meals when you’re ready to eat.
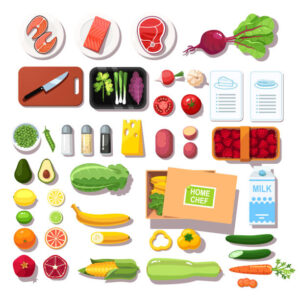
Ingredients:
 (Photo from iStock)
- Grains: Rice, quinoa, couscous, or pasta serve as a great base for many instant meals.
- Proteins: Consider dried beans, lentils, freeze-dried meats, or tofu for your protein source.
- Vegetables: Freeze-dried or dehydrated vegetables work well in instant meals. You can also use fresh vegetables, but be sure to chop and prep them before assembly.
- Spices and Seasonings: Stock up on your favorite spices, herbs, and seasonings to add flavor to your meals.
- Sauces and Condiments: Soy sauce, hot sauce, olive oil, and vinegar can enhance the taste of your instant meals.
- Nuts and Seeds: Add a crunchy texture and extra nutrition by including nuts or seeds like almonds, cashews, or sunflower seeds.
Chapter 3: DIY Instant Meal Ideas
Now that you have your tools and ingredients ready, let’s explore some DIY instant meal ideas that are easy to prepare and pack a flavourful punch:
-
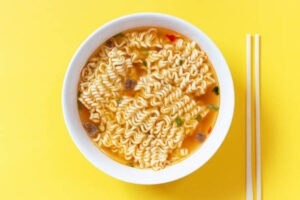
Veggie-Packed Instant Noodles:
 (a Photo from iStock)
- Base: Dried ramen noodles or rice noodles.
- Protein: Tofu cubes or freeze-dried shrimp.
- Vegetables: Dehydrated mushrooms, bell peppers, and green onions.
- Seasonings: Soy sauce, sesame oil, and a pinch of red pepper flakes.
- Extras: Add a small container of miso paste to mix in when you cook it.
-
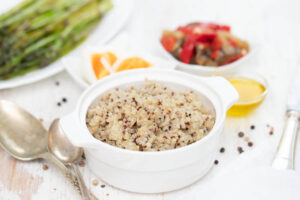
Mexican Quinoa Bowl:
 (Photo from iStock)
- Base: Quinoa.
- Protein: Dried black beans or freeze-dried ground beef.
- Vegetables: Dehydrated corn, bell peppers, and tomatoes.
- Seasonings: Taco seasoning, cumin, and chili powder.
- Extras: A packet of salsa or hot sauce.
-
Curry Rice Bowl:
 (Photo from iStock)
- Base: White or brown rice.
- Protein: Freeze-dried chicken or chickpeas.
- Vegetables: Dehydrated peas, carrots, and bell peppers.
- Seasonings: Curry powder, turmeric, and coconut milk powder.
- Extras: A small container of chutney or lime pickle.
-
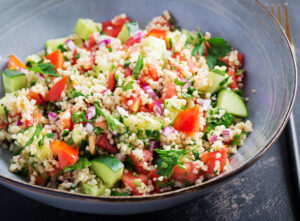
Mediterranean Couscous Salad:
 (a Photo from iStock)
- Base: Couscous.
- Protein: Freeze-dried falafel or feta cheese.
- Vegetables: Dehydrated cucumber, tomatoes, and olives.
- Seasonings: Dried oregano, lemon zest, and olive oil.
- Extras: A separate container of hummus.
Chapter 4: Meal Assembly and Storage
Once you’ve chosen a DIY instant meal idea, it’s time to assemble and store it for future use. Here’s how to do it:
- Layering: Start with the base (grains) at the bottom of your mason jar or airtight container. Add your protein source, followed by the vegetables and seasonings. Be creative with your layering to ensure that the flavors meld together well.
- Avoid Moisture: Moisture is the enemy of instant meals as it can cause ingredients to spoil or become mushy. To prevent this, add ingredients like sauces or condiments in a separate container or packet.
- Storage: Store your DIY instant meals in a cool, dry place away from direct sunlight. If you plan to keep them for an extended period, consider vacuum sealing the containers for added freshness.
- Shelf Life: The shelf life of DIY instant meals can vary depending on the ingredients used. Generally, they can last anywhere from a few weeks to several months. Be sure to check for any signs of spoilage, such as an off odor or discoloration, before consuming.
Chapter 5: Cooking and Reheating
When it’s time to enjoy your DIY instant meal, follow these simple steps to cook or reheat it:
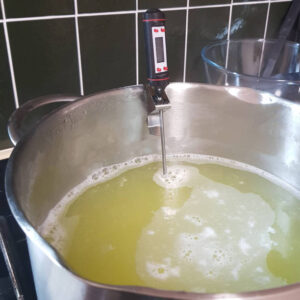
1. Boiling Water Method:
 (Photo from iStock)
- Boil Water: Bring water to boil.
- Cook: Pour the contents of your instant meal into a heatproof bowl or container. Carefully add boiling water until the ingredients are fully submerged.
- Cover and Wait: Seal the container with a lid or plastic wrap and let it sit for the recommended time (usually 5-10 minutes).
- Stir and Enjoy: After the waiting period, give the meal a good stir, and it’s ready to eat.
2. Microwave Method:
 (Photo from iStock)
- Transfer the contents of your instant meal container or zip lock bag to a microwave-safe bowl.
- Add water to the bowl. The amount of water will vary based on your meal, so follow the recipe or package instructions.
- Microwave on high for the recommended time, usually 2-5 minutes depending on the ingredients.
- Carefully remove the bowl from the microwave, add your sauces and seasonings, and stir well.
Reference:
The Yummy Life
Want to do a meal prep, what are you waiting, go check some amazing ideas for meal prepping, click on the link below:
How to do your meal prepping routine