Coffee making made easy: Perfection at Home
Each coffee enthusiast must identify his or her own unique favorite. To find the correct bean, you may need to make dozens of attempts, experimenting with various suppliers, mixes, and roasts. You should consider this voyage a part of your own growth, but without the proper brewing methods, you won’t succeed. Here is a list of all the factors that go into making the ideal cup.
Fresh roasted coffee beans
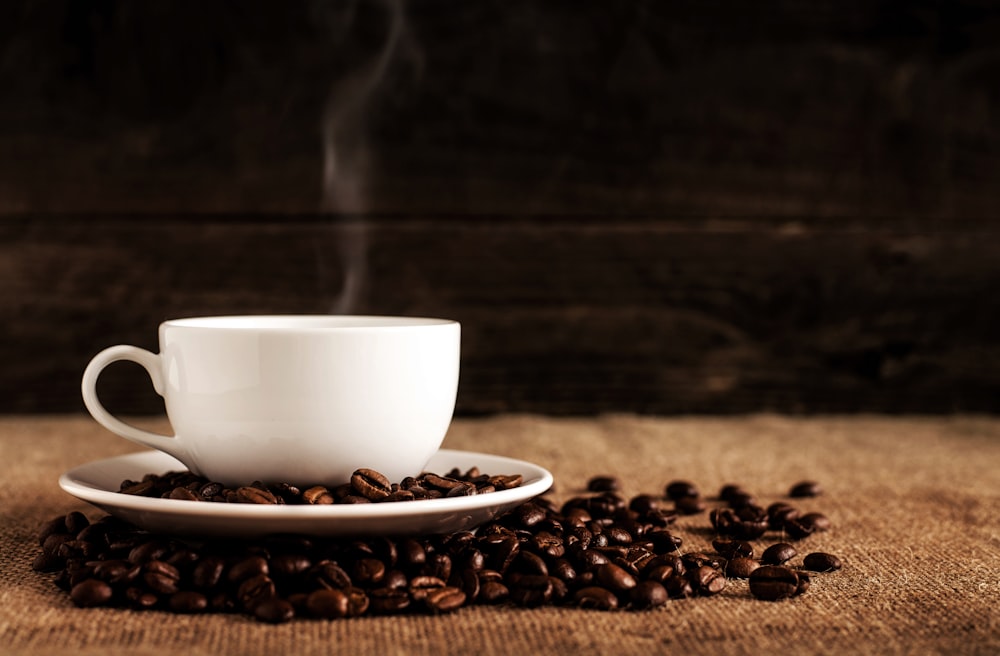
Image via Unsplash.com
The freshest coffee is prepared soon after the roast. Get the freshest food you can by keeping an eye out for the “roasted on” date on the label. Buy no more coffee than you’ll use in two weeks at once to prevent it from going bad in your pantry.
Compared to other packaging, a vacuum-sealed, opaque bag keeps coffee fresher.
Origin of beans
Verify that the company making your coffee has nothing to conceal. Arabica or Robusta beans should be identified on the label, along with the nation of origin. There are undoubtedly high-quality outliers, but a blend made from ingredients from several nations may indicate that the maker prioritized price above quality. A label that completely omits essential information is the actual red flag.
Choose 100% arabica beans or a blend with a small amount of Robusta if you like more caffeine in your search for the ideal beans. The best arabica beans are significantly tastier and less bitter than Robusta, albeit not all of them are of the highest quality, especially if they are sold as a dark roast.
Different kinds of coffee beans

Image via Unsplash.com
Start with a medium roast for coffee or a dark roast for espresso if you’re not yet a full-fledged coffee enthusiast. Try roasts ranging from the lightest, mildest roasts to the darkest, most burnt beans to discover new flavors. In reality, there are several roast levels between “medium” and “dark,” so experiment with a few and contrast the bean’s color.
While extra-dark roasts are now considered “sophisticated,” many coffee connoisseurs prefer a medium or medium-dark roast that doesn’t burn the bean’s distinctive flavors.
Storing beans in air tight container
Your coffee beans’ flavor might be ruined by air, light, heat, or moisture. A fantastic solution is offered by kitchen supply shops: ceramic containers with rubber band-lined clasp lids. Zip-lock bags and sealed plastic containers work OK but are not as airtight.
Flavorful liquids condense and evaporate as a result of temperature variations. Keep beans at room temperature or, if your kitchen is warm, in the refrigerator. Only freeze if you will have an excess of beans to utilize within the next few weeks.
Grind coffee beans before brewing

Image via Unsplash.com
The longer you wait, the more flavor the coffee grinds will lose. Use a burr grinder at home for the best results. If you just have a blade grinder, grind your beans in a coffee shop (not a grocery store) and use them straight immediately to compare them to the more accurate burr process. The brewing process affects the grind size:
Make a coarse grind, akin to potting soil, with chunky particles for a French press or cold brew coffee. Make a medium grind for drip coffee, similar to coarse sand in texture.
Prepare a fine grind for espresso that resembles salt or sugar. Try grinding your coffee more coarsely if it tastes too bitter.
Brewing with French press
This technique is favored by many professionals; however, it can be tricky to avoid over-extraction of bitterness. How to make coffee magical is as follows:
- Remove the plunger and lid.
- Include the coffee. For a single-serving press, use two teaspoons (30 mL) or up to the mark on the side of the press.
- Pour hot water until it reaches halfway, soaking the entire area.
- Stir the floating grounds gently after one minute. With the plunger fully up, pour in the remaining water and cover the container.
- After three more minutes, steadily depress the plunger until it reaches the bottom. Plunger should remain flat.
Amount of water and coffee
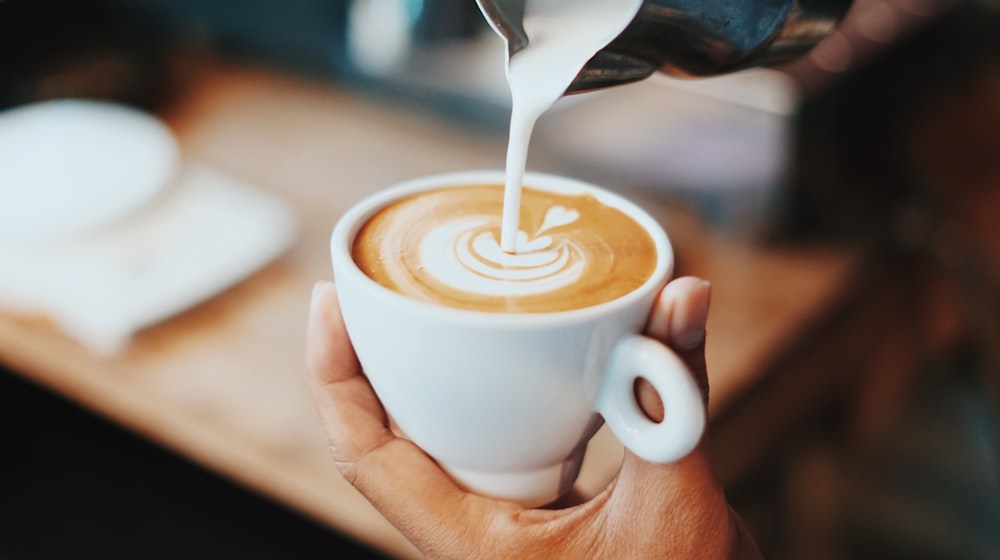
Image via Unsplash.com
Use a scale rather than a measuring spoon to measure the coffee for greater precision. Write down the quantities you used and your thoughts on the outcome as you learn. The following suggestions per cup are a good place to start, but feel free to modify them to suit your tastes:
0.38 ounces (10.6 grammes) or 2 tablespoons (30 mL) of coffee grinds
6 fluid ounces (or 34 cup; 180 mL) of water. More may be needed for brewing techniques that evaporate a lot of water. It’s recommended to brew on the strong side; if it’s too strong, add extra hot water to your cup.
Brewing time
Each of the brewing techniques listed above has recommended brewing times. For optimal results, time your brew using a stopwatch. Just enough time is required to extract flavorings without over-extracting and producing a too bitter cup.
If you choose a finer grind, you can shorten the brewing time. If you use a coarser grind, you can lengthen the duration. Just observe your actions so you can learn how to replicate your achievement.
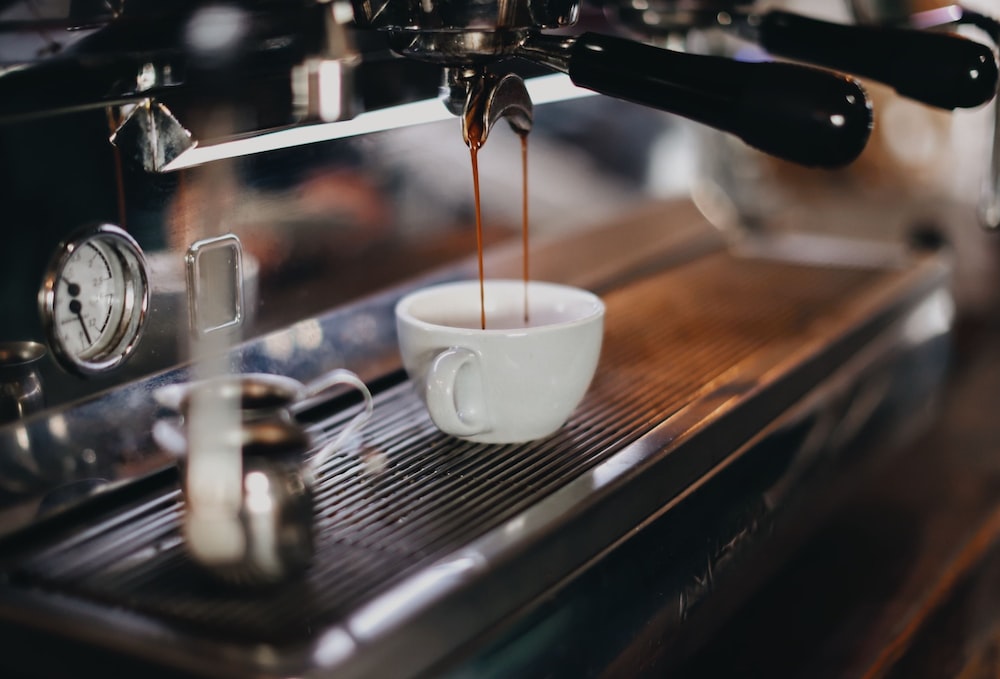
Water temperature

Image via Unsplash.com
Always use water that is between 195 and 205 °F (90.6 and 96.1 °C) while brewing coffee. Within 10 to 15 seconds of boiling, water will typically reach this temperature in a residential setting. To be sure, you could use an infrared cooking thermometer.
Filtering coffee
Another great approach, if you have a few minutes to spare. Start by running a hot water rinse through your paper filter and filter cone. Place over your cup and brew in the following manner:
Coffee grinds should be poured into the filter. To level it, give it a light shake. For each serving, use roughly 2 tablespoons (30 mL) or as desired.
Just pour boiling water into a kettle with a small nozzle to moisten the grinds. Without touching the sides of the filter, work your way out from the center.
Wait 30 to 45 seconds for the coffee to “bloom,” or release gas.
USEFUL LINKS:
Visit this site to know more
Green smoothie recipes you must try at home