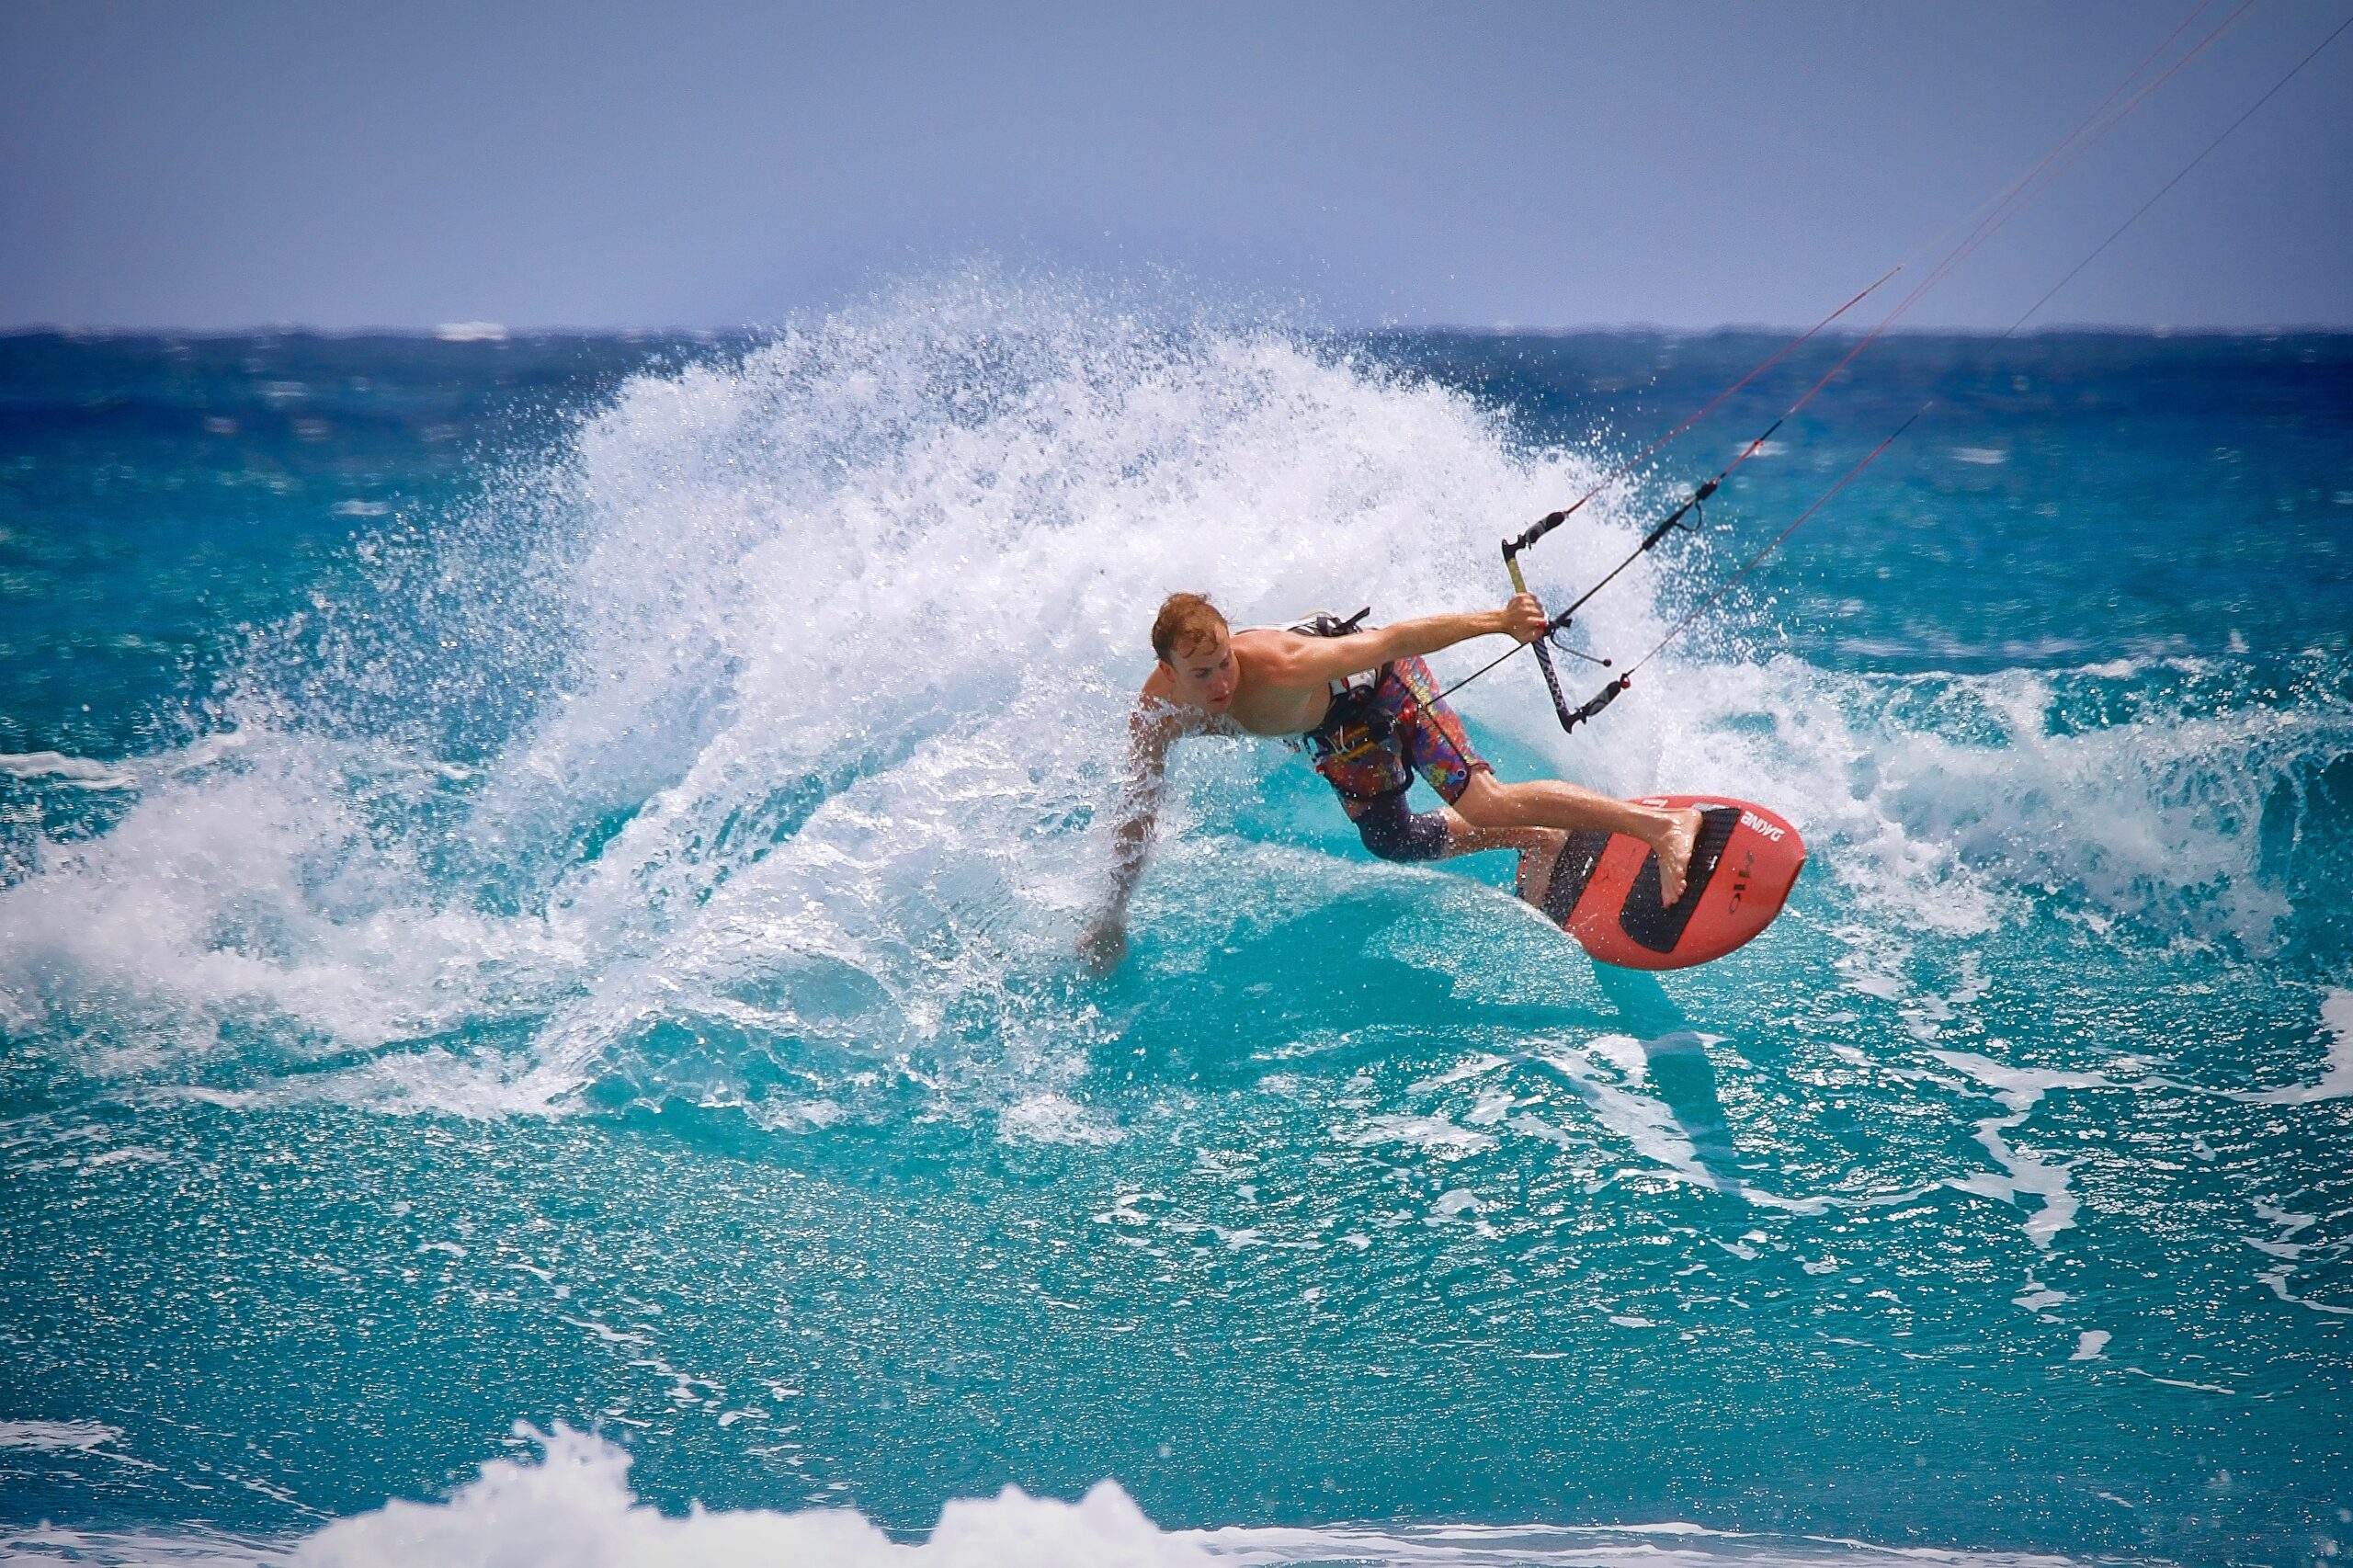
Kite Surfing Tips for Every Beginner Out There
A fascinating sport that requires a range of skills is kite surfing. It’s a common misconception that being in excellent physical condition is a prerequisite for learning. Beginner kitesurfing isn’t for people who don’t enjoy adventure and requires a moderate level of physical fitness and endurance. However, anyone who enjoys adventure and lives near the ocean—men and women of all ages—should give kite surfing a try!
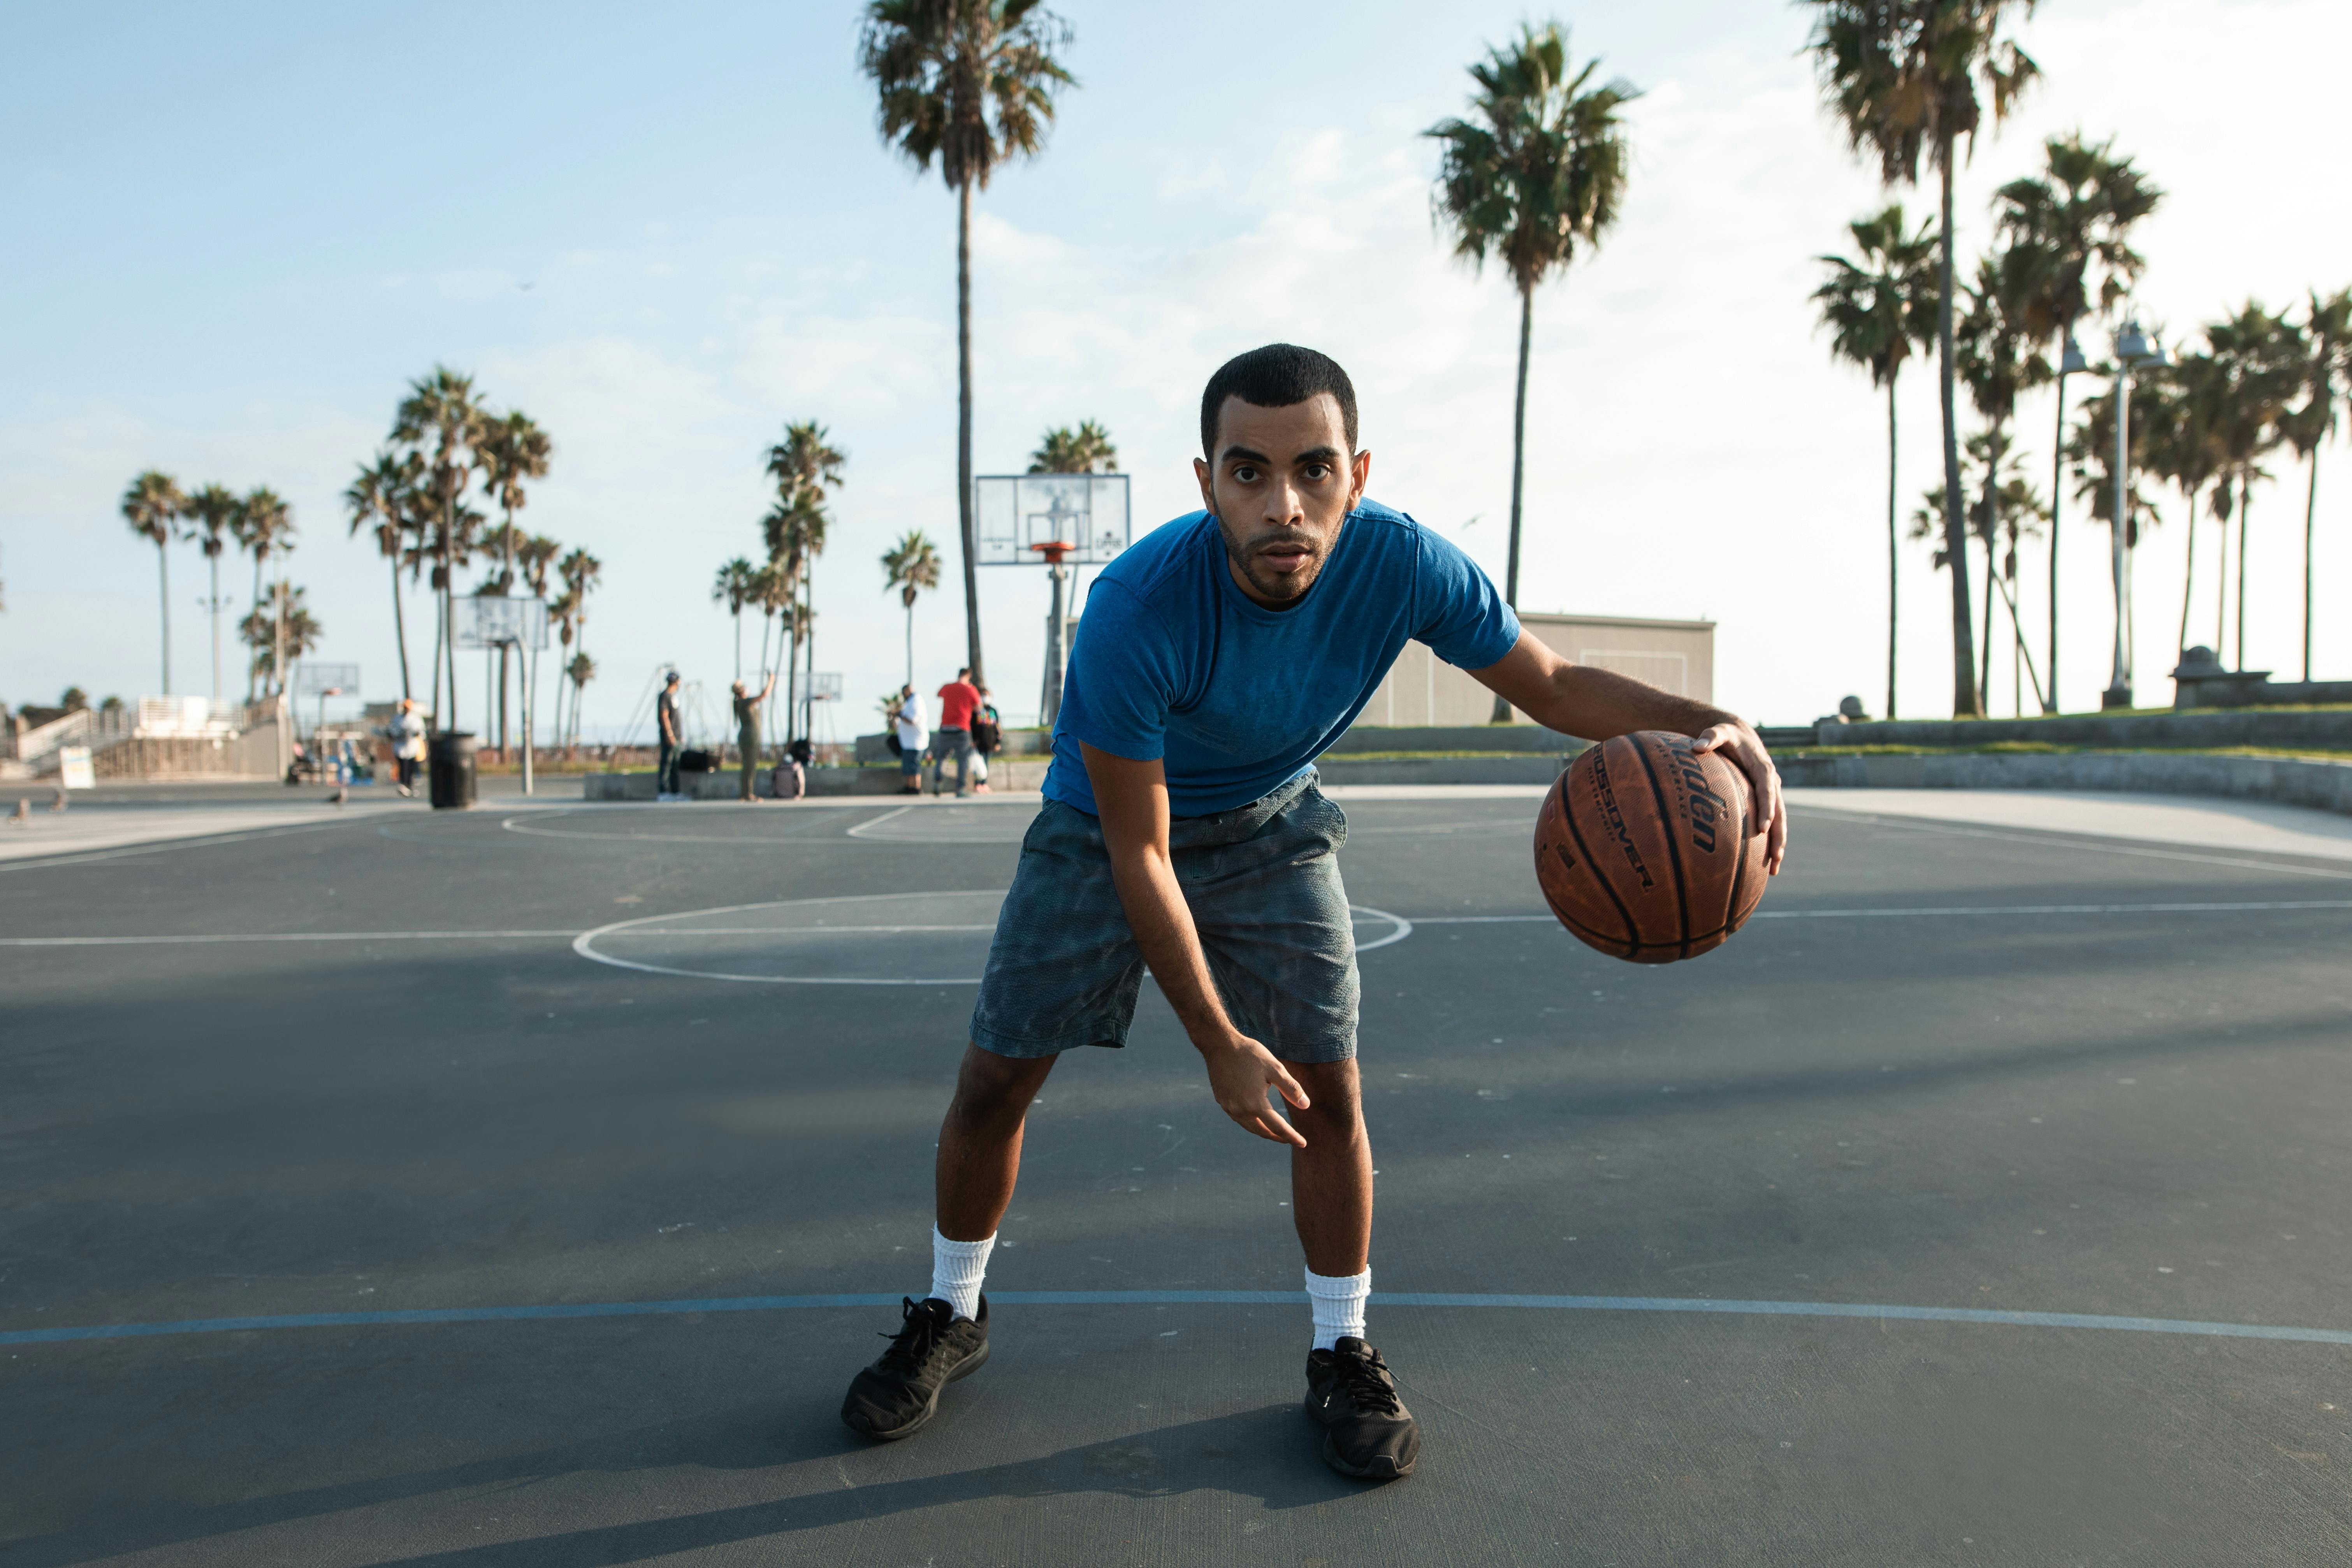
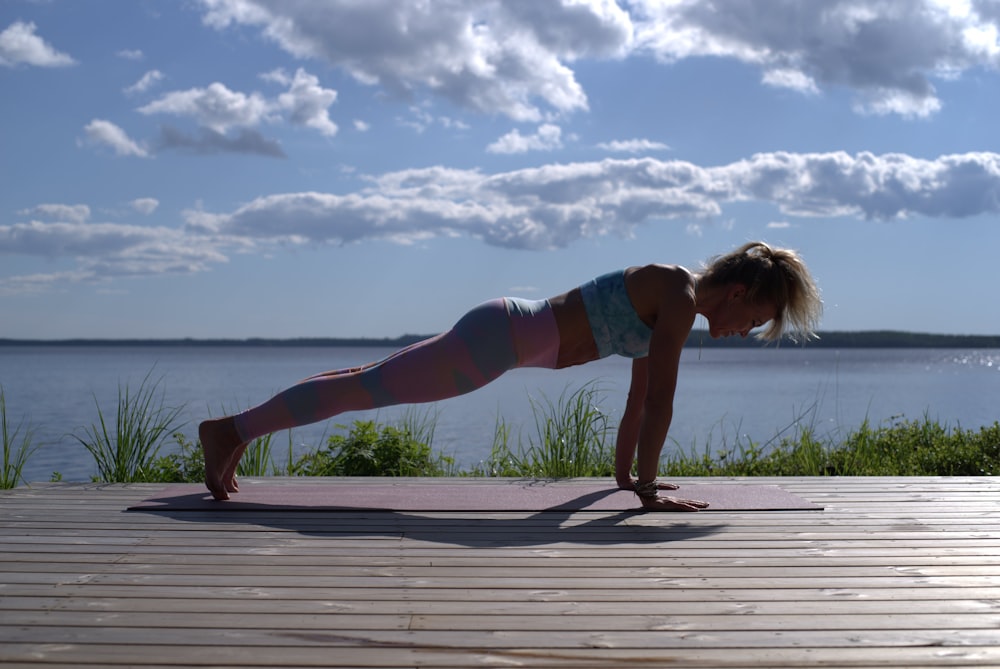
Select right surf kite

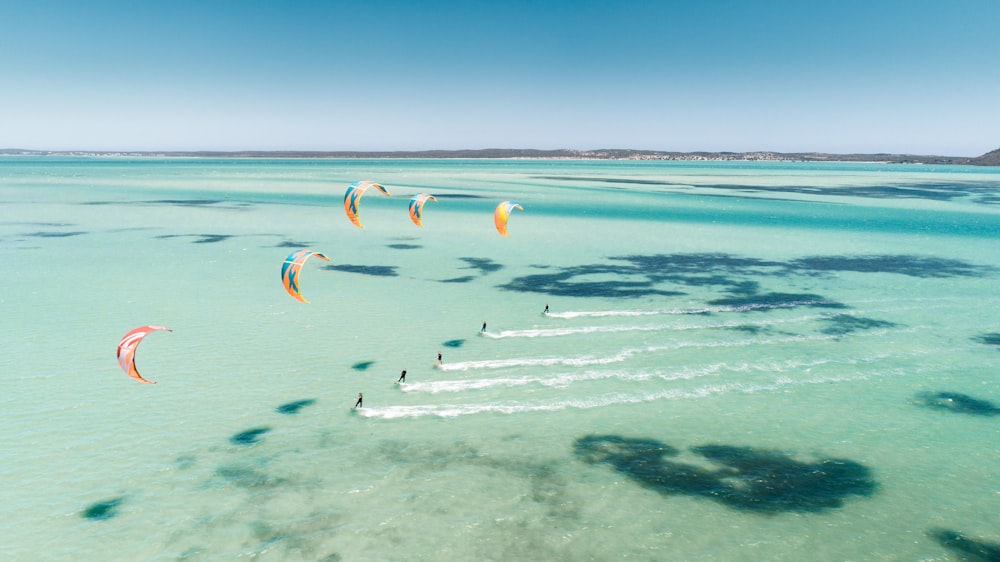
Image via Unsplash.com
A novice or training kite with good stability, a broad wind range, and a moderate turning speed is what you should be looking for. Typically, beginner kites are smaller and marketed as such. Moreover, maximum upwind drive is crucial. You can choose a board that best fits your demands and personal style as you get more skill.
Make sure the kite you choose fits your body weight. They ought to have legible labels.
A novice will typically start out practicing with a soft trainer kite, which is between 0.5 and 1.5 meters squared. Afterwards, you’ll purchase a larger one based on the wind conditions in your area. The size of this will be between 7 and 13 square meters.
Surfing board
Selecting the appropriate kite surfing board is crucial. Each kite surfer is unique, so you’ll need to locate one that suits your comfort level. Typically, larger, more sturdy boards are what beginners prefer. Make sure the board you choose is appropriate for your weight.
Don’t let your board weigh too much. It needs to be manageable to hold in one hand.
To ensure that your feet stay attached to the board, make sure the bindings are tight.
As your skill level increases, you might wish to upgrade to a smaller, more rocker board so you can practice tricks.
Safety equipment

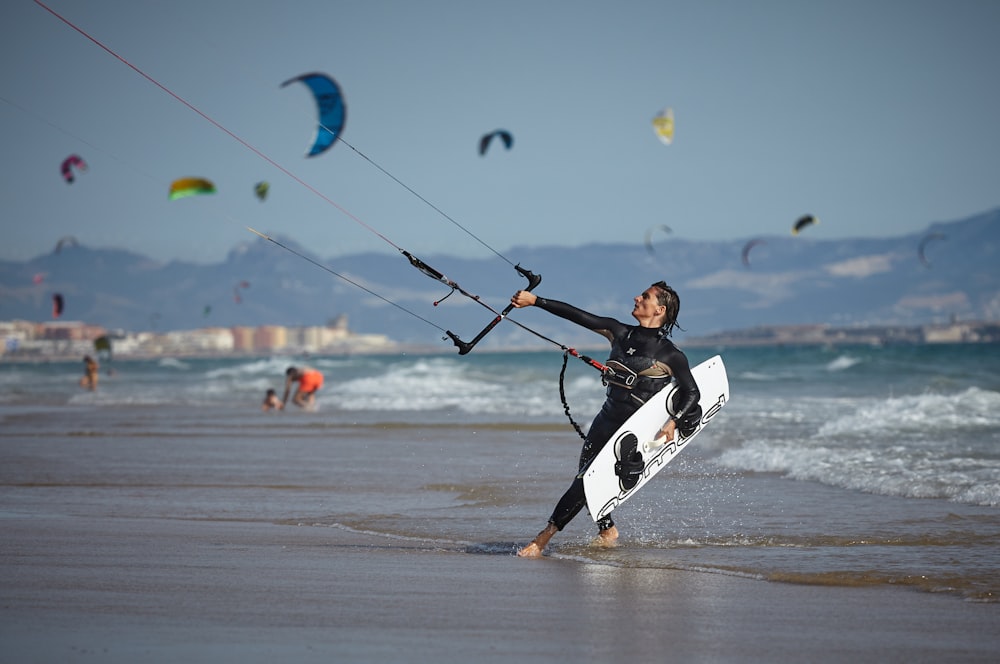
Image via Unsplash.com
You’ll need safety gear in addition to your board having tight bindings. If nothing else, especially as a beginner, you should at least have an impact vest and a helmet. To utilize the safety release feature on your kite, make sure you have a safety leash attached as well.
Wearing a wetsuit might also be a good idea, particularly in chilly water.
You need a bathing suit that fits securely. Most likely, a string bikini won’t work.
Inflating your kite
You must assemble and launch your kite before you can take any further action. After placing your kite on its back, attach the pump, and blow air into it. Although it is easier if you have an experienced friend to assist, setting up a surf kite for the first time is not that difficult.
To prevent your kite from blowing away during inflation, tether it down.
You can learn on land at a park or even on the beach.
This generally consistent wind doesn’t require you to be close to the water.
Launching the kite

Image via Unsplash.com
Reverse your direction and head downwind towards the launch location, making sure to neatly lay out your line behind you. To capture the wind, your partner should flip the kite over and position it at the edge of the wind window. Give your pal the go-ahead to launch it when you’re ready. It should fly up, as high as it can go, staying in the middle.
Practice flying
Acclimatize to flying your kite on solid ground. At all times, you should be in charge of the kite. To practice turning, try flying the kite at both the left and right angles without losing control. Your wind window is the region over which you have control. Continue practicing until the wind window on your particular kite becomes comfortable.
The window for the majority of kites will be situated at roughly 11 o’clock on the left and 1 o’clock on the right.
You can practice flying your kite while riding a skateboard, if that’s what you’d like to do and the space permits it.
Wet yourself with water

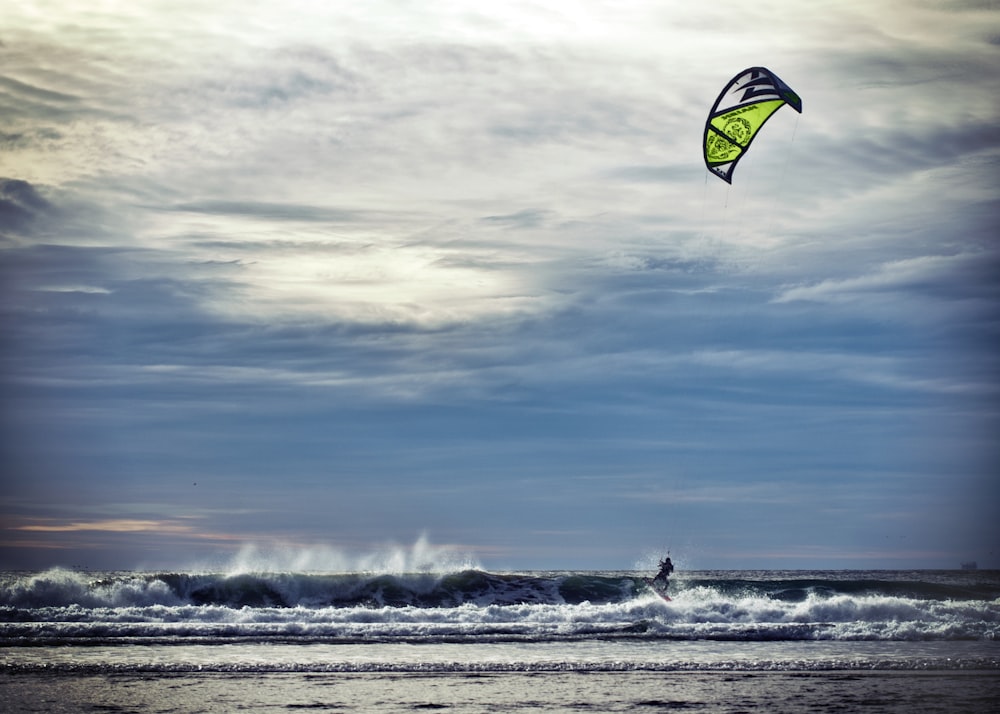
Image via Unsplash.com
It’s time to get in the water once you are familiar with the kite’s fundamental operations. At first, you’ll do this in wind speeds under 20 knots without a board. Make sure the water is generally clear where you are. Nobody within a hundred yards is what you want. Repeat the flying drills you performed on the ground.
Make sure there is no obstruction in the region directly downwind of you. That’s most likely where you’ll wind up!
Practice body dragging
Practice pulling yourself back and forth through the water with the kite while it’s in the air. Without a surf board, it will be “kite surfing” for you. Continue doing this until you feel at ease handling your kite. Before moving forward, make sure you have experience with this as it is crucial for safety.
If you ever need to recover a lost board, you’ll need to know how to do this.
Hop on the board
As your kite soars, recline in the water with the assistance of your harness. Next, place your feet on the board and float to acclimatize yourself to the sensation. When you’re prepared, raise yourself to a standing position. Before trying to steer or surf, keep your center of gravity low to keep your balance.
Avoid standing up too quickly too forcefully as you could topple over!
You can use a skateboard to hone your “board skills” during the off-season.
Change direction


Image via Pexels.com
Now that you are on your board, it will be more difficult to turn the kite. To bring the it above your head, push the steering bar forward. As a result of slowing down, you will be able to start in the opposite direction and more easily move the kite to the other side of the wind window.
Rome wasn’t built in a day, and getting good at surfing takes a lot of practice. Your skills will increase with more time spent on a board and with the kite in the air. At start, go slowly, and always exercise caution.
USEFUL LINKS:
Check out more description on surfing
See exercises to improve your shoulder strength


![500+ Baseball Pictures [HD] | Download Free Images on Unsplash](https://images.unsplash.com/flagged/photo-1571358607210-1691cb0ea07c?auto=format&fit=crop&q=80&w=1000&ixlib=rb-4.0.3&ixid=M3wxMjA3fDB8MHxleHBsb3JlLWZlZWR8MXx8fGVufDB8fHx8fA%3D%3D)


![500+ Bodybuilder Photos [HD] | Download Free Images On Unsplash](https://images.unsplash.com/photo-1603287681836-b174ce5074c2?auto=format&fit=crop&q=80&w=1000&ixlib=rb-4.0.3&ixid=M3wxMjA3fDB8MHxzZWFyY2h8Nnx8Ym9keWJ1aWxkaW5nfGVufDB8fDB8fHww)