Culinary cheat sheets: Tips for creating at home
Embarking on a culinary journey can be both exciting and challenging, especially for those who are new to the world of cooking or looking to expand their culinary skills. One invaluable tool that can significantly enhance your kitchen prowess is the creation of culinary cheat sheets. These succinct and handy guides serve as quick references, providing essential information, tips, and techniques to streamline your cooking process. In this comprehensive guide, we’ll explore the art of crafting culinary cheat sheets and how they can become indispensable companions in your culinary endeavors.
Understanding Culinary Cheat Sheets:

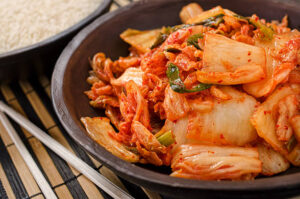
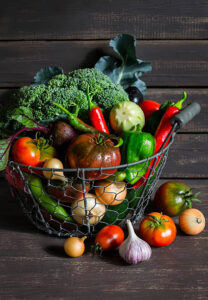
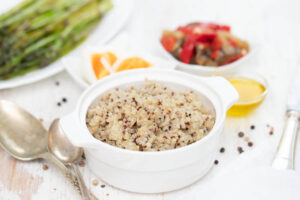
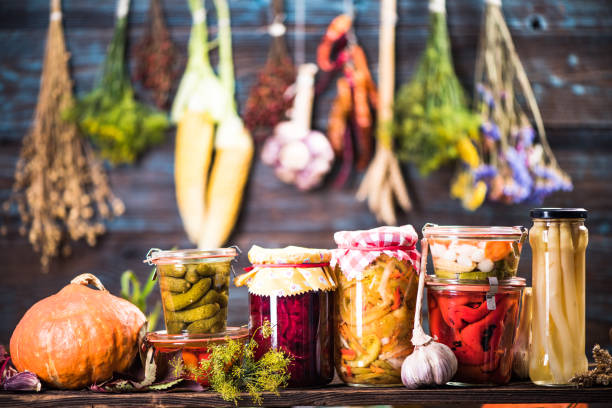
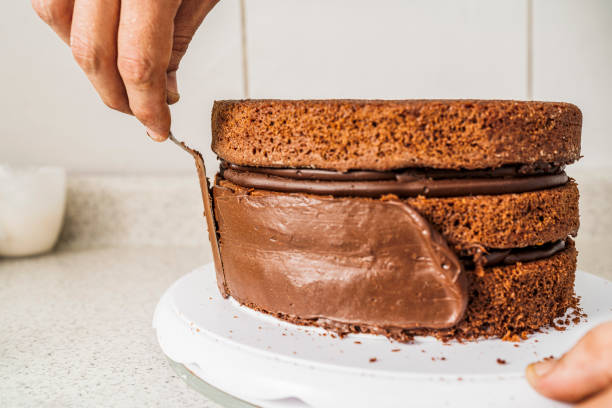
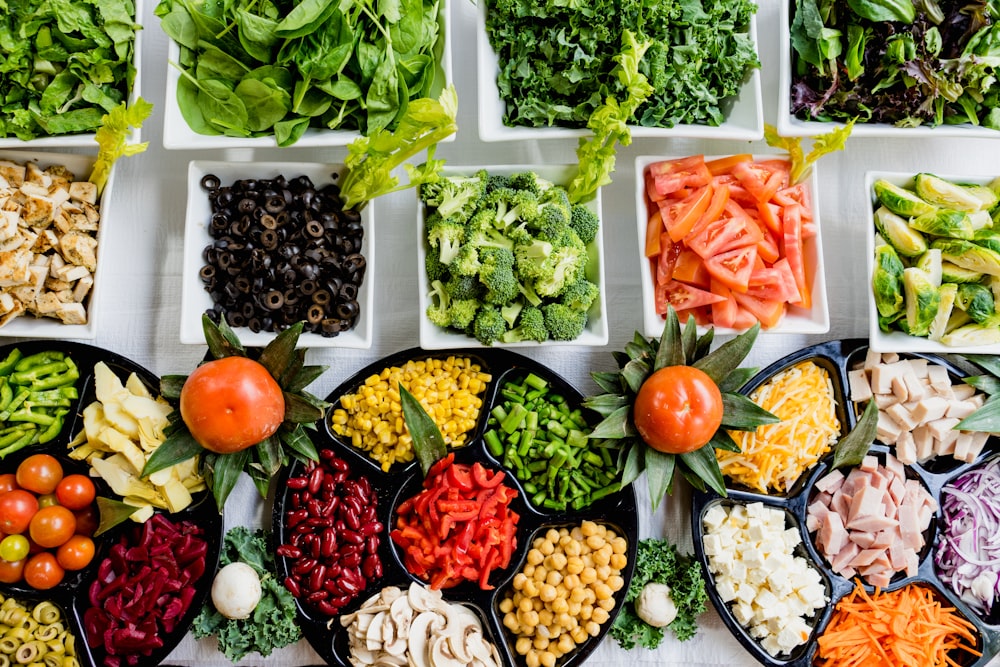
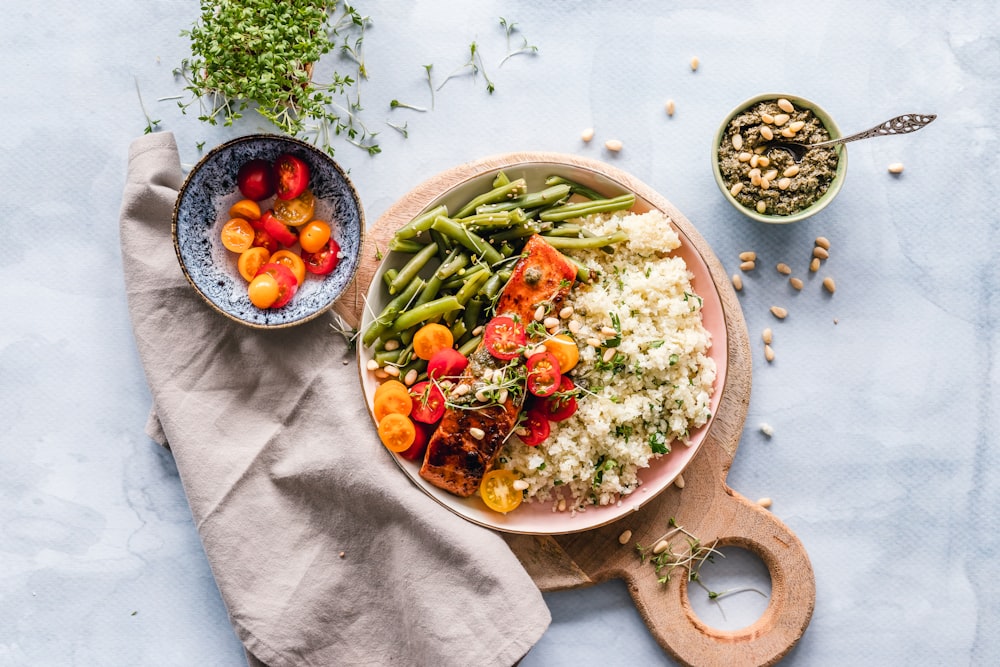
Image Credits: Pexels.com
Culinary cheat sheets are condensed, easy-to-read documents that encapsulate essential information about cooking techniques, measurements, ingredient substitutions, and more. They serve as quick references, offering a wealth of knowledge at a glance. Whether you’re a beginner navigating the basics or an experienced chef seeking to streamline your process, customizing your own cheat sheets can elevate your culinary experience.
Cooking Conversions:
Why it matters: Accurate measurements are critical in cooking. Include conversions for common units like teaspoons to tablespoons, ounces to grams, and Fahrenheit to Celsius.
Tip: Create a comprehensive conversion chart for both dry and liquid ingredients.
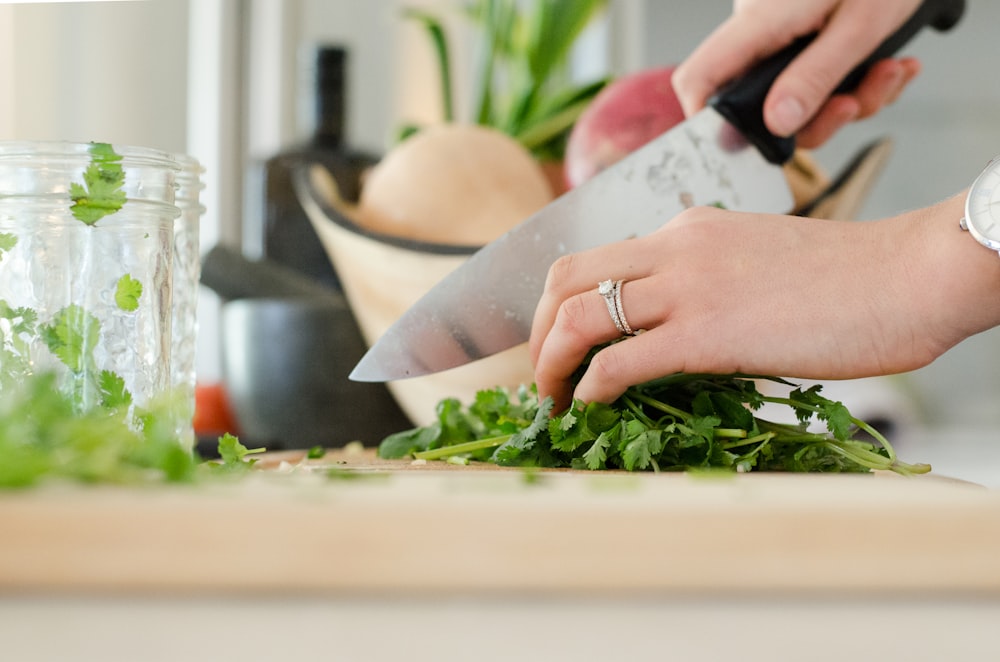
Knife Skills: Culinary Cheat Sheets
Why it matters: Mastering knife skills is fundamental in the kitchen. Include diagrams and instructions for basic cuts like julienne, chiffonade, and brunoises.
Tip: Incorporate safety tips, such as proper hand positioning and the importance of a sharp knife.
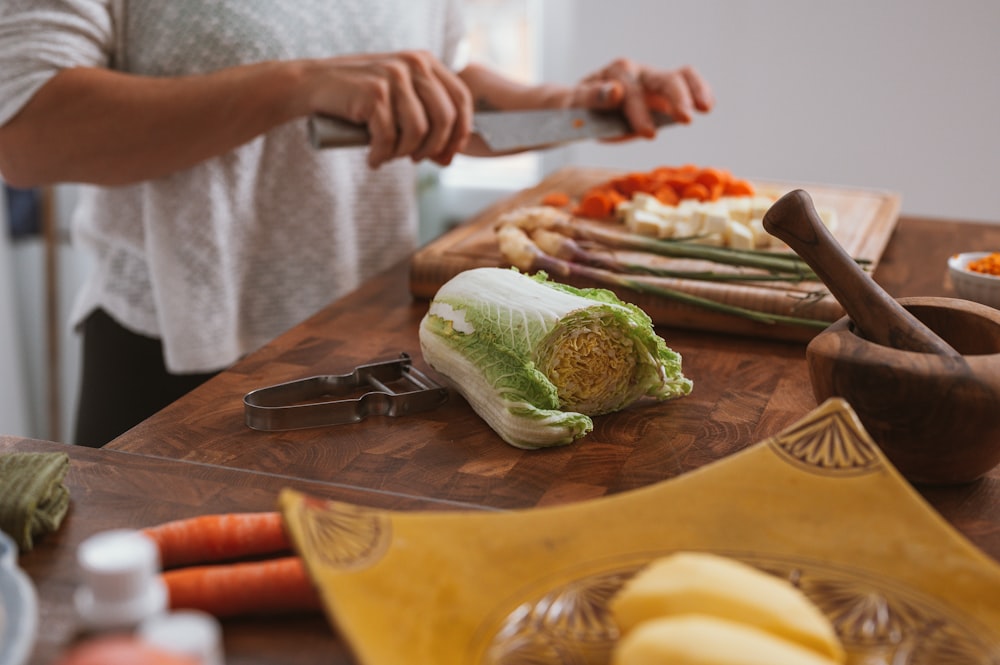
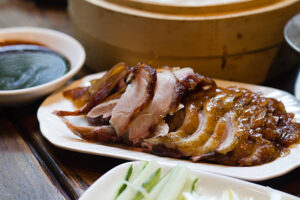
Cooking Times and Temperatures:


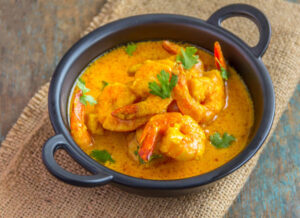
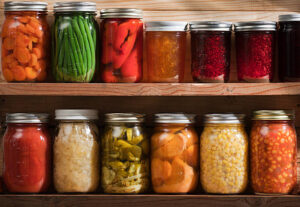
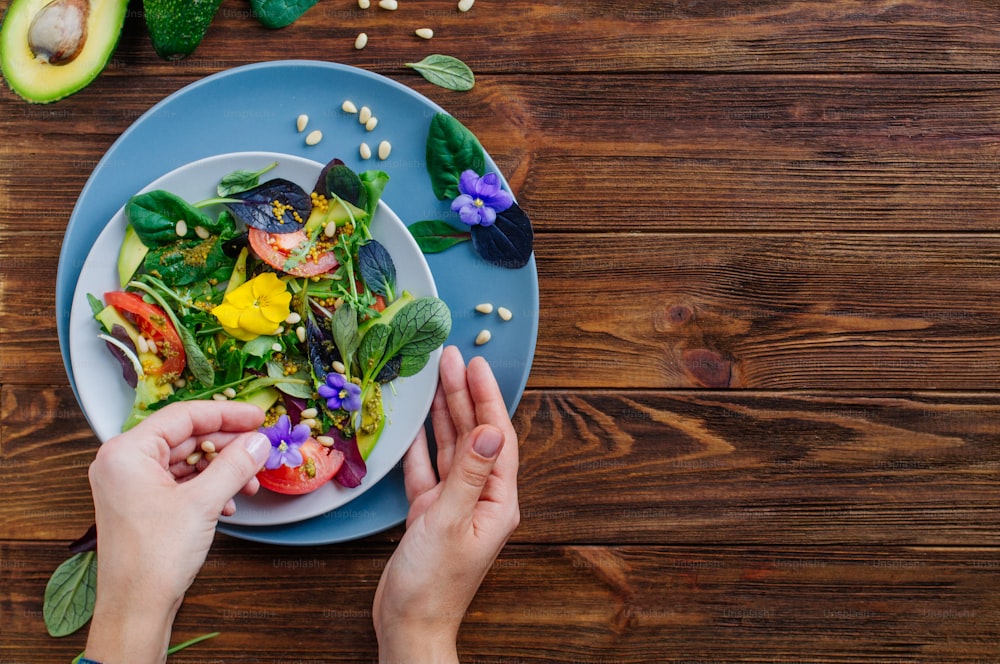
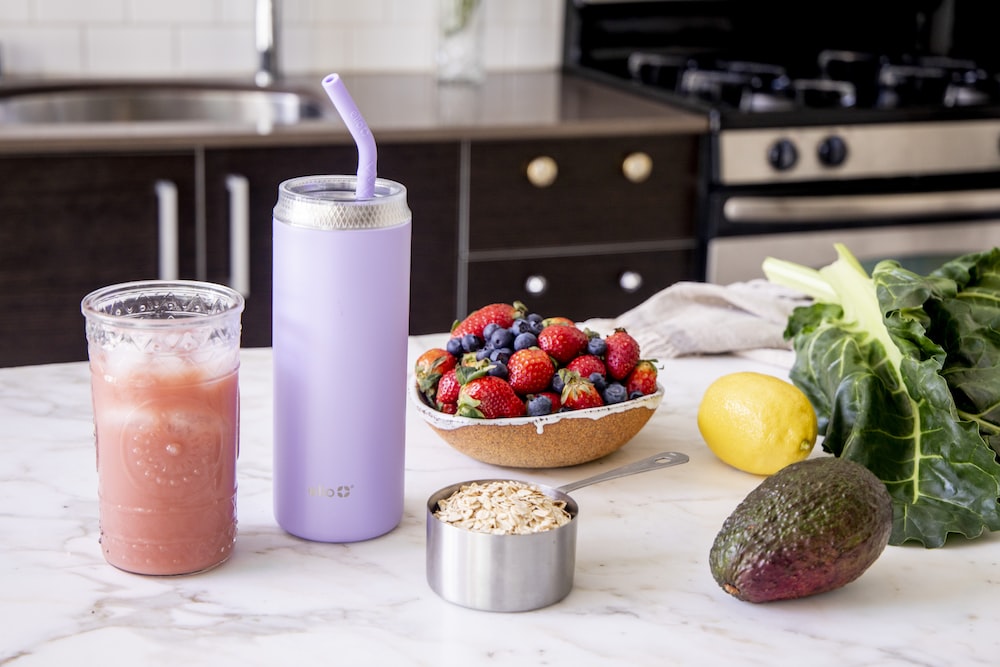
Image Credits: Pexels.com
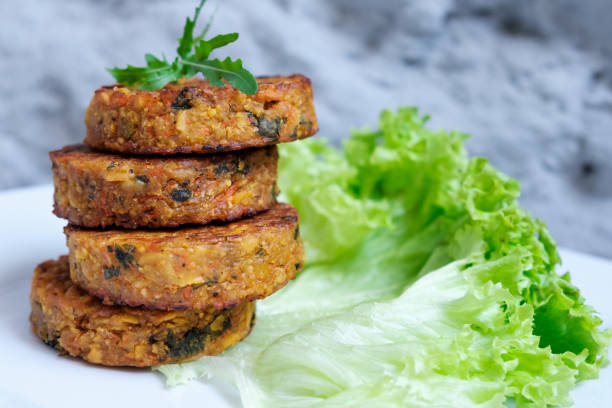
Why it matters: Different foods require different cooking times and temperatures. Include a reference for commonly cooked items like meats, vegetables, and grains.
Tip: Specify cooking times for various methods, such as roasting, baking, grilling, and sautéing.
Ingredient Substitutions: Culinary Cheat Sheets
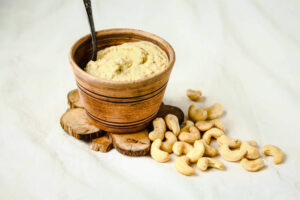
Why it matters: Running out of a specific ingredient can be a common occurrence. Include a list of suitable substitutions for common ingredients.
Tip: Categorize substitutions based on flavor profile, texture, and purpose in the recipe.
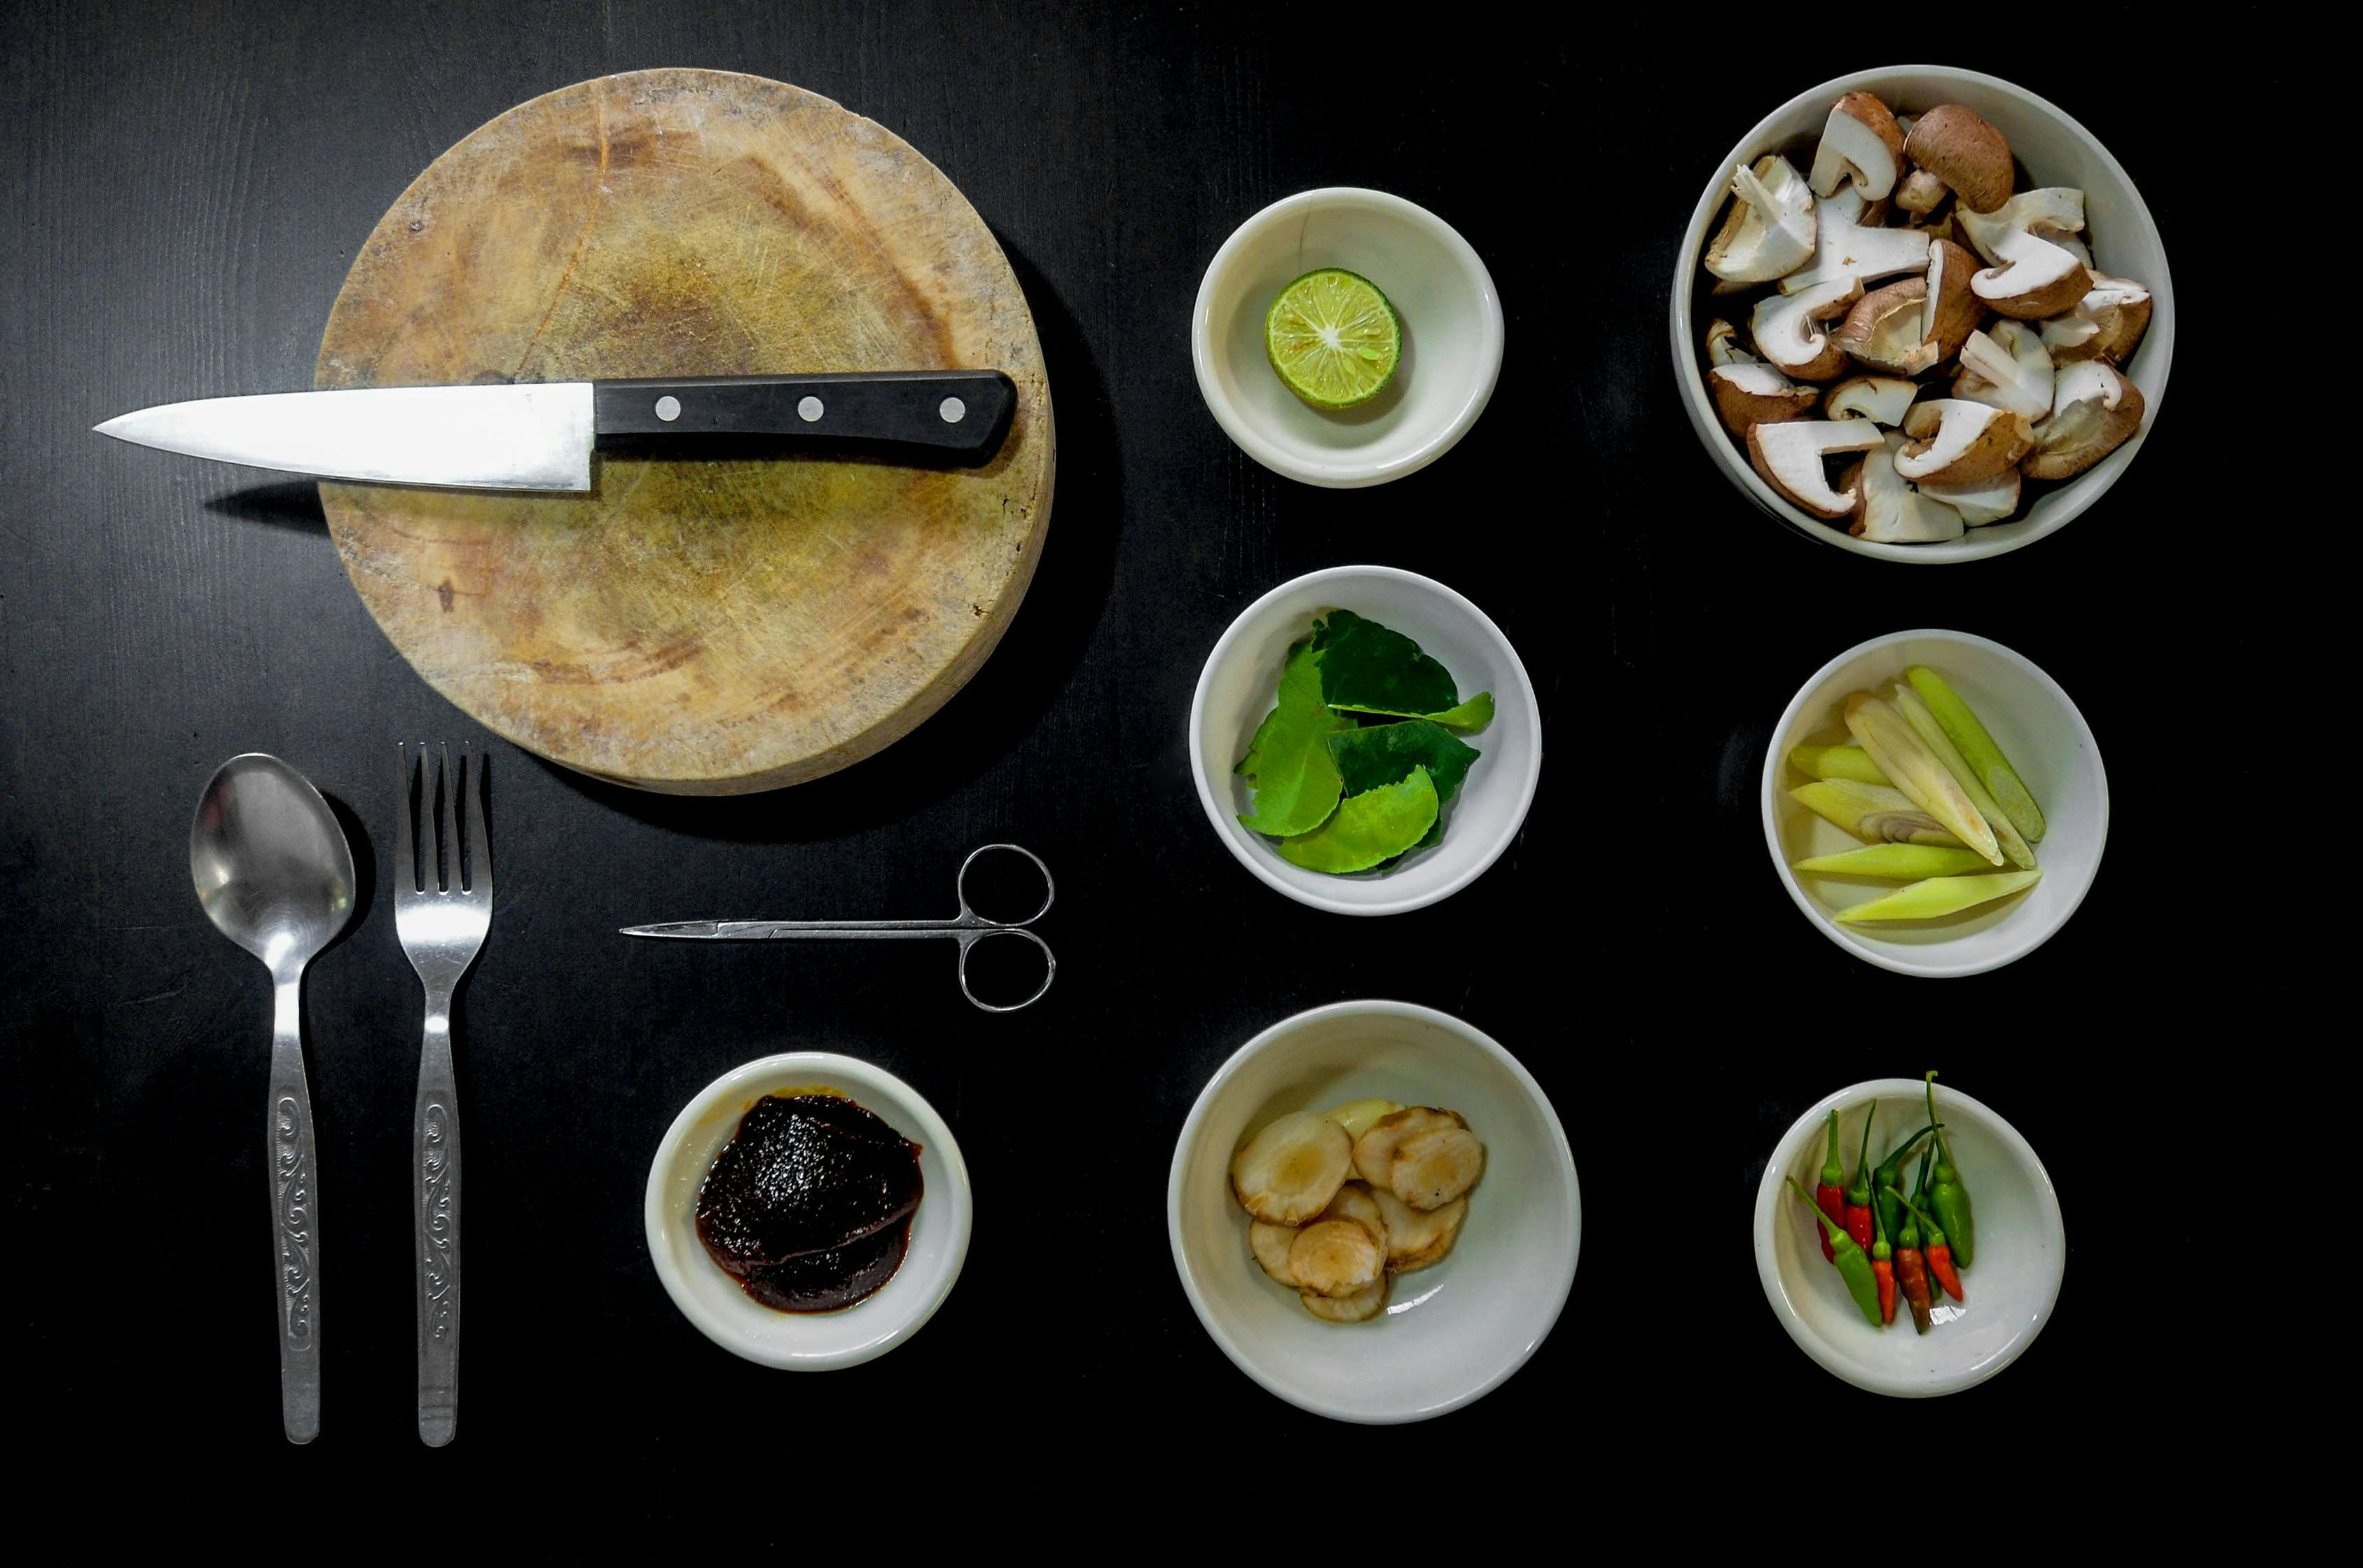
Flavor Pairing Guide:
Why it matters: Understanding complementary flavors enhances your ability to create well-balanced dishes. Include a flavor pairing guide for herbs, spices, and ingredients.
Tip: Highlight unexpected but successful flavor combinations to inspire experimentation.
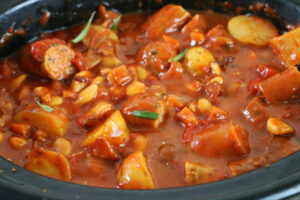
Kitchen Hacks and Tips:


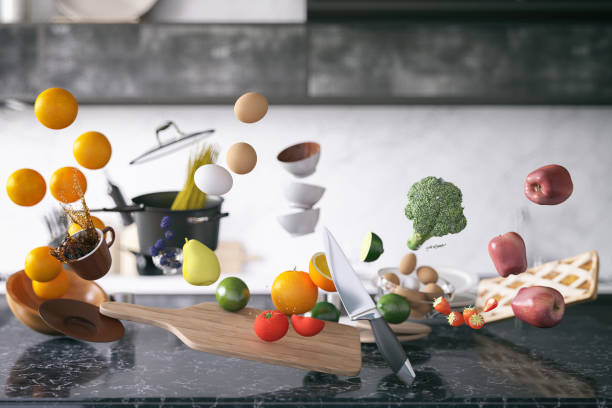
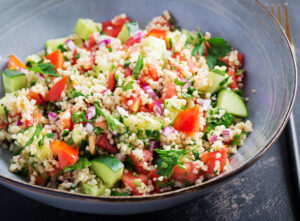
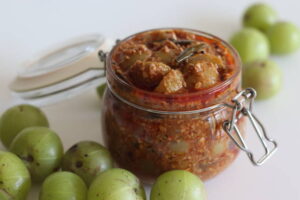
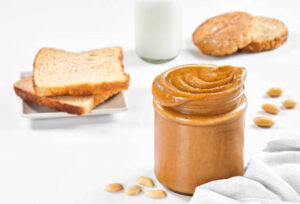
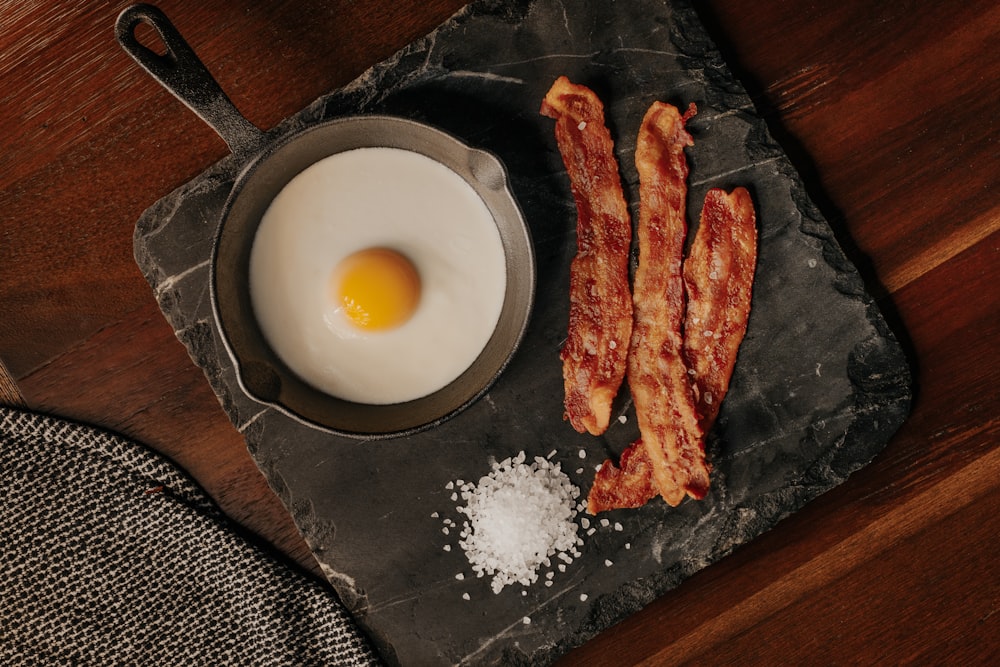
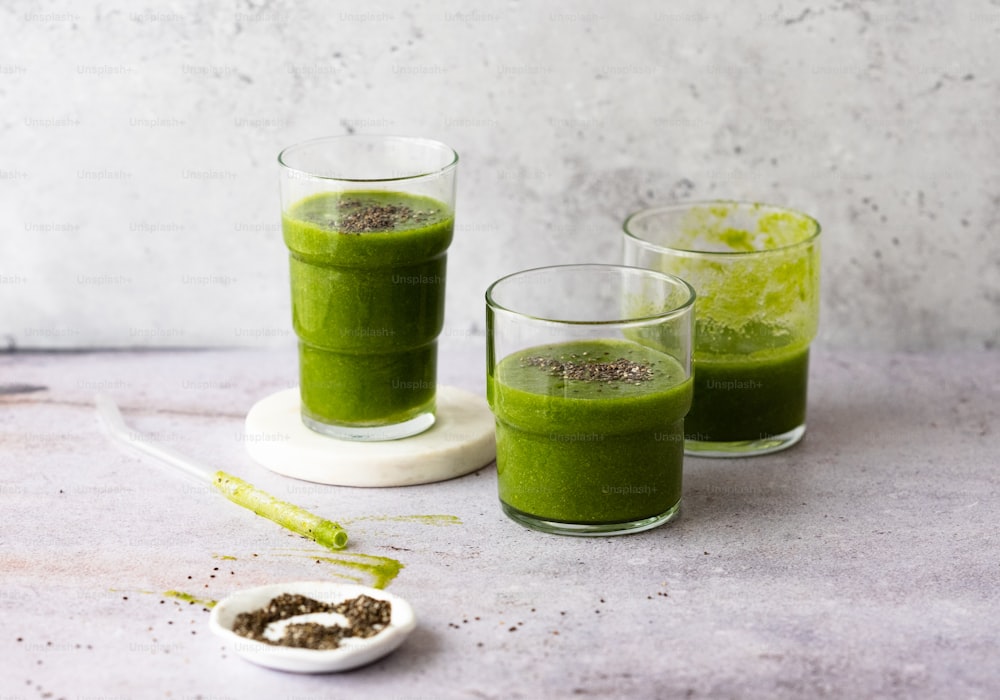
Image Credits: Pexels.com
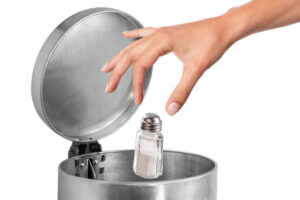
Why it matters: Little-known kitchen hacks can save time and improve efficiency. Include tips for peeling garlic, preventing overcooking, and preserving freshness.
Tip: Regularly update this section with new hacks you discover along your culinary journey.
Identify Your Needs: Culinary Cheat Sheets
Why it matters: Customizing your cheat sheets ensures they address your specific cooking challenges and preferences.
Tip: Consider your most frequently cooked cuisines, preferred ingredients, and the techniques you want to master.
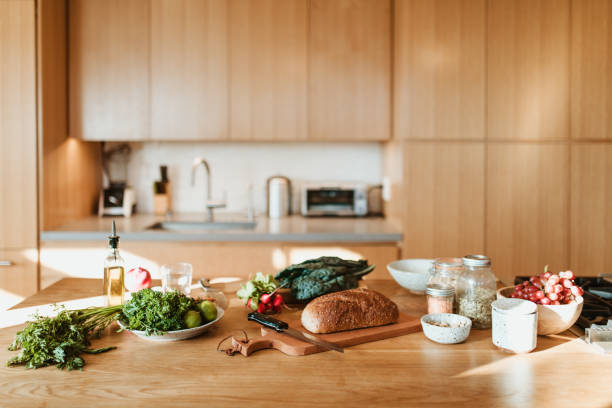
Choose a Format:


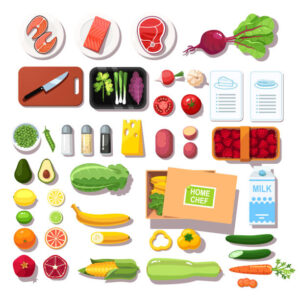
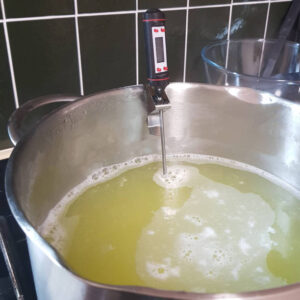
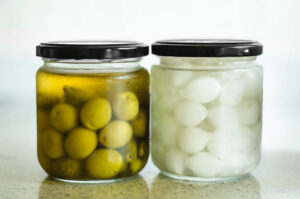
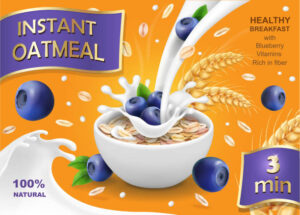
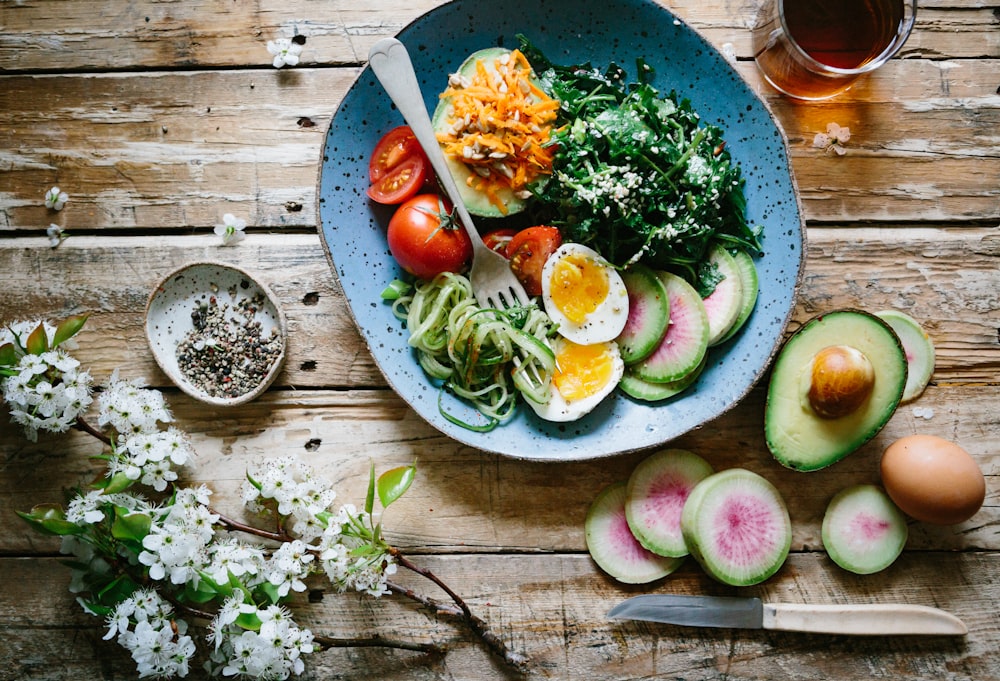
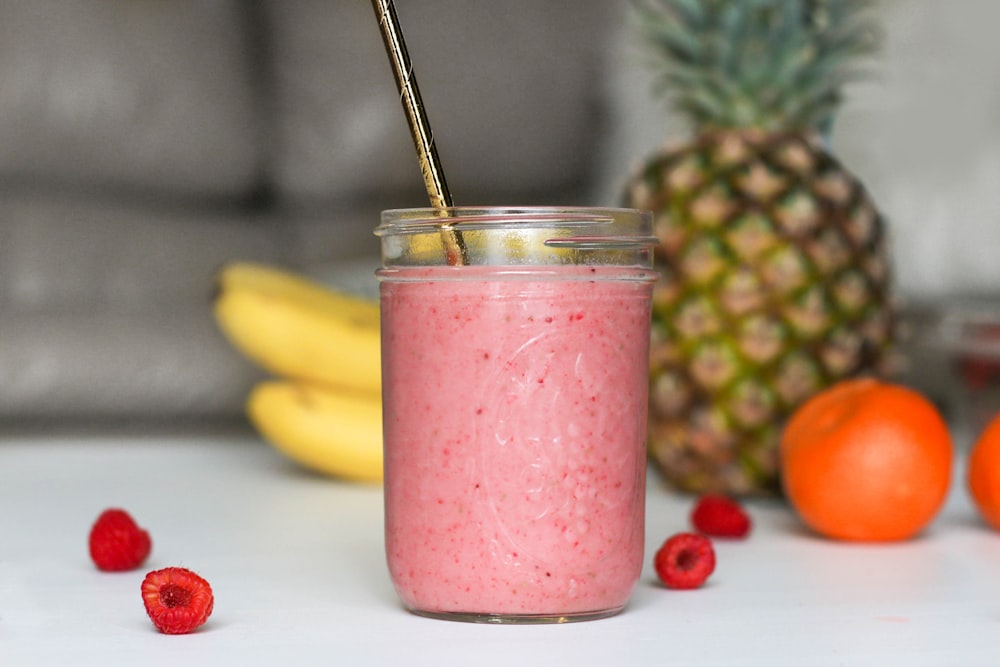
Image Credits: Pexels.com
Why it matters: The format of your cheat sheets influences their usability. Consider whether you prefer a digital format, a laminated physical copy, or a combination of both.
Tip: Design your cheat sheets to be easily accessible in the kitchen, such as hanging them on the refrigerator or storing them in a recipe binder.
Organize Information Logically: Culinary Cheat Sheets
Why it matters: Logical organization makes it easier to find information quickly. Group related content together, such as all knife skills on one sheet and conversions on another.
Tip: Use headings, bullet points, and color-coding to enhance visual clarity.
Visual Elements:
Why it matters: Visual aids can significantly enhance the effectiveness of your cheat sheets. Include diagrams, images, and icons to illustrate key points.
Tip: Incorporate color to distinguish different sections and make the cheat sheets visually appealing.
Keep It Concise:


Image Credits: Pexels.com
Why it matters: The purpose of a cheat sheet is to provide quick information. Avoid unnecessary details and keep instructions concise.
Tip: Focus on the essentials, highlighting key steps and critical information.
Regular Updates: Culinary Cheat Sheets
Why it matters: Culinary trends, techniques, and tips evolve. Regularly update your cheat sheets to stay current and continue expanding your culinary knowledge.
Tip: Set a schedule to review and update your cheat sheets, especially after trying new recipes or learning new techniques.
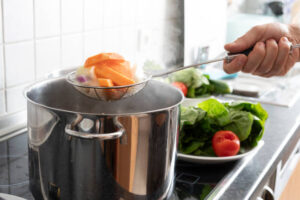
Utilizing Culinary Cheat Sheets:
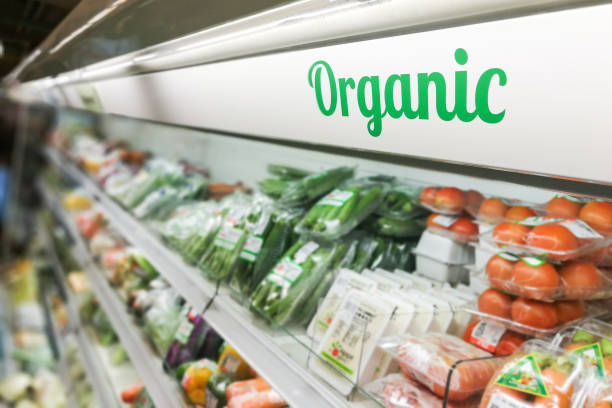
Why it matters: Planning meals becomes more efficient when you can quickly reference cooking times, ingredient substitutions, and flavor pairings.
Tip: Create a dedicated section in your meal planning routine for consulting your cheat sheets.
Enhance Recipe Execution:


Image Credits: Pexels.com
Why it matters: Following a recipe seamlessly is crucial for achieving desired results. Use cheat sheets to quickly address uncertainties or substitute ingredients.
Tip: Attach a laminated copy of relevant cheat sheets to the inside of your kitchen cabinets for easy access.
Teach and Share with Others: Culinary Cheat Sheets
Why it matters: Sharing your culinary knowledge with others fosters a collaborative and enjoyable cooking environment.
Tip: Create simplified versions of your cheat sheets to share with friends, family, or anyone interested in improving their cooking skills.
Experiment and Innovate:
Why it matters: Culinary cheat sheets can inspire experimentation and innovation in the kitchen. Use them as a launching pad to create your own recipes.
Tip: Document your successful experiments on your cheat sheets to incorporate new knowledge into your cooking routine because it is helpful.
Conclusion:


Image Credits: Pexels.com
Crafting culinary cheat sheets is an empowering endeavor that can transform your cooking experience. By distilling essential information into accessible formats, you create personalized tools that not only streamline your cooking process but also serve as constant companions in your culinary journey. From mastering knife skills to navigating ingredient substitutions, your cheat sheets become the keys to unlocking kitchen confidence and creativity. So, embark on the journey of creating your own culinary cheat sheets and witness the transformation of your kitchen adventures into a seamless and enjoyable experience.
Continuously expand your culinary cheat sheets by incorporating new techniques and flavor combinations. Embrace a spirit of curiosity and experimentation in the kitchen. Share your culinary discoveries with a community of fellow food enthusiasts, creating a collective space for learning and growing together in the world of cooking.