How to Grow Your Own Herbs: A Beginner’s Guide
Growing your own herbs is a low-cost and satisfying choice if you enjoy seasoning your food with them. Herbs are easy-to-grow plants that may be grown in pots or in the ground, indoors or out. All you need is a warm, sunny location and a few simple ingredients. assemble your materials, begin some seedlings, plant your fresh herbs, and tend to them.
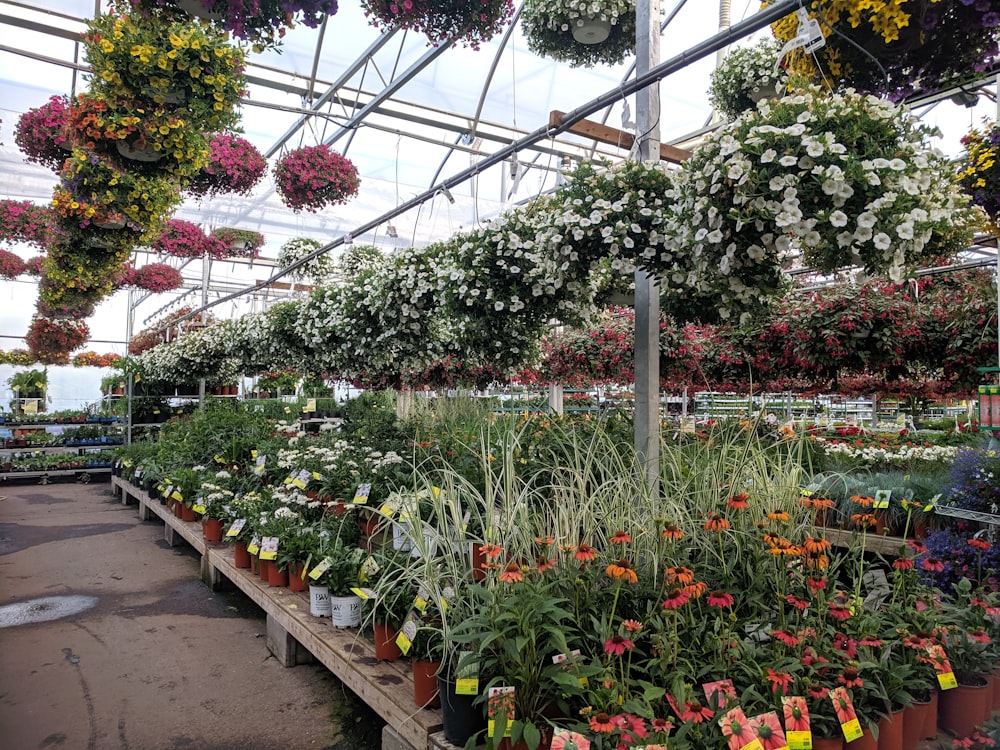
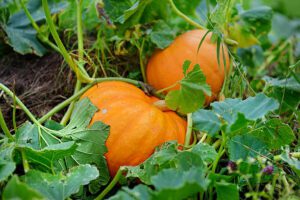
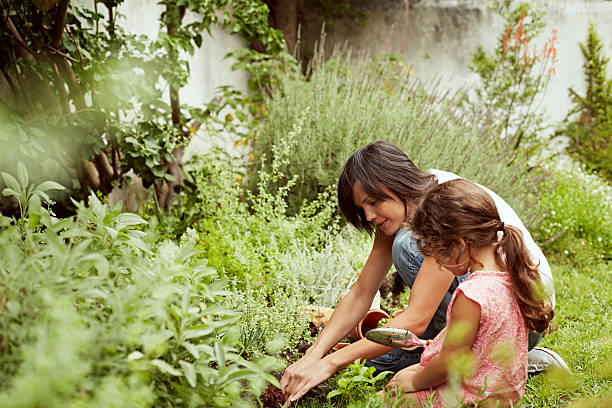
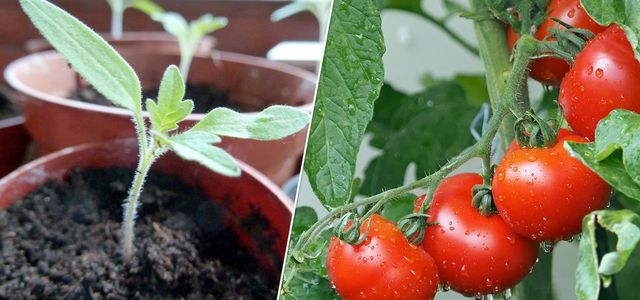
Choosing what to grow

Image via Unsplash.com
Which herbs do you enjoy including into your dishes? Start by considering your personal tastes when deciding which herbs to plant. You might want to try your hand at growing one or two herbs that you wouldn’t typically buy at the grocery store since they are simple and enjoyable to grow. Purchase seed packets from your nearby nursery or online once you have a few in mind.
Wonderful herbs that are used in many different dishes include mint, dill, sage, rosemary, thyme, and basil. These would be a fantastic starting point for a herb garden if you wanted to grow a variety of herbs. An herbal tea garden is another option.
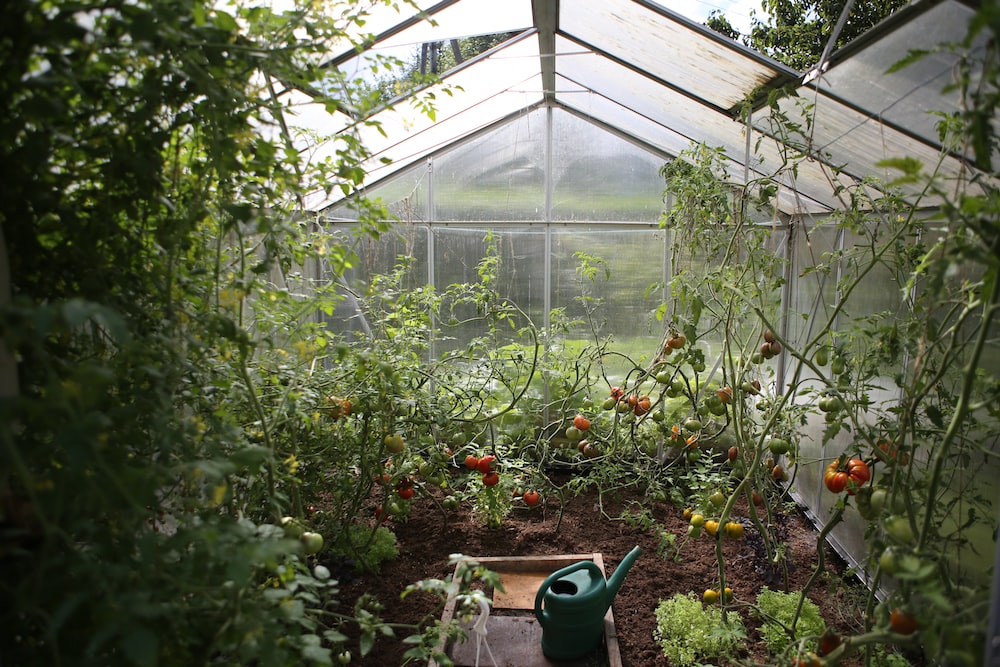
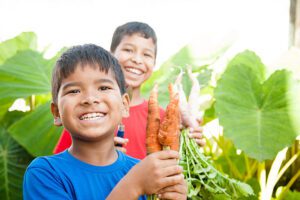
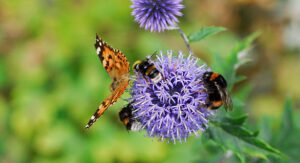
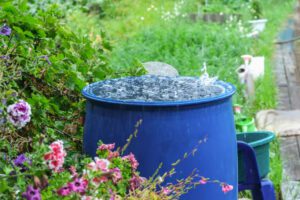
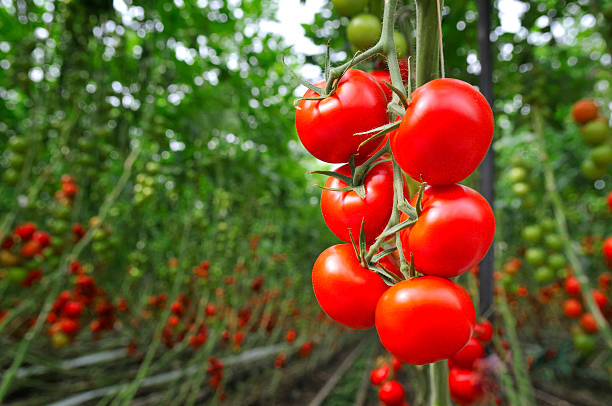
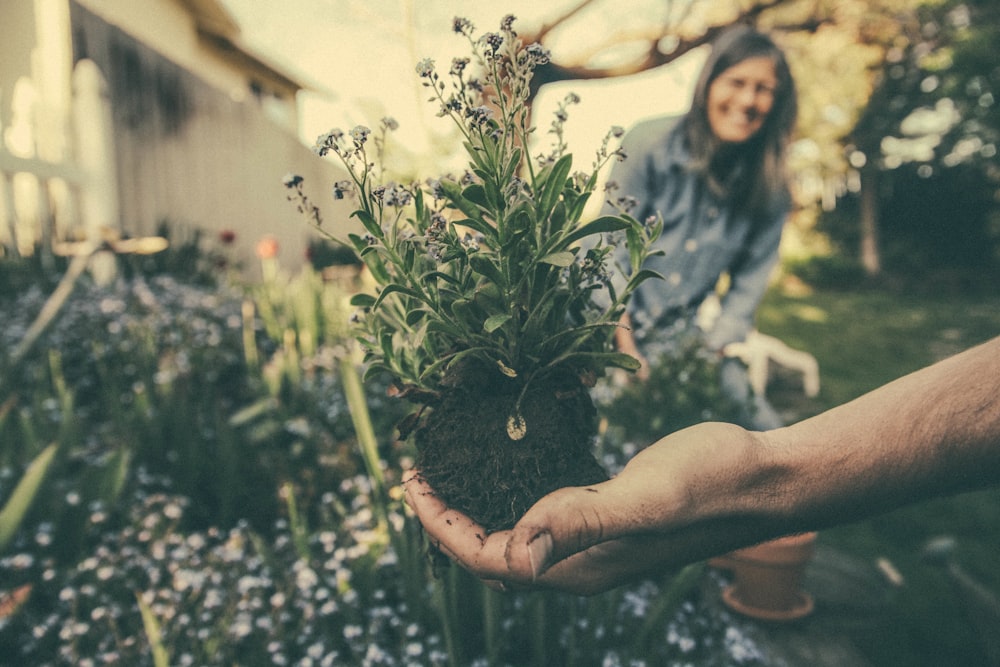
Deciding where to grow?


Image via Unsplash.com
Herbs are simple to grow both inside and outside. Additionally, you can decide whether to plant them in a growing container or straight in the ground. Although some just require some sunshine, most herbs require a lot of direct sunlight. Before planting, it’s wise to research which herbs work best in certain environments.
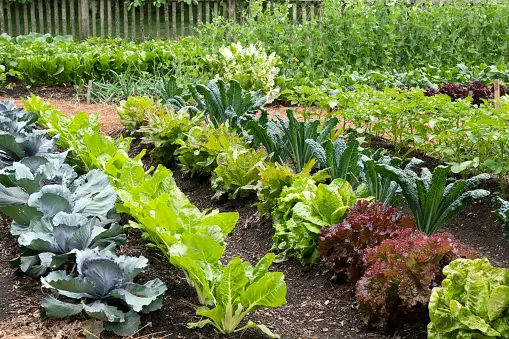
If you’re planting herbs alongside veggies in your garden, place them 6–12 inches (15.2–30.5 cm) apart from the vegetables.
Herbs can be grown in different pots, or you can get a big pot and plant a variety of herbs in it.
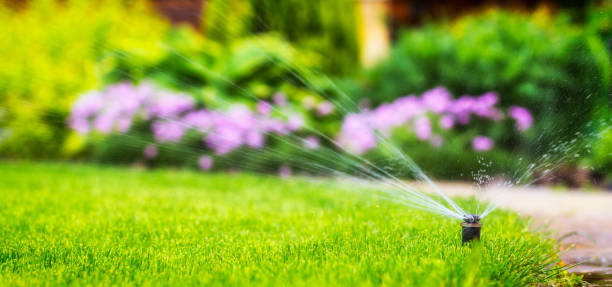
Get potting soil to grow herbs
Successful herb planting depends on the makeup of the soil. Herbs do best in soil that has a pH between 6.5 and 7, but it is not necessary for the soil to be very fertile. In fact, if it’s excessively rich, the flavor will be diluted and growth will be out of control. Drainage is more significant than fertility. For proper drainage, the soil should be a loose, crumbly consistency.
Since seeds already have the nutrition needed for plants to sprout and take root, if you’re beginning your herbs from seed, search for a seed starter potting soil that hasn’t been enhanced with extra nutrients.
Starting in early spring


Image via Unsplash.com
When it’s still cool outside and the growth season hasn’t started, it’s ideal to plant seeds. As a result, the seeds have more time to germinate and grow, and they will be prepared for planting once the temperature starts to climb.
Wait till after the last frost if you can.
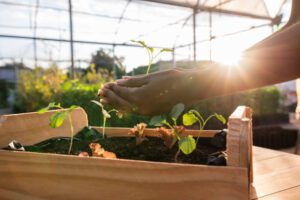
Preparing seed containers
Any little container, such as a used egg carton, yogurt cups, or ones you may buy at the nursery, can be used to start herb seeds. So that you’ll know which seeds to place in which container, label the containers. Each one should be filled with potting soil, which should then be slightly wetted. Put the containers somewhere sunny with a constant temperature of about 70 degrees. The seeds shouldn’t be exposed to hours of direct sunshine at this early stage since they risk overheating.
It’s simpler to start the seeds indoors, where you have control over the water and temperature, even if you intend to cultivate your herbs outdoors.
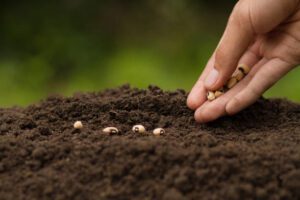
Soak the seeds to grow herbs

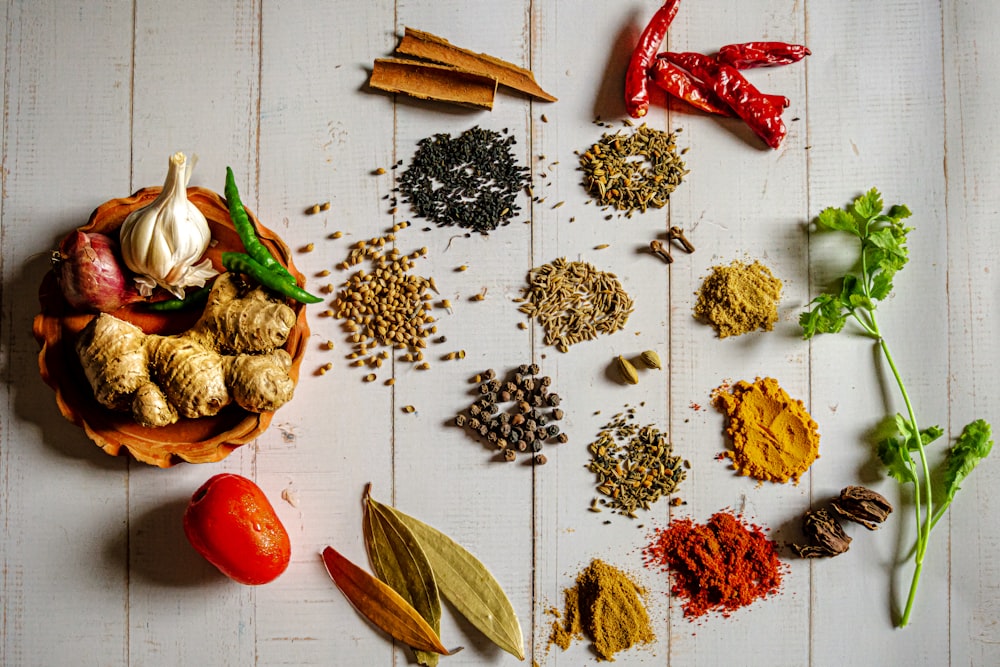
Image via Unsplash.com
This procedure assists in preparing the seeds for germination. The seeds should be spread evenly between two wet paper towels. On the day you plan to plant them, give them a 4-hour soak.
Planting the seeds
For instructions on how to plant each variety of herb, consult the seed packets. While some only need to be uniformly distributed across the soil’s surface, others won’t grow unless they are buried deep within the soil. The seeds will sprout over the coming weeks and start to produce leaves. Make sure the soil is never allowed to dry out while maintaining a constant temperature and amount of sunlight.
Thin seedlings
You must take some of the seedlings out of the pots once they have developed leaves so that the stronger ones have room to develop. Remove the seedlings that are less developed, and then space the remaining plants apart by approximately an inch.
Preparing the bed to grow herbs

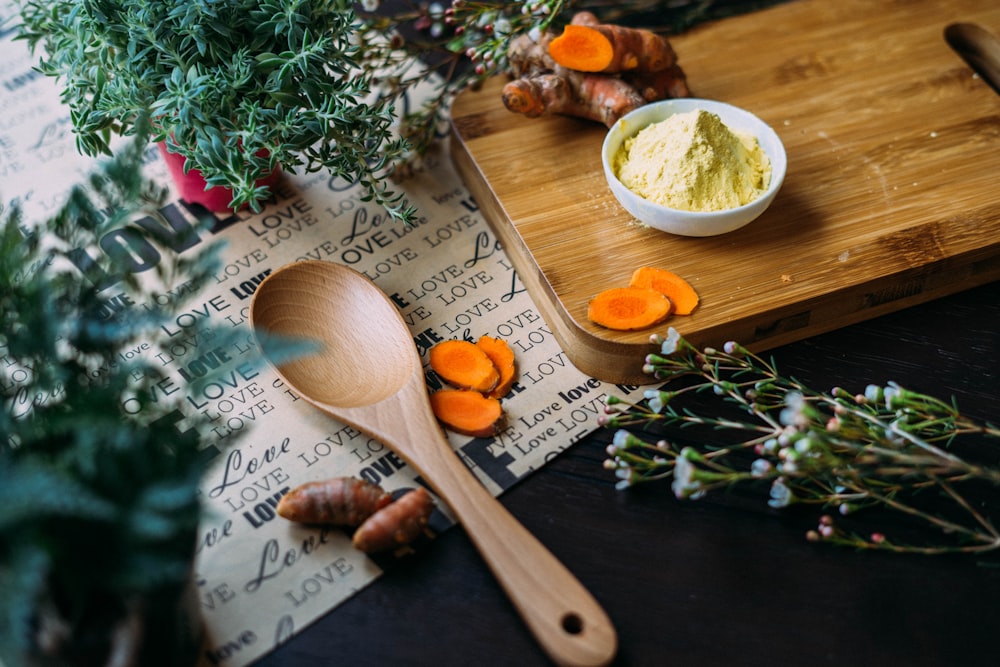
Image via Unsplash.com
Garden soil for the herbs should be raked in to a depth of roughly 6 inches (15.2 cm) after loosening the soil with a garden rake. Water the soil by sprinkling it with it. Create holes that are spaced a few inches apart before planting the herbs.
Determine how many herbs will fit in each container if you are planting the herbs there. You might not want to plant more than 2 or 3 seedlings in each pot because many herbs grow rather large.
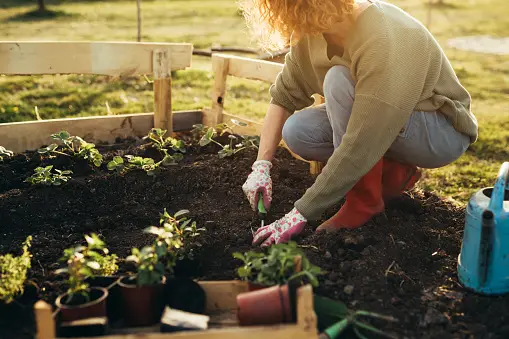
Plant the seedlings
When the herbs are established and have produced a number of adult leaves, they are ready to be planted. When there is no longer a chance of frost and the outside temperature is above 50 degrees, plant them. Plant the seedlings in the ground after carefully removing them from their containers and loosening their roots. After lightly moistening the area with water, pat soil around the stems’ bases.
If you’re planting the herbs outside, it’s a good idea to “harden off” (expose them to outdoor conditions) them for a few days in a garage or another covered outdoor area before putting them in the ground.
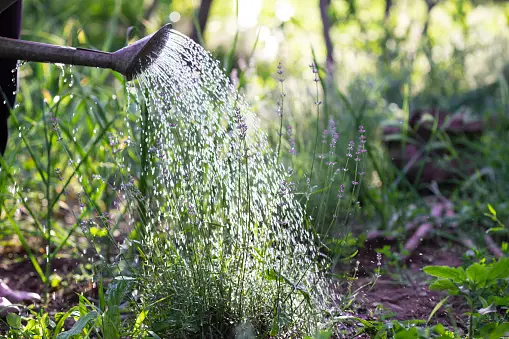
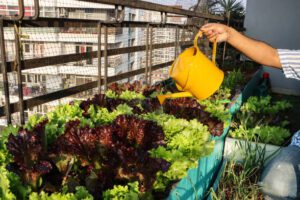
Caring for the herbs


Image via Unsplash.com
Now that the herbs are established, all you need to do to take care of them is make sure they receive adequate sunlight and water on a regular basis. Pay attention to the soil’s moisture content and make sure it never dries out. It won’t be long before it’s time to harvest your herbs because they will grow robust and healthily.
USEFUL LINKS:
Click here to explore some more tips
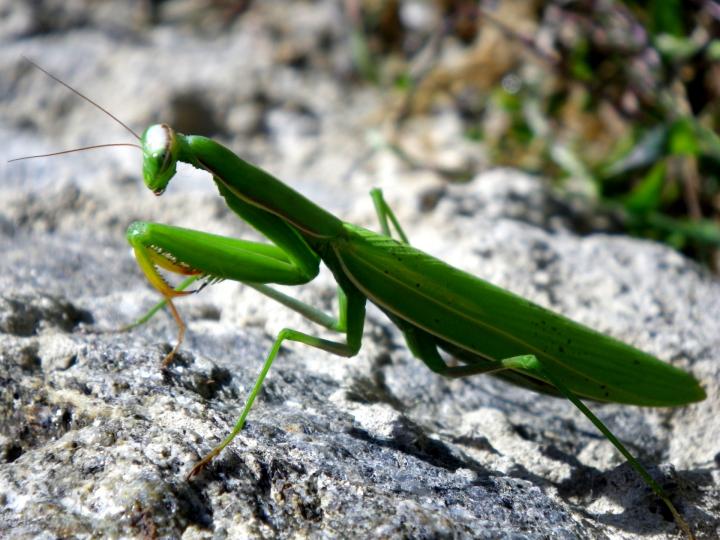
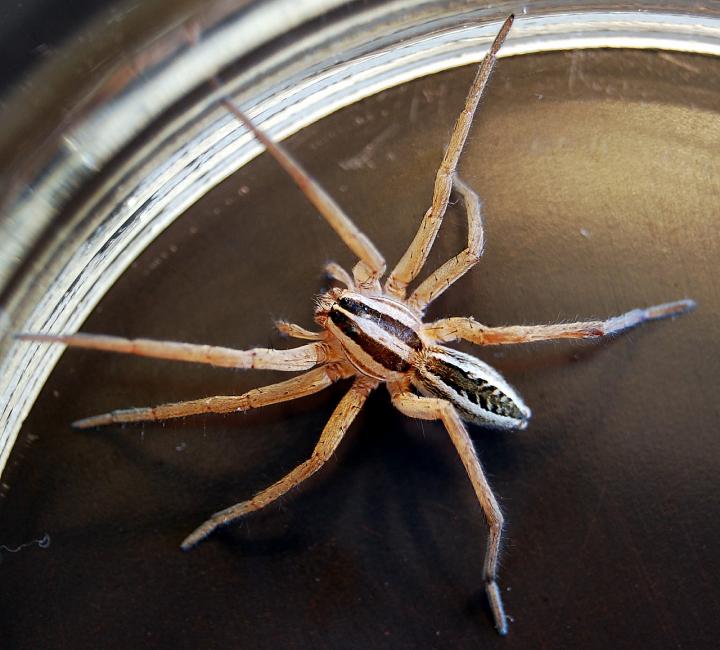
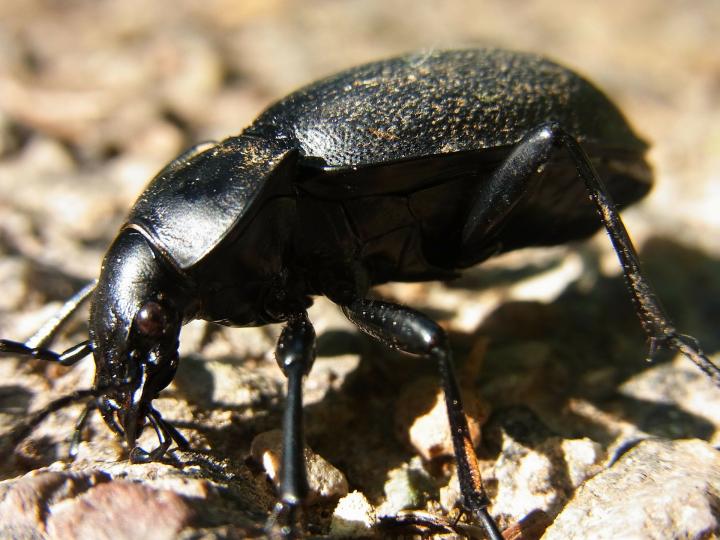
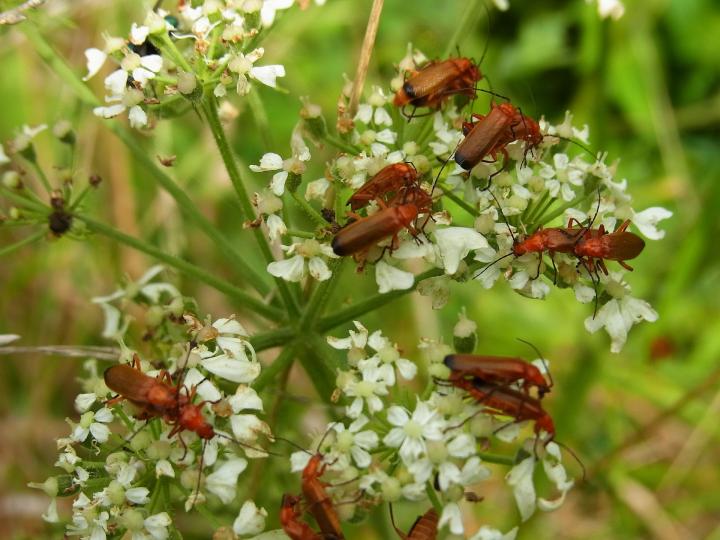
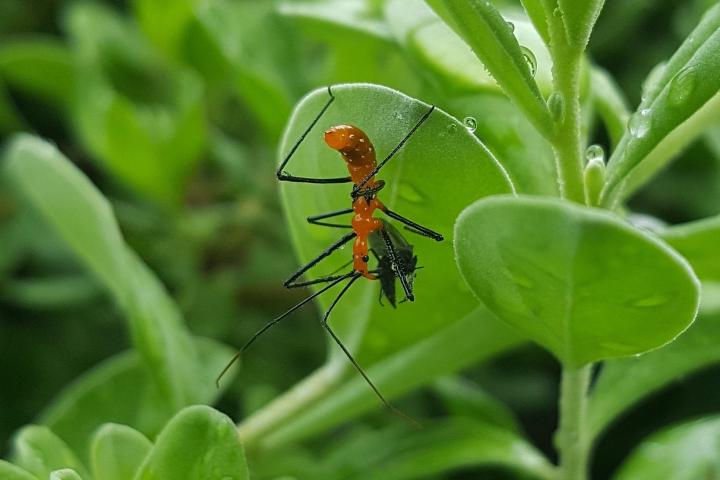
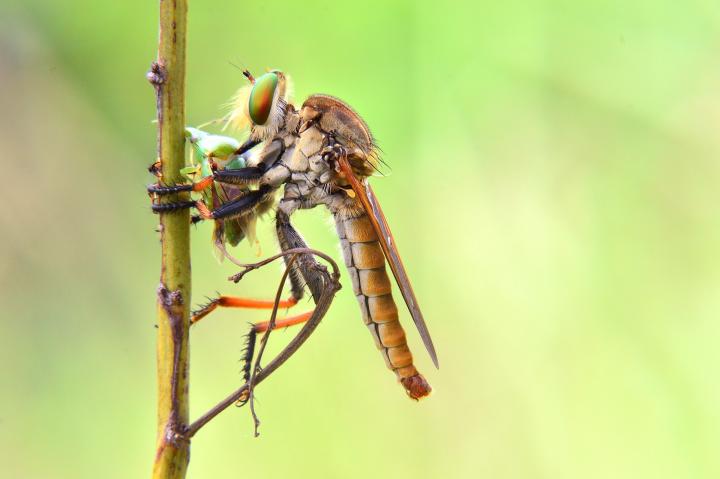
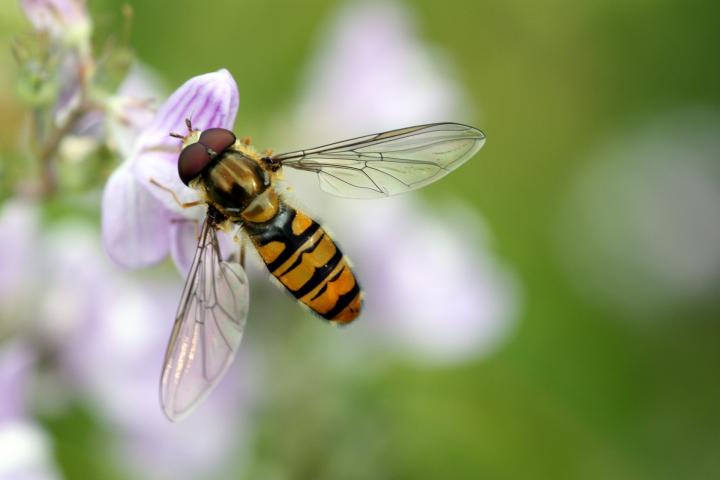
Beneficial bugs for your veggie garden


![Vegetable Garden Pictures [HD] | Download Free Images on Unsplash](https://plus.unsplash.com/premium_photo-1663013292451-dfe5e6aa6f11?ixlib=rb-4.0.3&ixid=M3wxMjA3fDB8MHxzZWFyY2h8MTl8fHZlZ2V0YWJsZSUyMGdhcmRlbnxlbnwwfHwwfHx8MA%3D%3D&w=1000&q=80)